Toddler Science Experiments: Ice Ice Baby!
All winter long I’d been wanting to do a science experiment with C involving water turning to ice, but our sub-freezing temps have been few and far between (and for some reason, using the freezer felt like cheating…unless it was July, of course). But one day last week we finally saw the forecast we’d been waiting for – a low of 22! We gathered our supplies and headed outside. Here’s how our experiment worked:
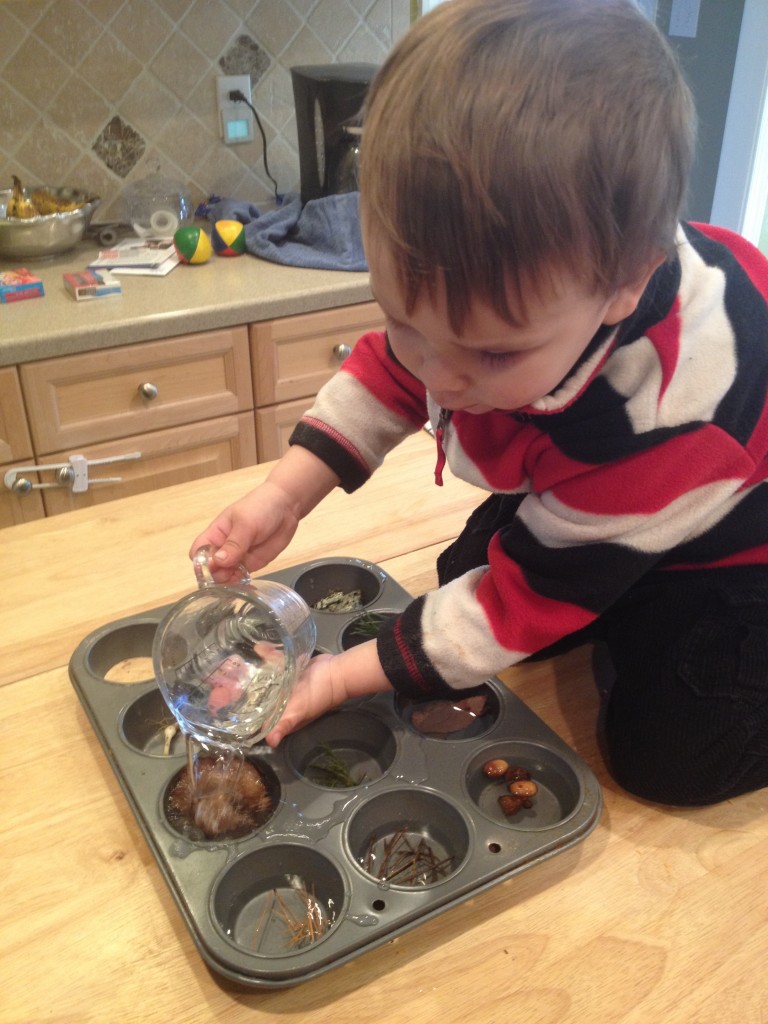
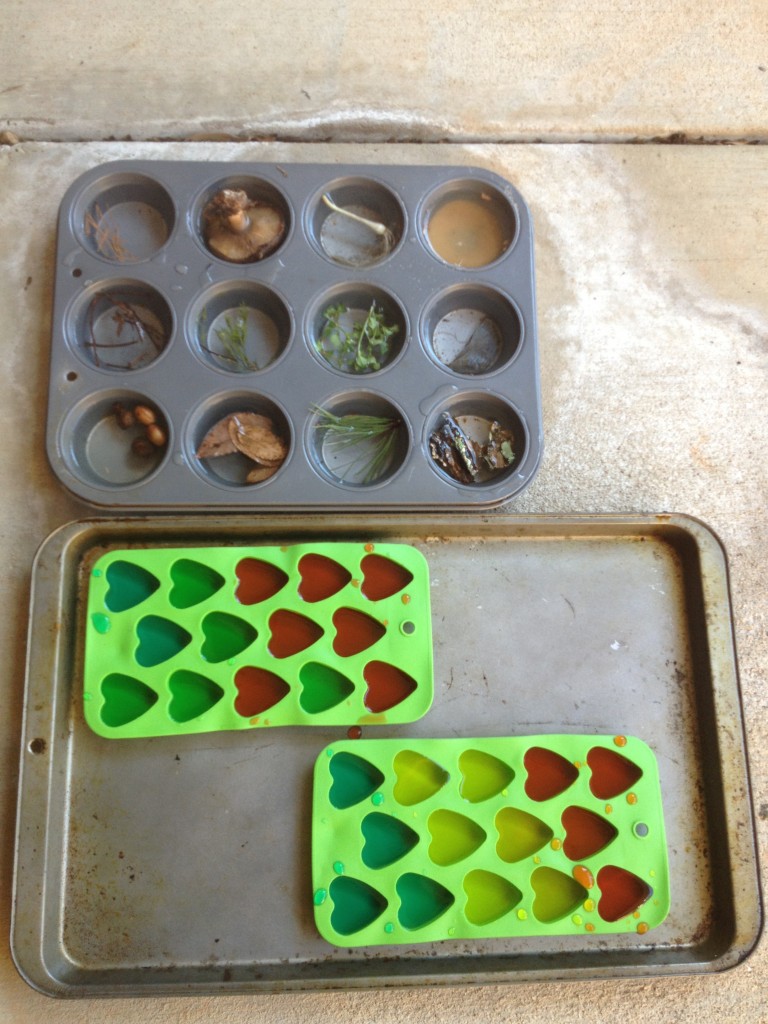
1. Collect – We walked around the yard with a large muffin tin, picking up nature items off the ground. We used twigs, pine needles, clover, acorns, leaves, sand, rocks, and even found a funky mushroom! Each hole in the tin held a different set of item(s).
2. Water – We then brought our items inside and C dumped poured water into each hole of the muffin tin. It was wet, messy, and definitely fun! ***NOTE: As a bit of a side experiment, we also filled some heart-shaped ice cube trays with water, but this time we experimented with drops of food coloring to add some extra pizzazz!
3. Wait. We left our tin and trays outside in the yard overnight. We talked about how the temperature was going to get very, very cold while we were sleeping, and made some guesses about how the cold would affect the water. C’s hypothesis was that the water was going to get very, very cold. 🙂
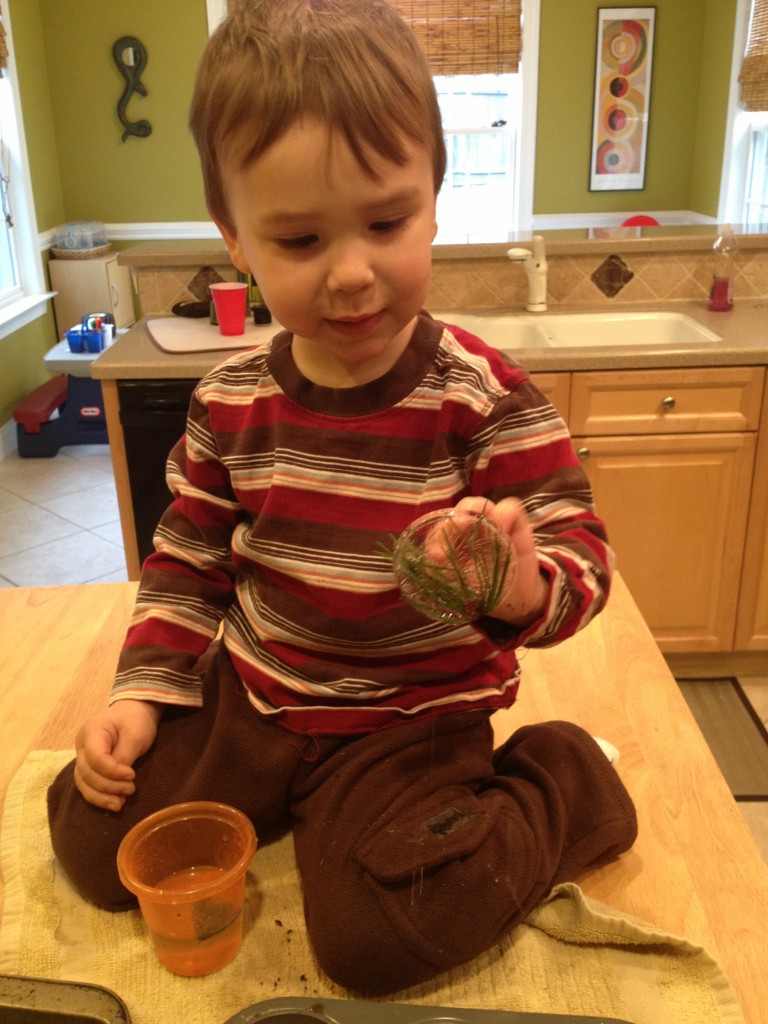
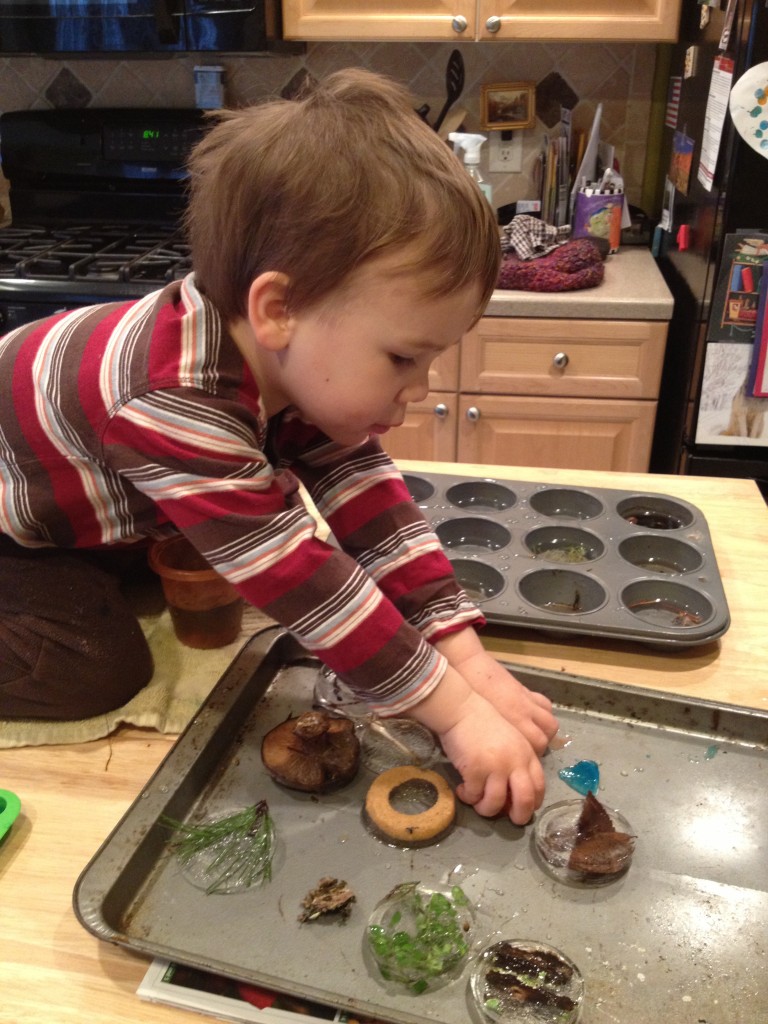
4. Discover. The next morning I brought our handiwork back inside. The results? Although it was still only 26 when I went out to get them, none of the water in the muffin tin was frozen solid, and even the ice cube trays had some standing water. Apparently the temps weren’t cold enough for long enough, but it was more than adequate for our purposes. C had a fabulous time inspecting each chunk of ice and ranking them in order of their “iciness.” (“This one’s just a little bit icy Mommy…this one has BIG ice Mommy!”) His favorite chunk came from the hole that had the sand in it. As the water had frozen, it had pushed all the sand out of the middle and over to the sides of the tin, making a donut shape out of the sand!
5. Discover MORE. I had assumed that our activity that morning would be pretty short-lived once we brought everything inside and they started to melt. But for C, that was when the fun really got started! He splashed around in the kitchen for about an hour, until everything was completely melted and we were both soaked and in need of a wardrobe change!
From a visual standpoint, our experiment was a wet mess, but from an educational standpoint, it was a brilliant success! The experiment was simple enough that C could do it all by himself with just a little guiding from me, and I think the hands-on approach made the concept easier to understand as well as more fun. It’s too bad we don’t live in a colder climbate that would have given us a nice, hard freeze that would have lasted more than a few hours (our low had been 22, but the high the next day was 45!). If so, we definitely would have gotten a little more crafty with our experiment and turned our ice chunks into decorations (a la this cool “ice art” idea over at Go Explore Nature).
Has anyone else done a “water to ice” experiment with your little guy or gal? How did it work out? What other ways have you inserted science lessons into your daily time outdoors?


3 Responses to “Toddler Science Experiments: Ice Ice Baby!”
What a FUN idea! 🙂
what a creative way to teach this concept! Too bad the NC temps didn’t allow for the full effect – but seems like that didn’t stop the fun:)
I know, right! At least we had fun 🙂