Cragmama "Not all who wander are lost…" JRR Tolkien

TIGHTS! A Review Round-up (and Discount Code from Ellie!)

3 NC old-schoolers bringin' back their cutting edge 80's fashions at the Dixie Rock Climbing Comp last year...

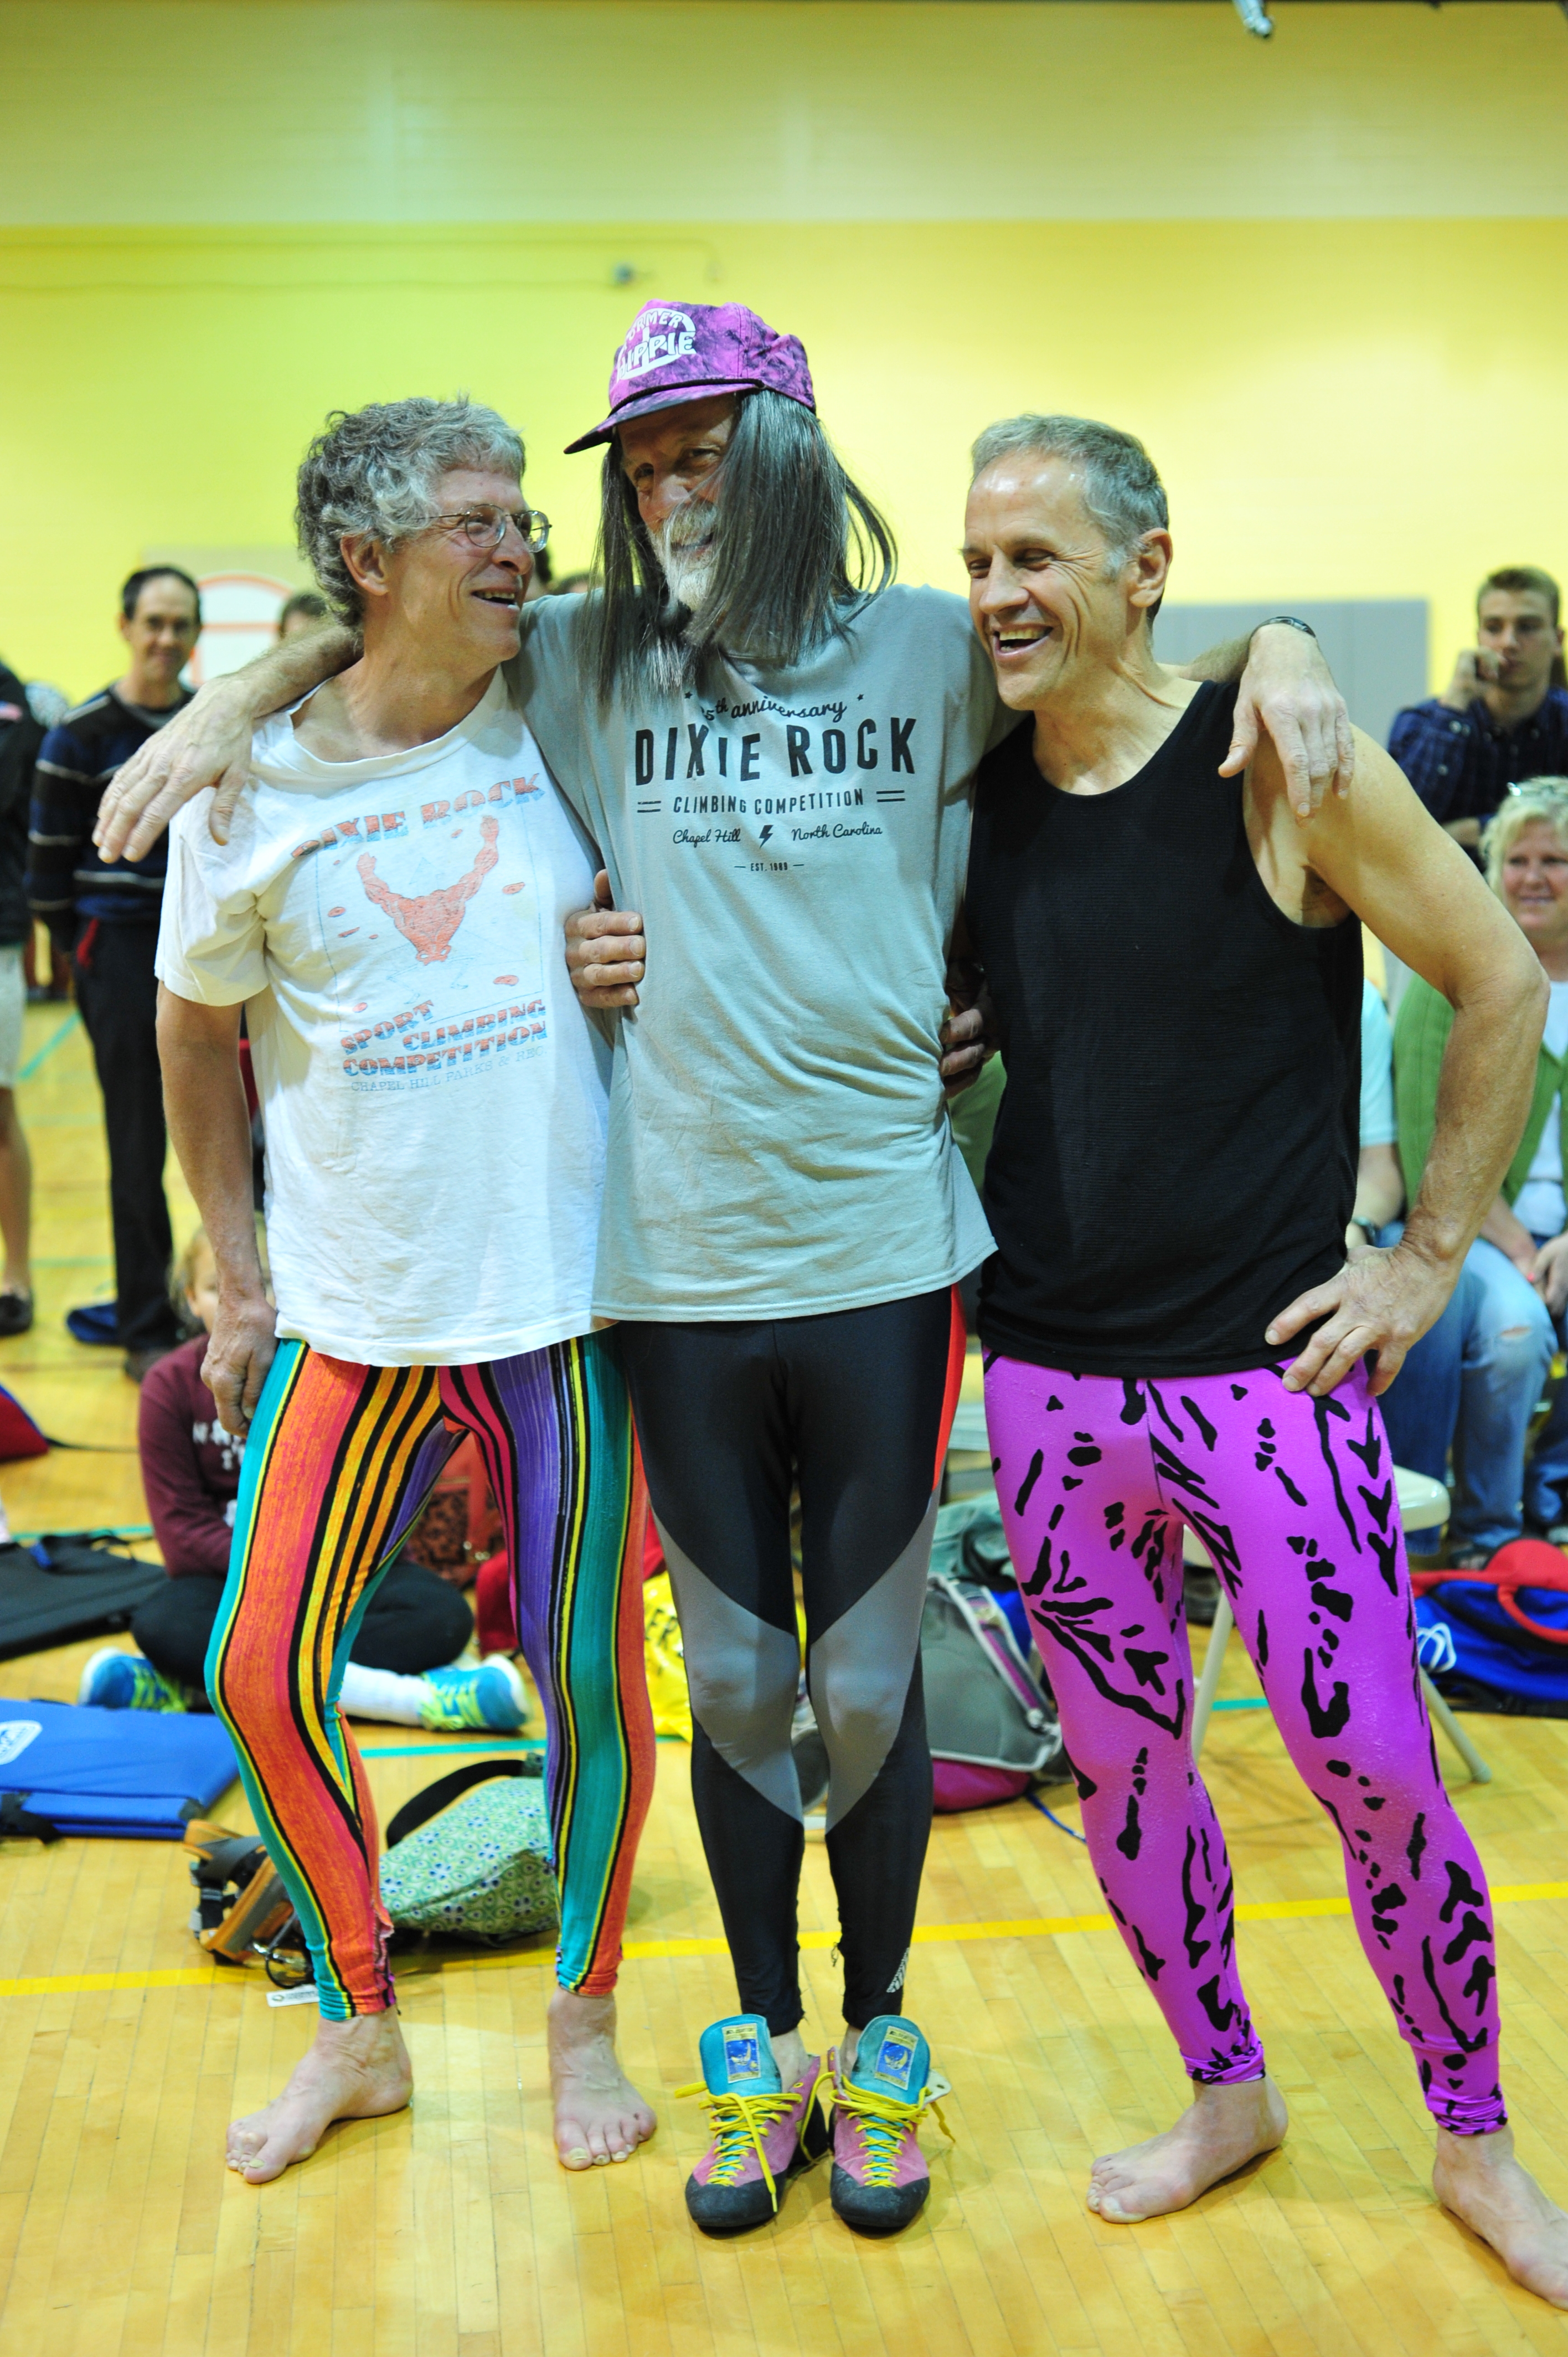
3 NC old-schoolers bringin’ back their cutting edge 80’s fashions at the Dixie Rock Climbing Comp last year…

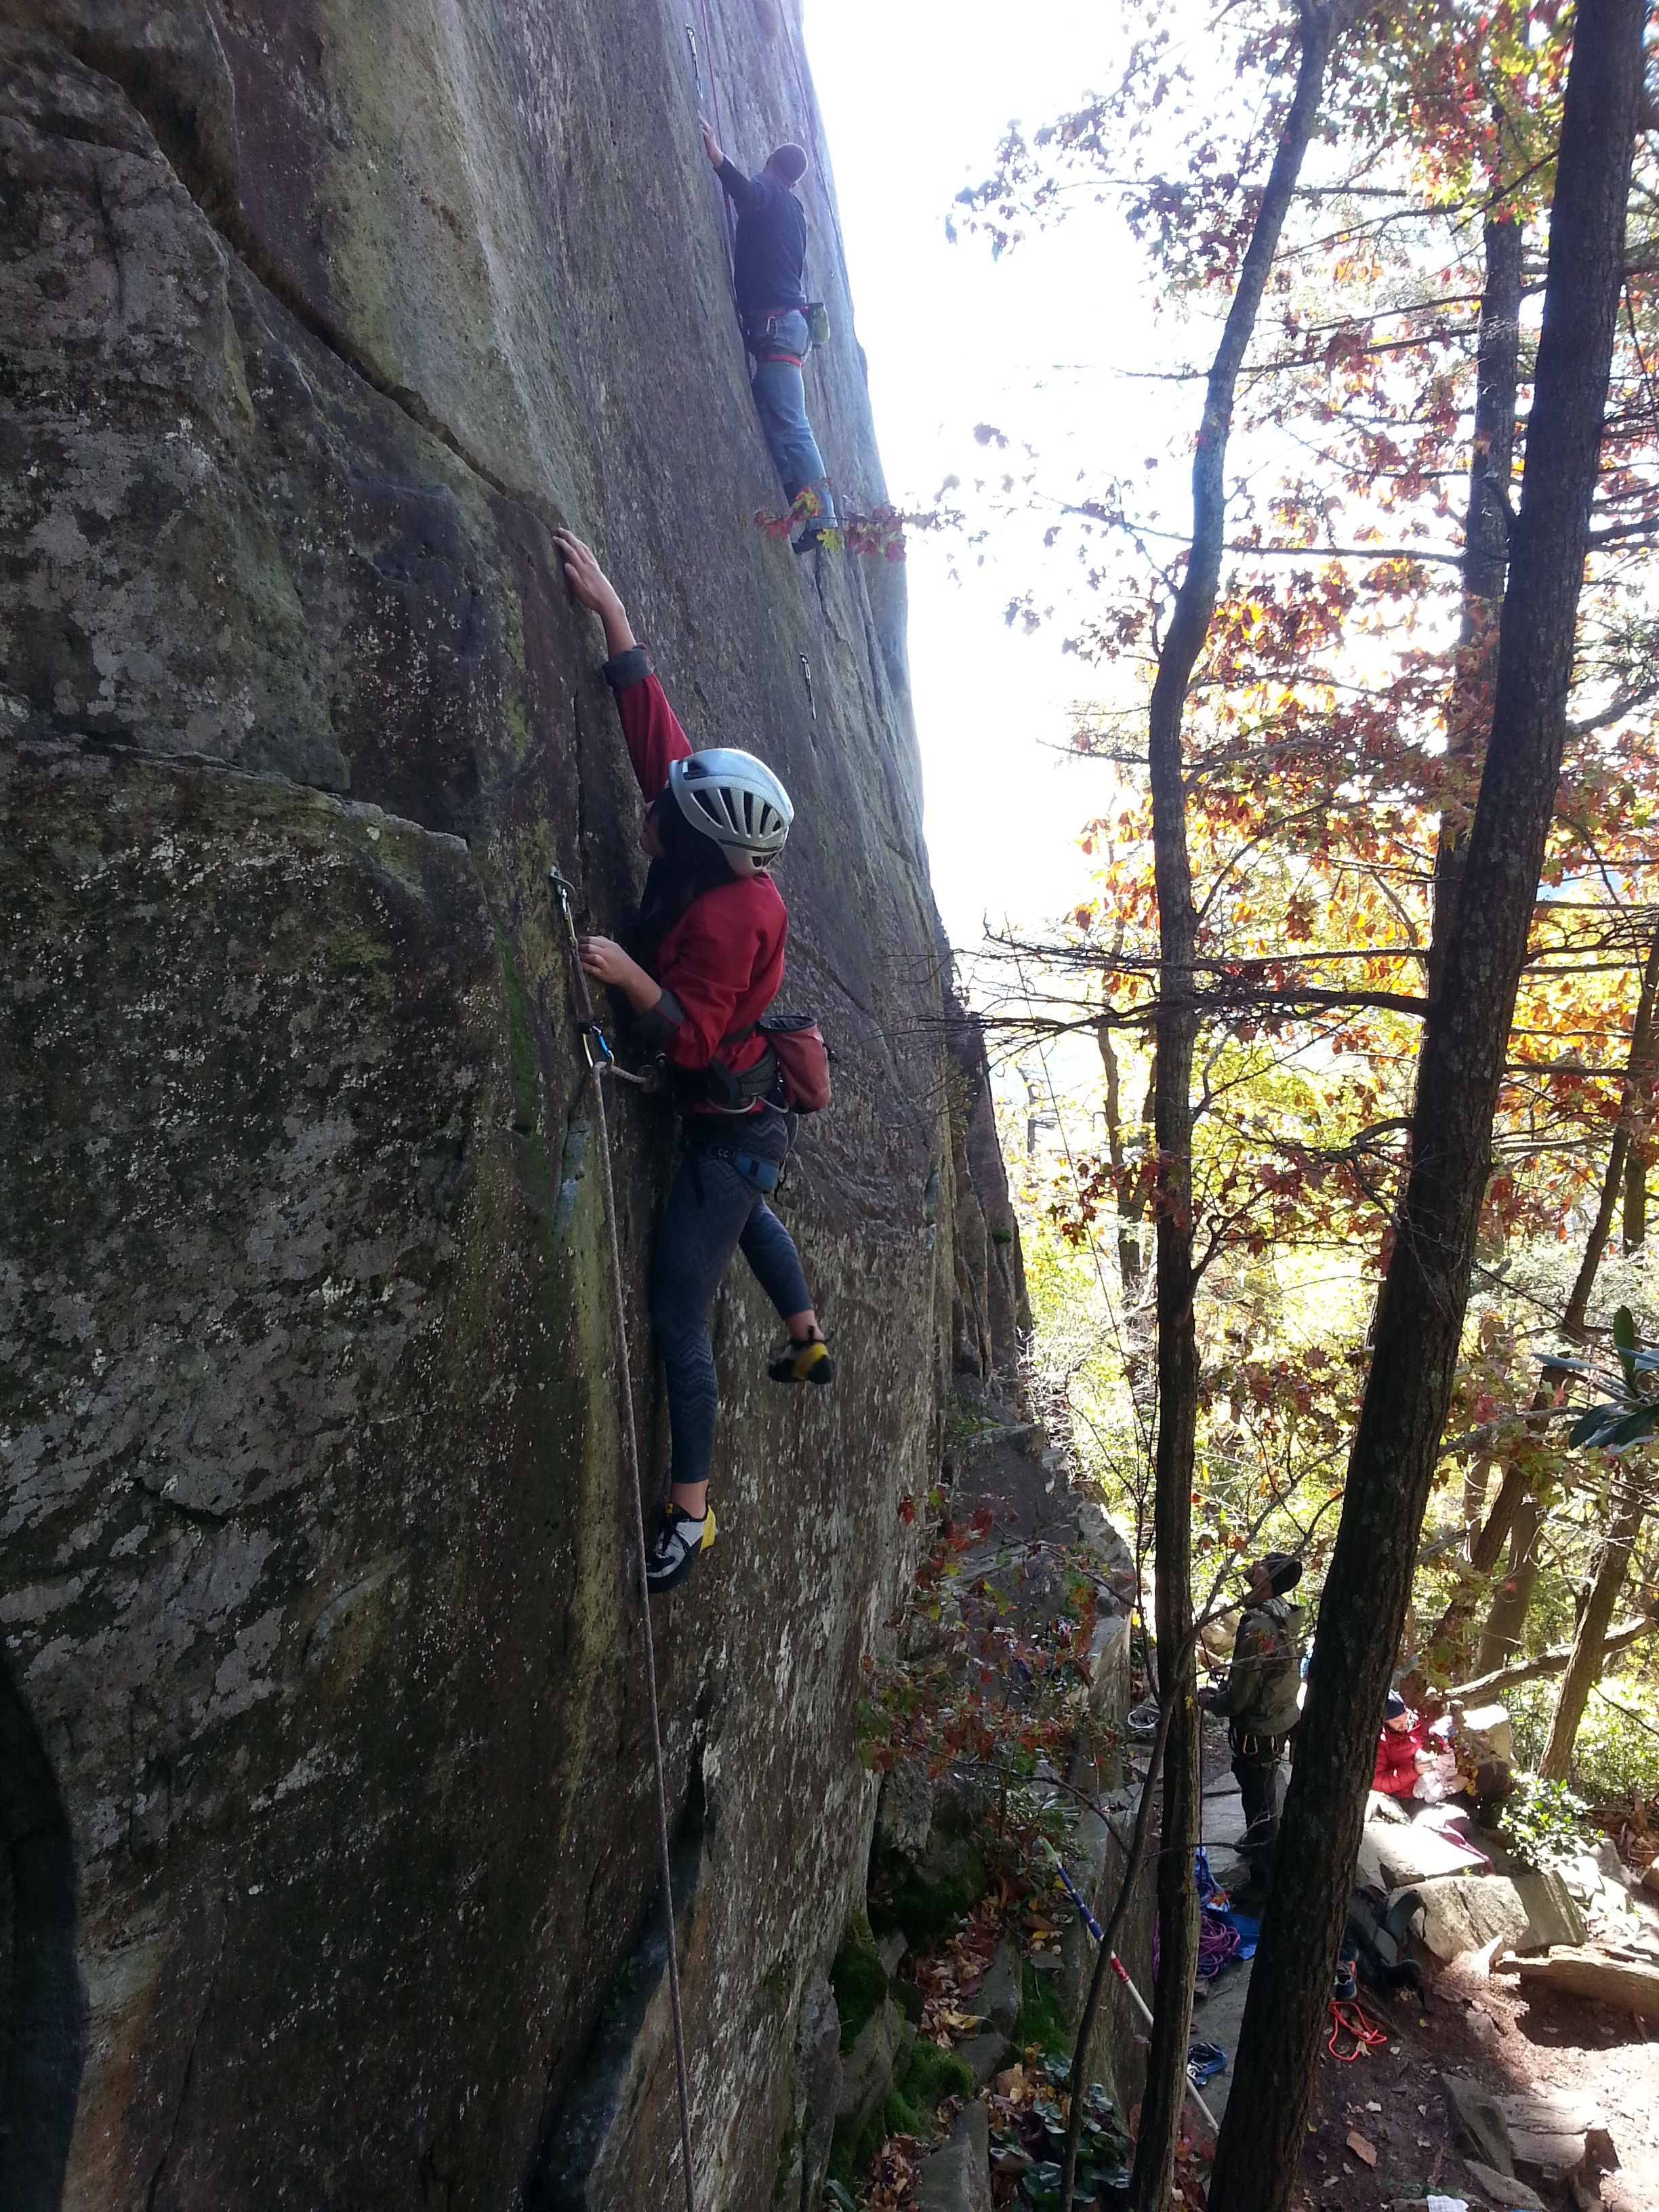
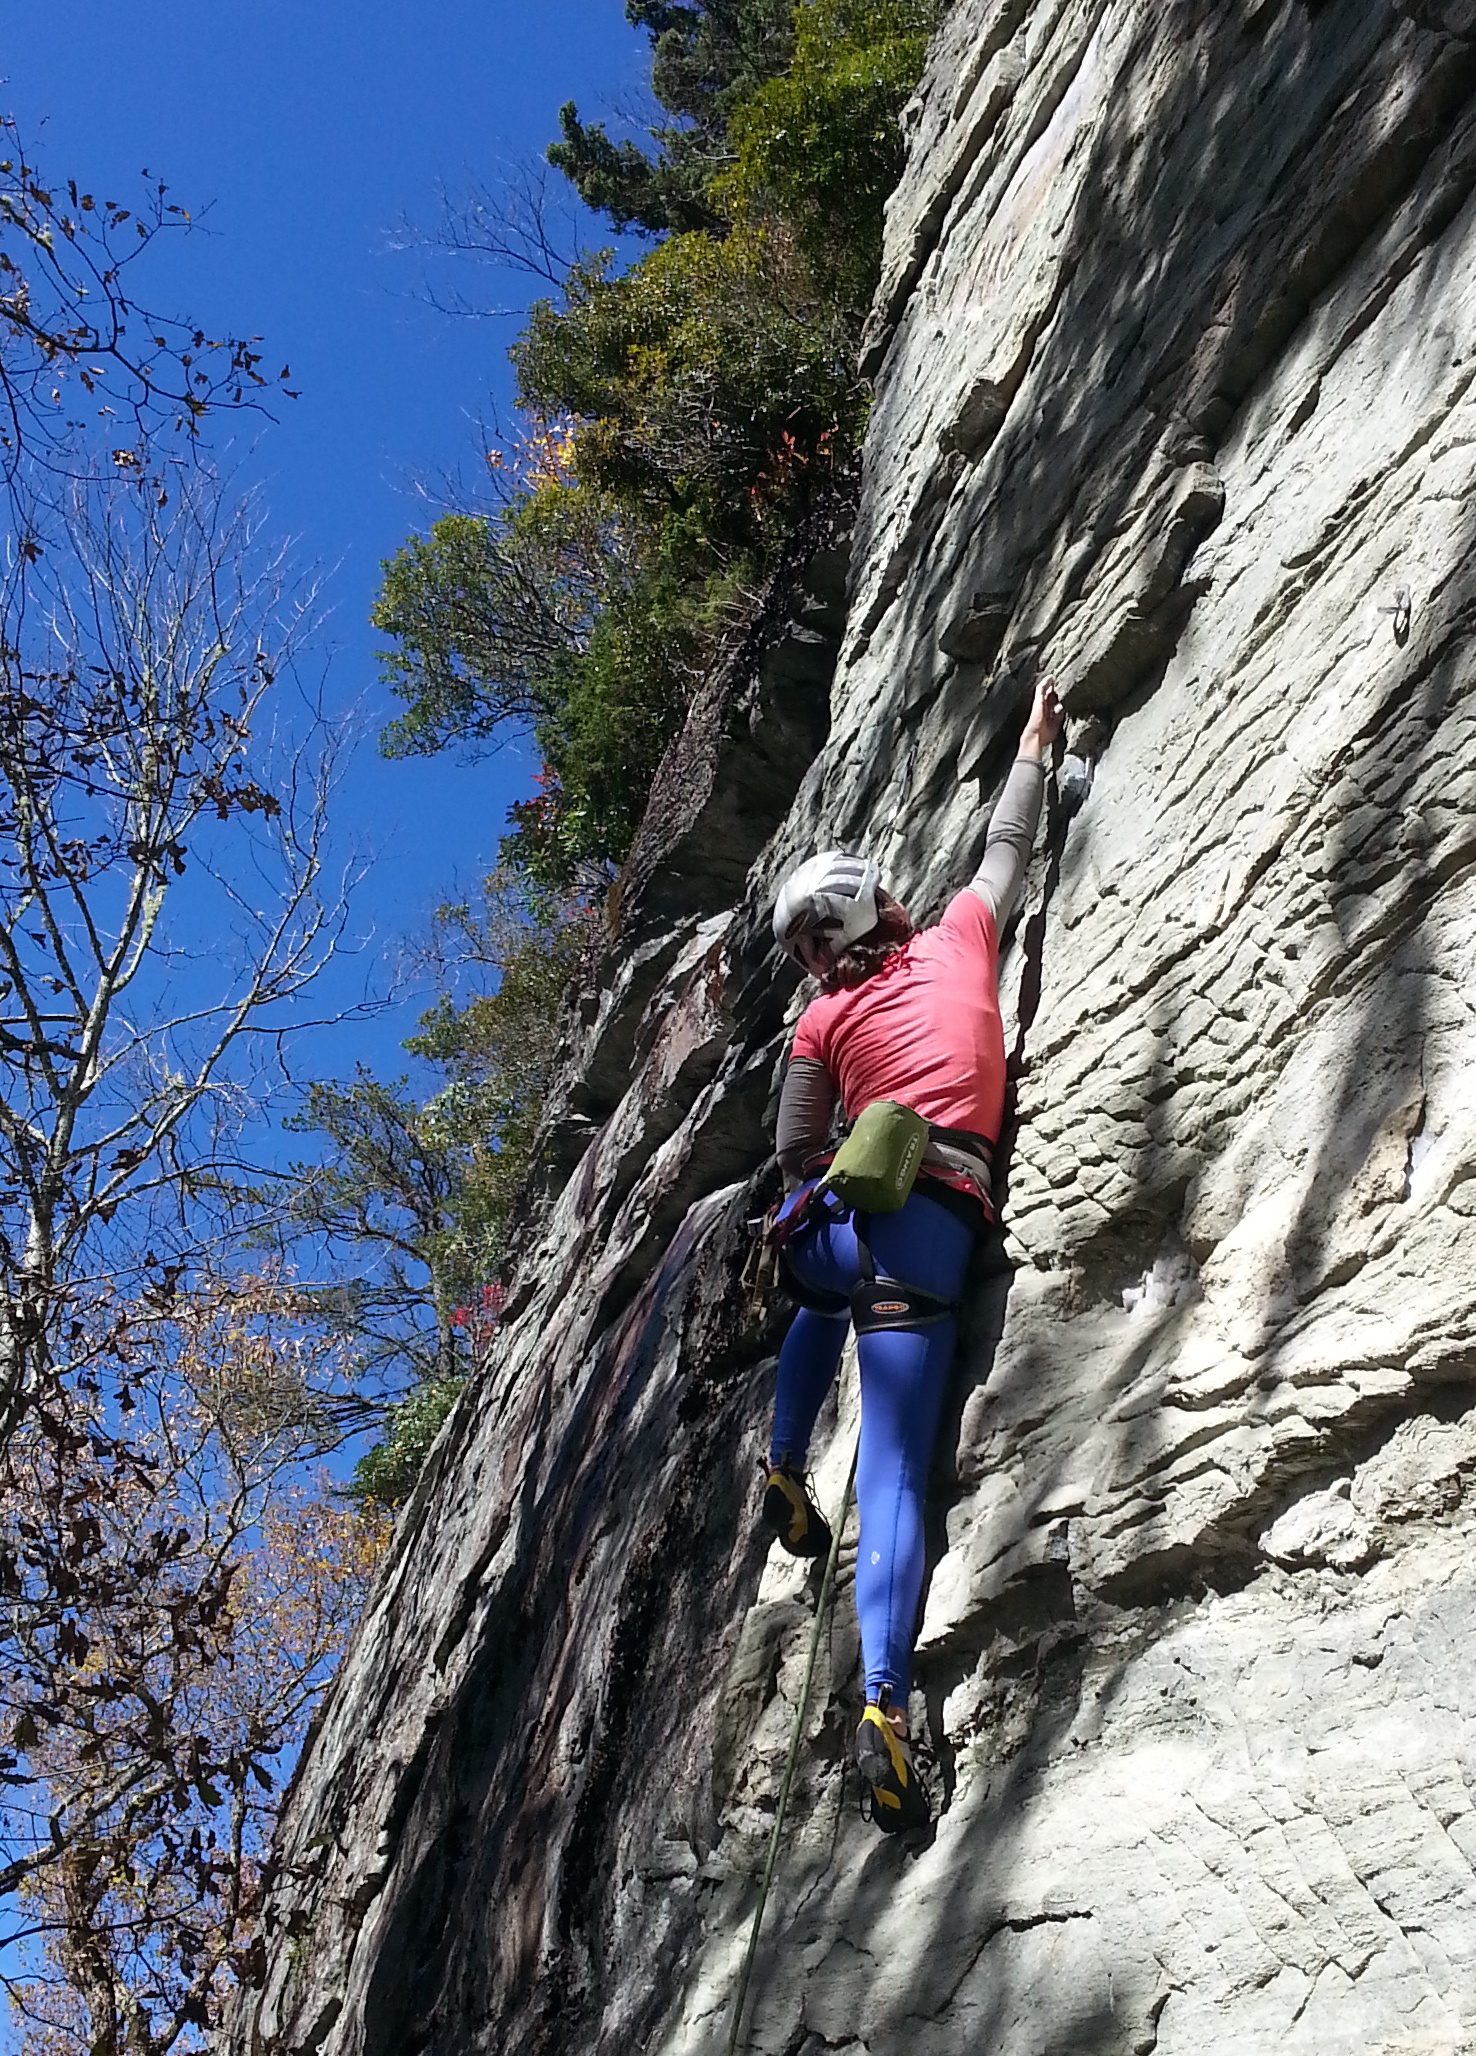
Unless you’ve been living under a rock for the past year or so, you have probably noticed a rather alarming cyclical trend when it comes to the latest women’s workout fashions.  As in…the 1980’s called and wants their spandex back?!?  As a climber, I can definitely dig it.  Look at any old school climbing pics and you will quickly realize that lycra was a way of life for the pioneers of our sport.  Tapping in to my inner 80’s childhood almost seems like a fitting homage to pay to my sport of choice.  That being said, I’ve been easing in to it a bit.  After all, just because you CAN wear something doesn’t necessarily mean you should.  I do realize that I am in fact a mom of 2, and what I can get away with wearing probably differs greatly from what a cute little high school student can.  So while I have thoroughly embraced the loud and obnoxious colors, I’ve kept the zany patterns a little more low key…for now anyway.

And at this point my workout wardrobe boasts a surprising amount of athletic tights (again), perfect for a review round-up!  I have tested items from 4 different brands – 2 dominating forces in women’s workout wear (Athleta and Stonewear Designs), a company new on the scene (Ellie), and an oldie but goodie when it comes to clothes on the cheap (Old Navy.)  Some were purchased by me, others were given to me for review purposes…but ALL will be highlighted in this post with my honest and unbiased opinion. (And one is even offering a discount code for Cragmama readers!!!)

I have ranked each brand with 1-5 stars in six different areas (1 being awful, 2 being awesome).  I have also highlighted a few standout features of each specific tight.

tights3

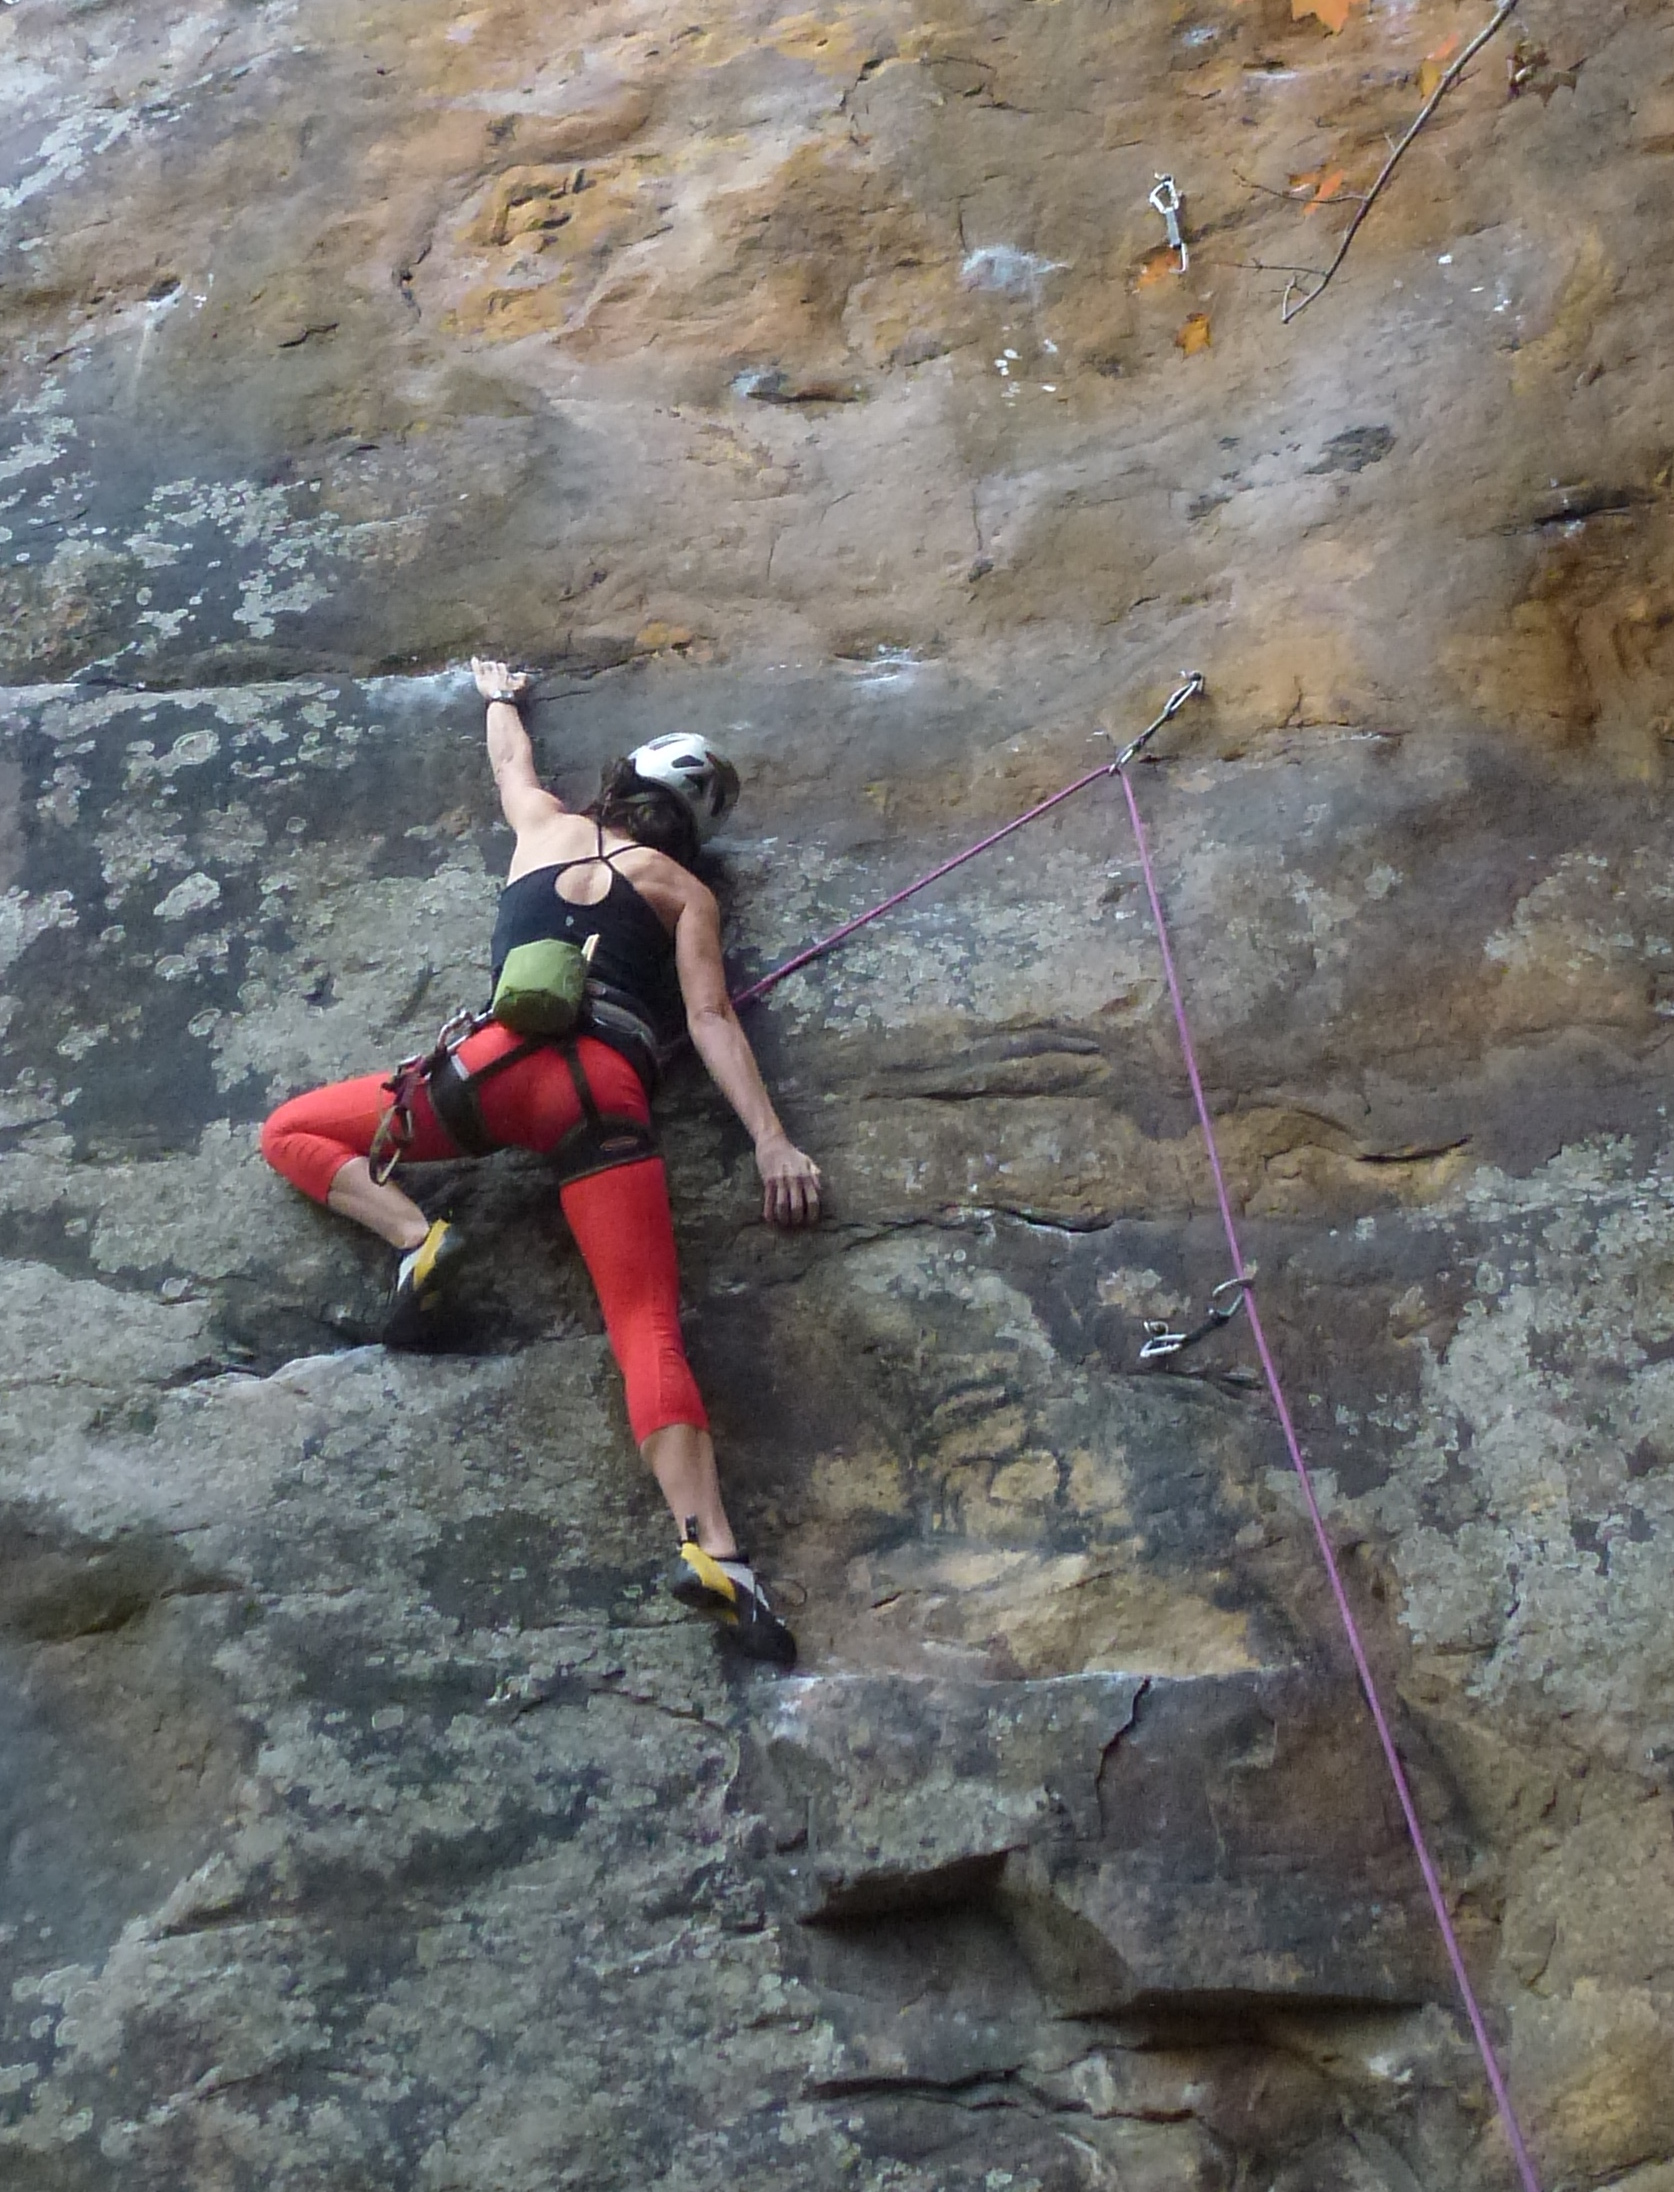
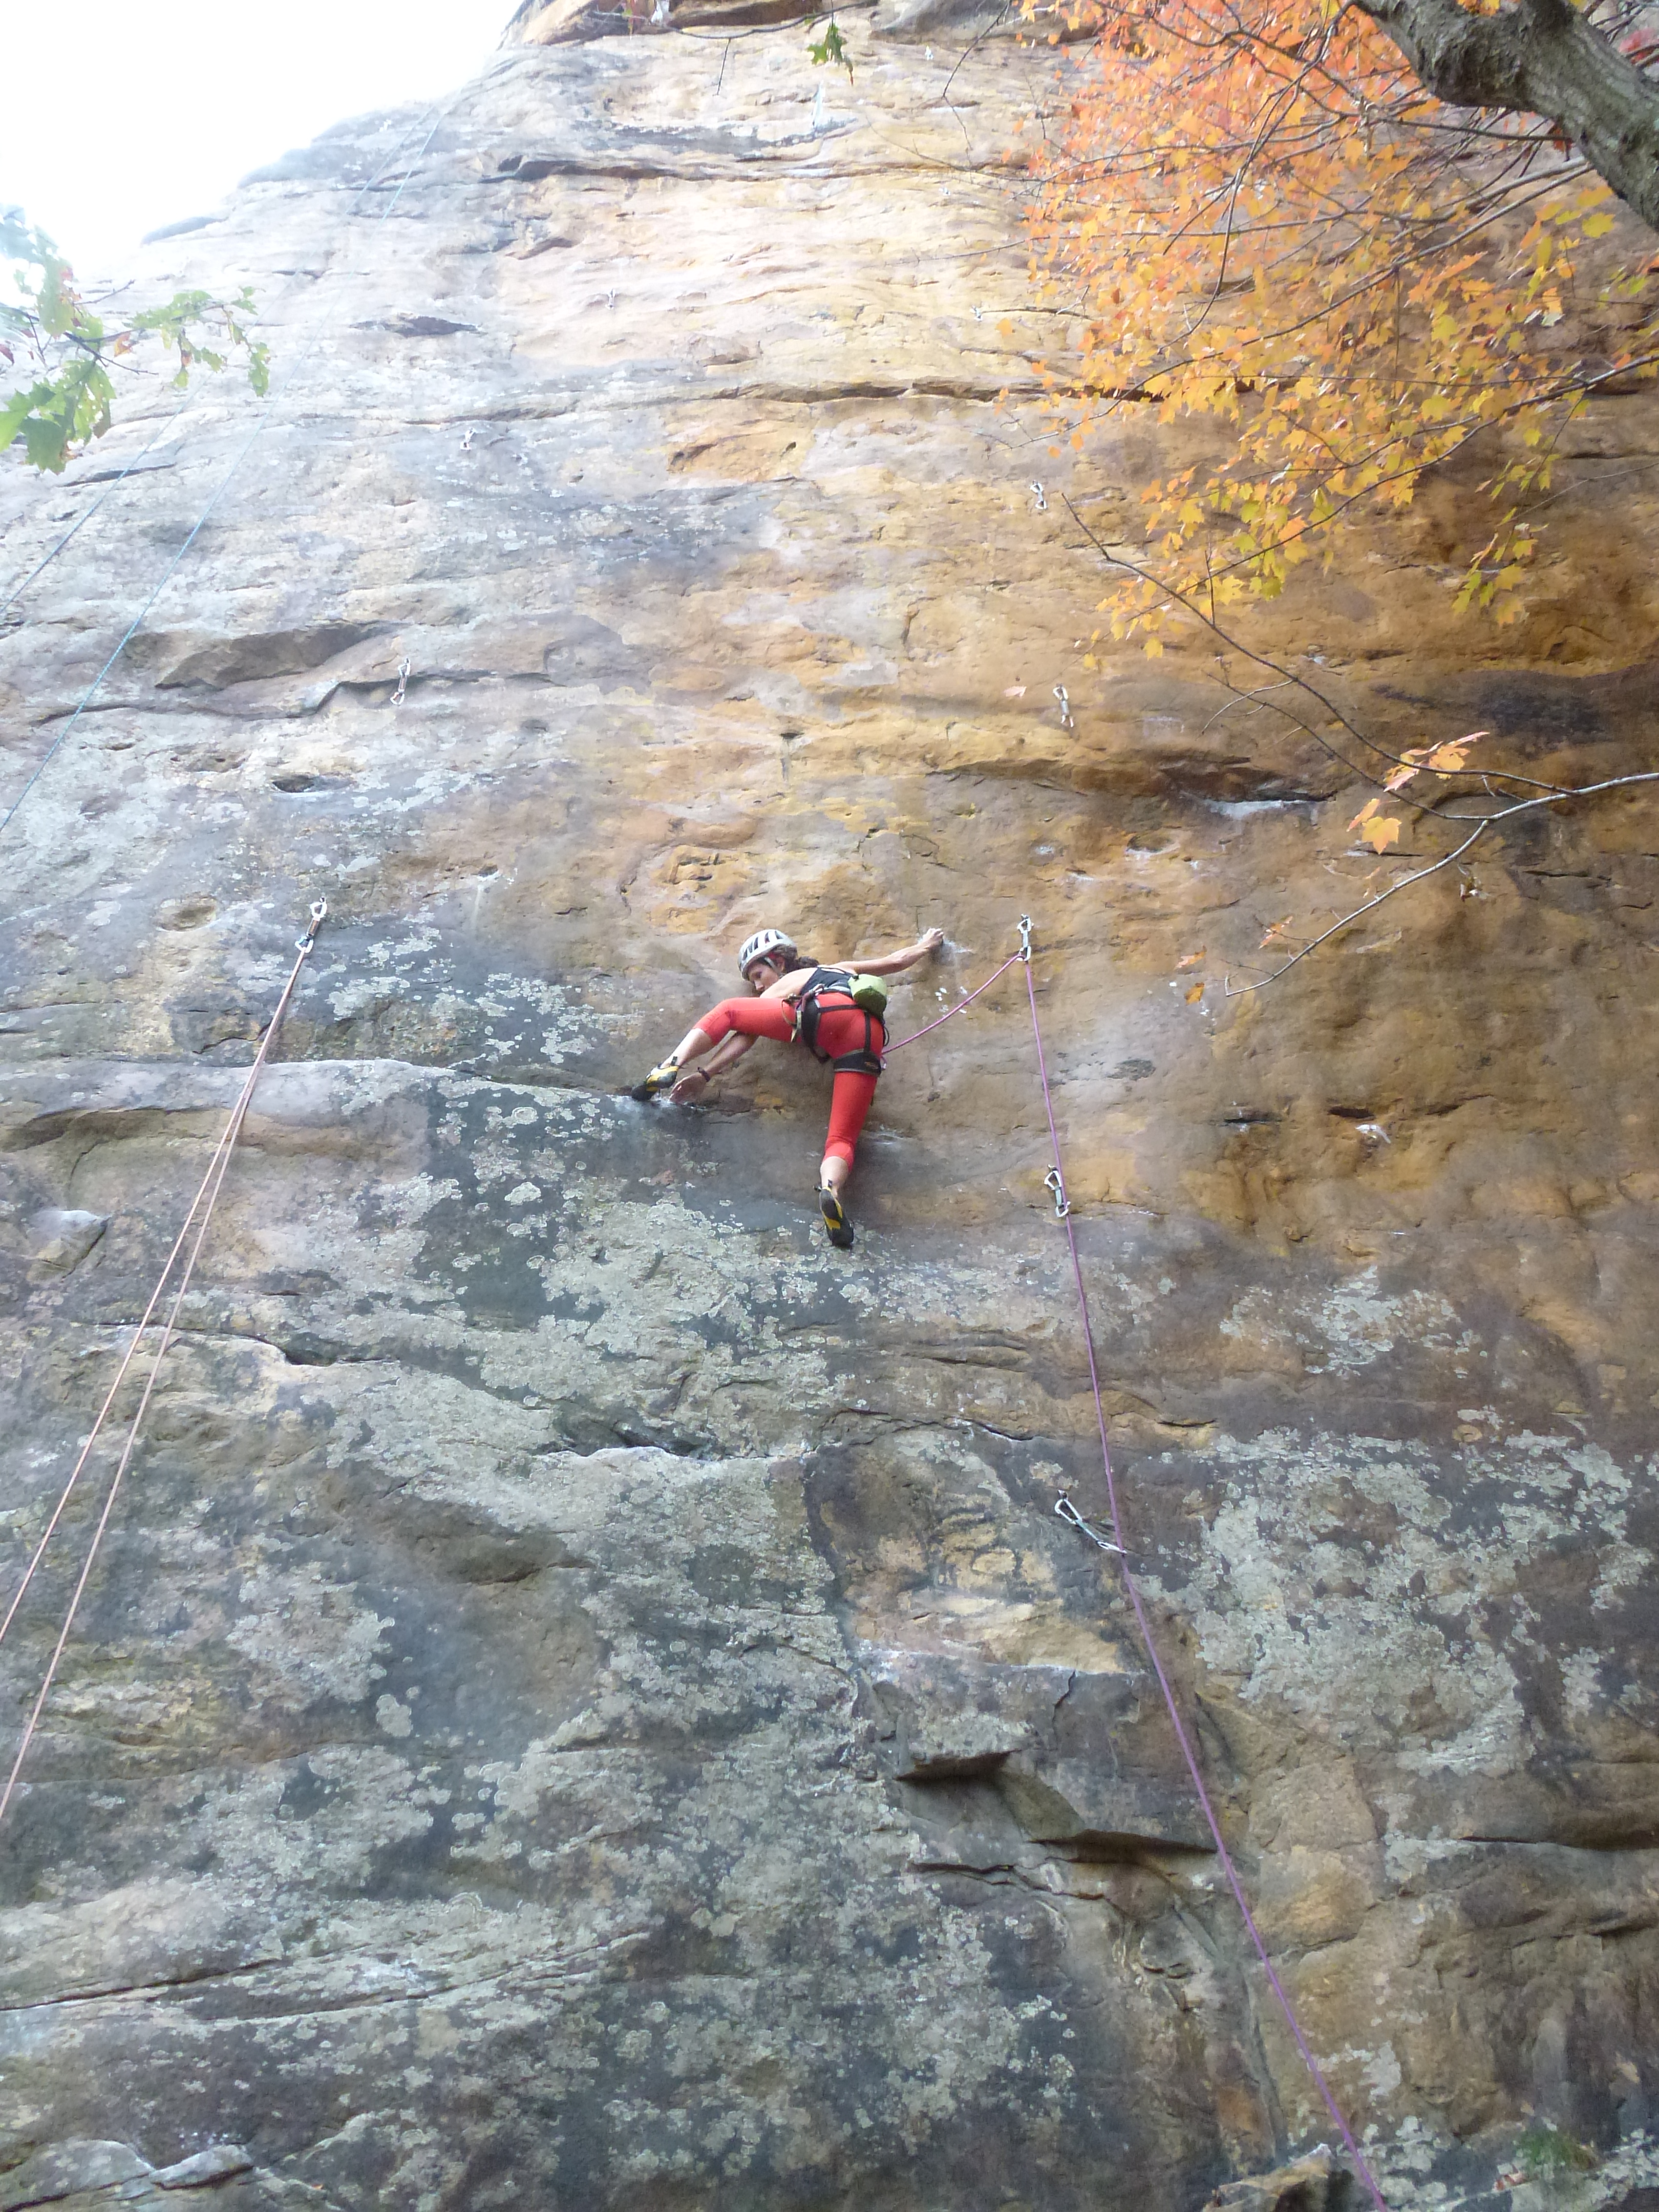
 Athleta Balance Capri (Retail price: $79)
AVAILABLE COLORS/PATTERNS: 5
PRICE: 2
VERSATILITY:  4
FIT/COMFORT:  5
FABRIC:  4
DURABILITY: 5

As a former athlete for this company back in 2012, I’ve got enough Athleta clothes to open up a small store.  (And even 2 years later, most of the pieces are still worn on the regular.) The Balance Capri is one of dozens of different offerings in workout tights from Athleta.  I chose these in particular because I loved the bright red color! Like many other Athleta products, the Balance is made out of Pilayo, which is a signature Athleta fabric that is comfortable, durable, and wicking.   This fabric can meet all of your workout needs – great in an indoor gym setting, but tough enough to withstand climbing outdoors.  It’s flattering when worn alone, or comfortable as a baselayer.  These clothes are the most expensive of the bunch, but because they swap out colors so often, it’s usually pretty easy to score a bargain on the previous season’s styles (or at least get the price down to what a normal person would pay…)

Stonewear Designs Sprinter Tight

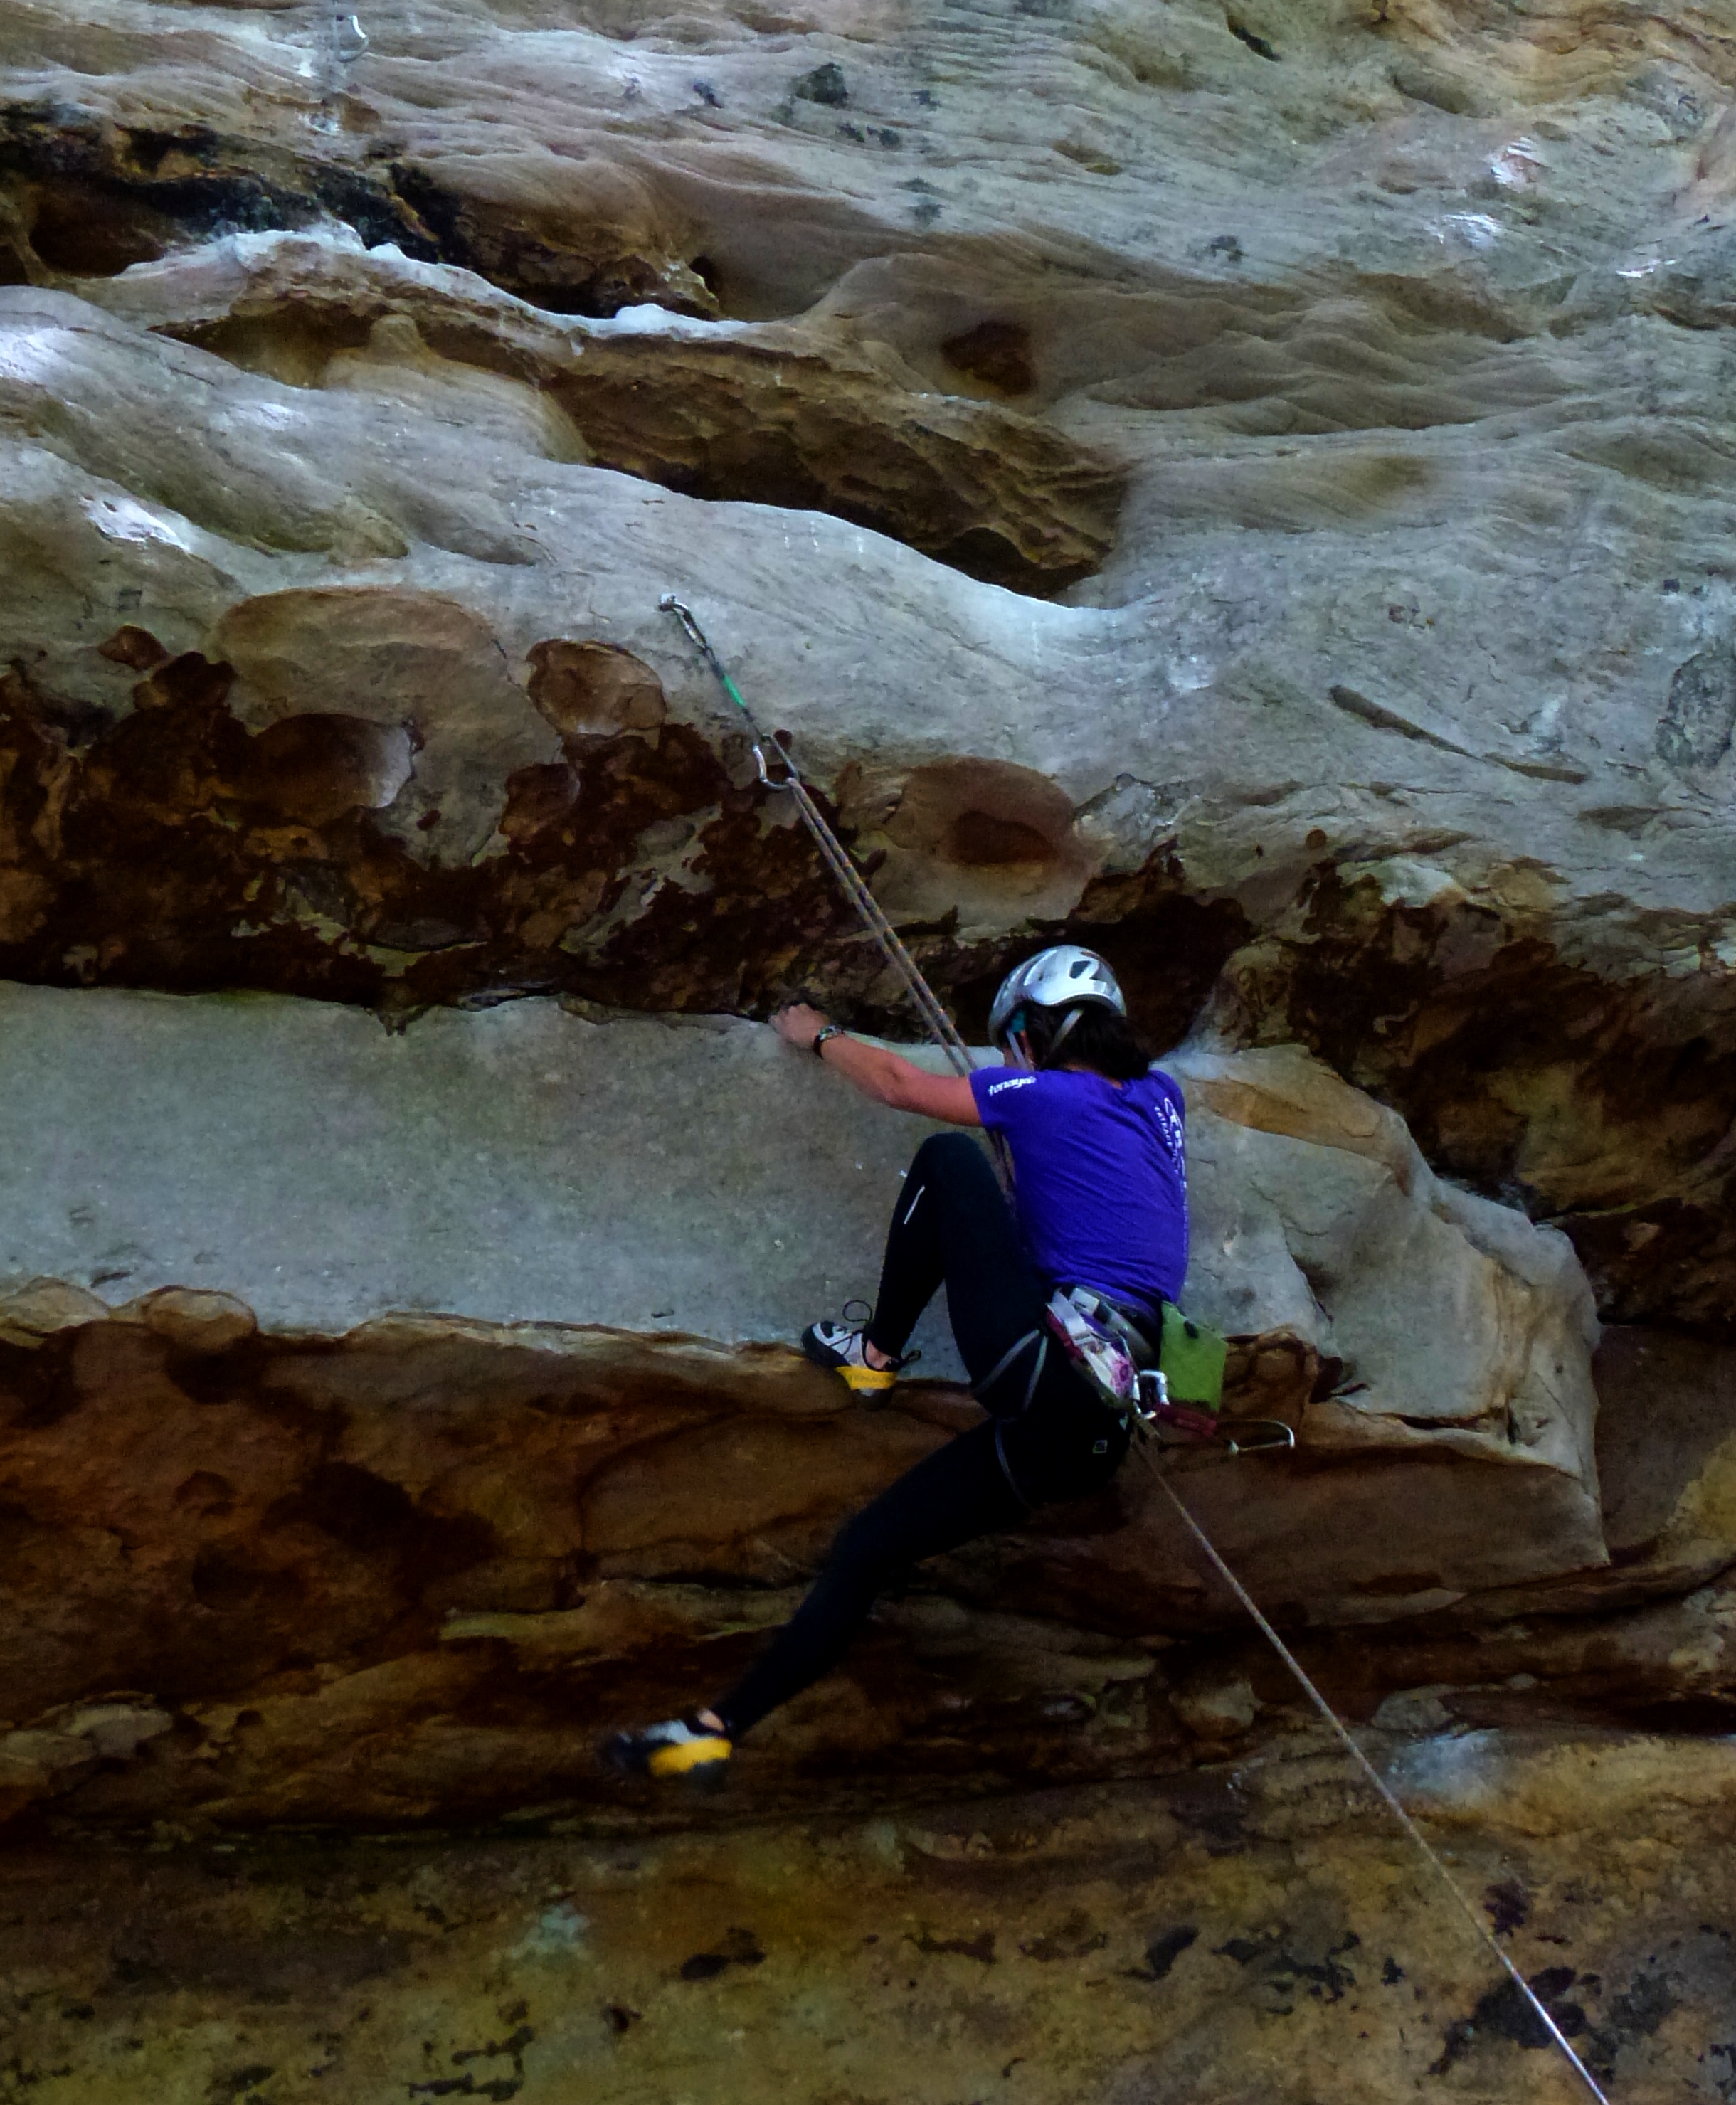
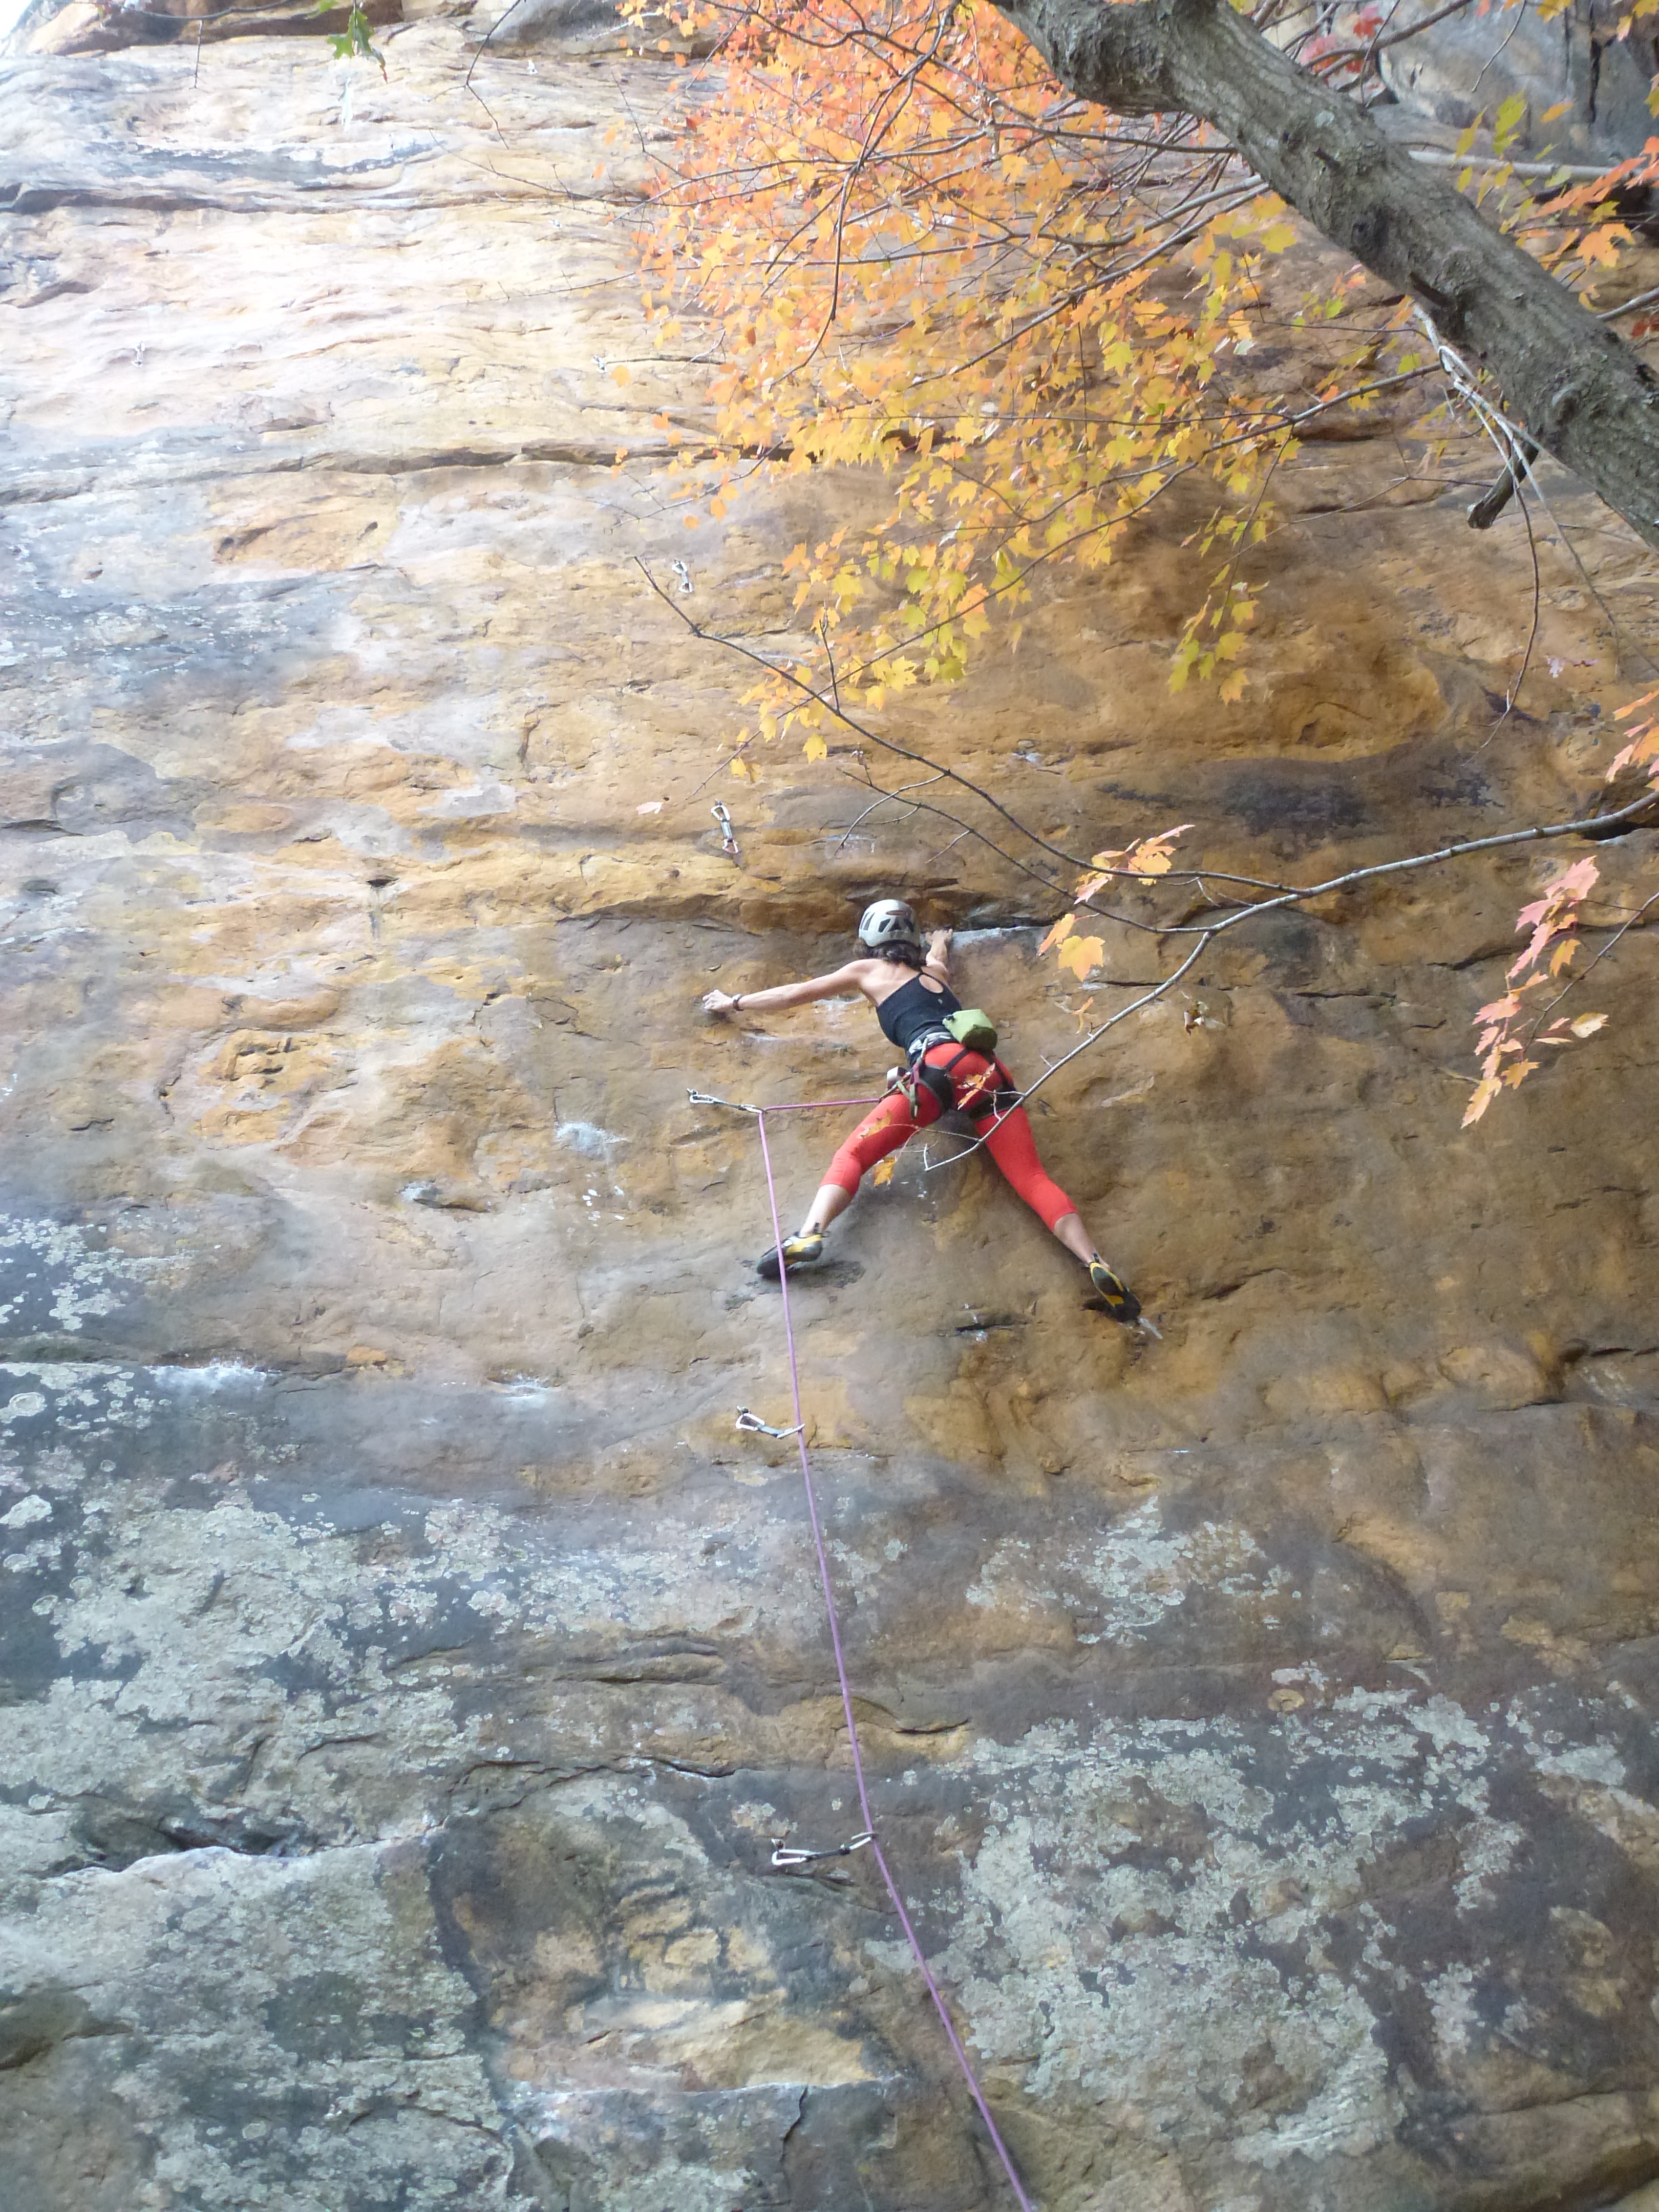
Stonewear Designs Sprinter Tight (Retail price: $79)
AVAILABLE COLORS/PATTERNS: 2
PRICE: 3
VERSATILITY:  5
FIT/COMFORT: 5
FABRIC: 5
DURABILITY: 5

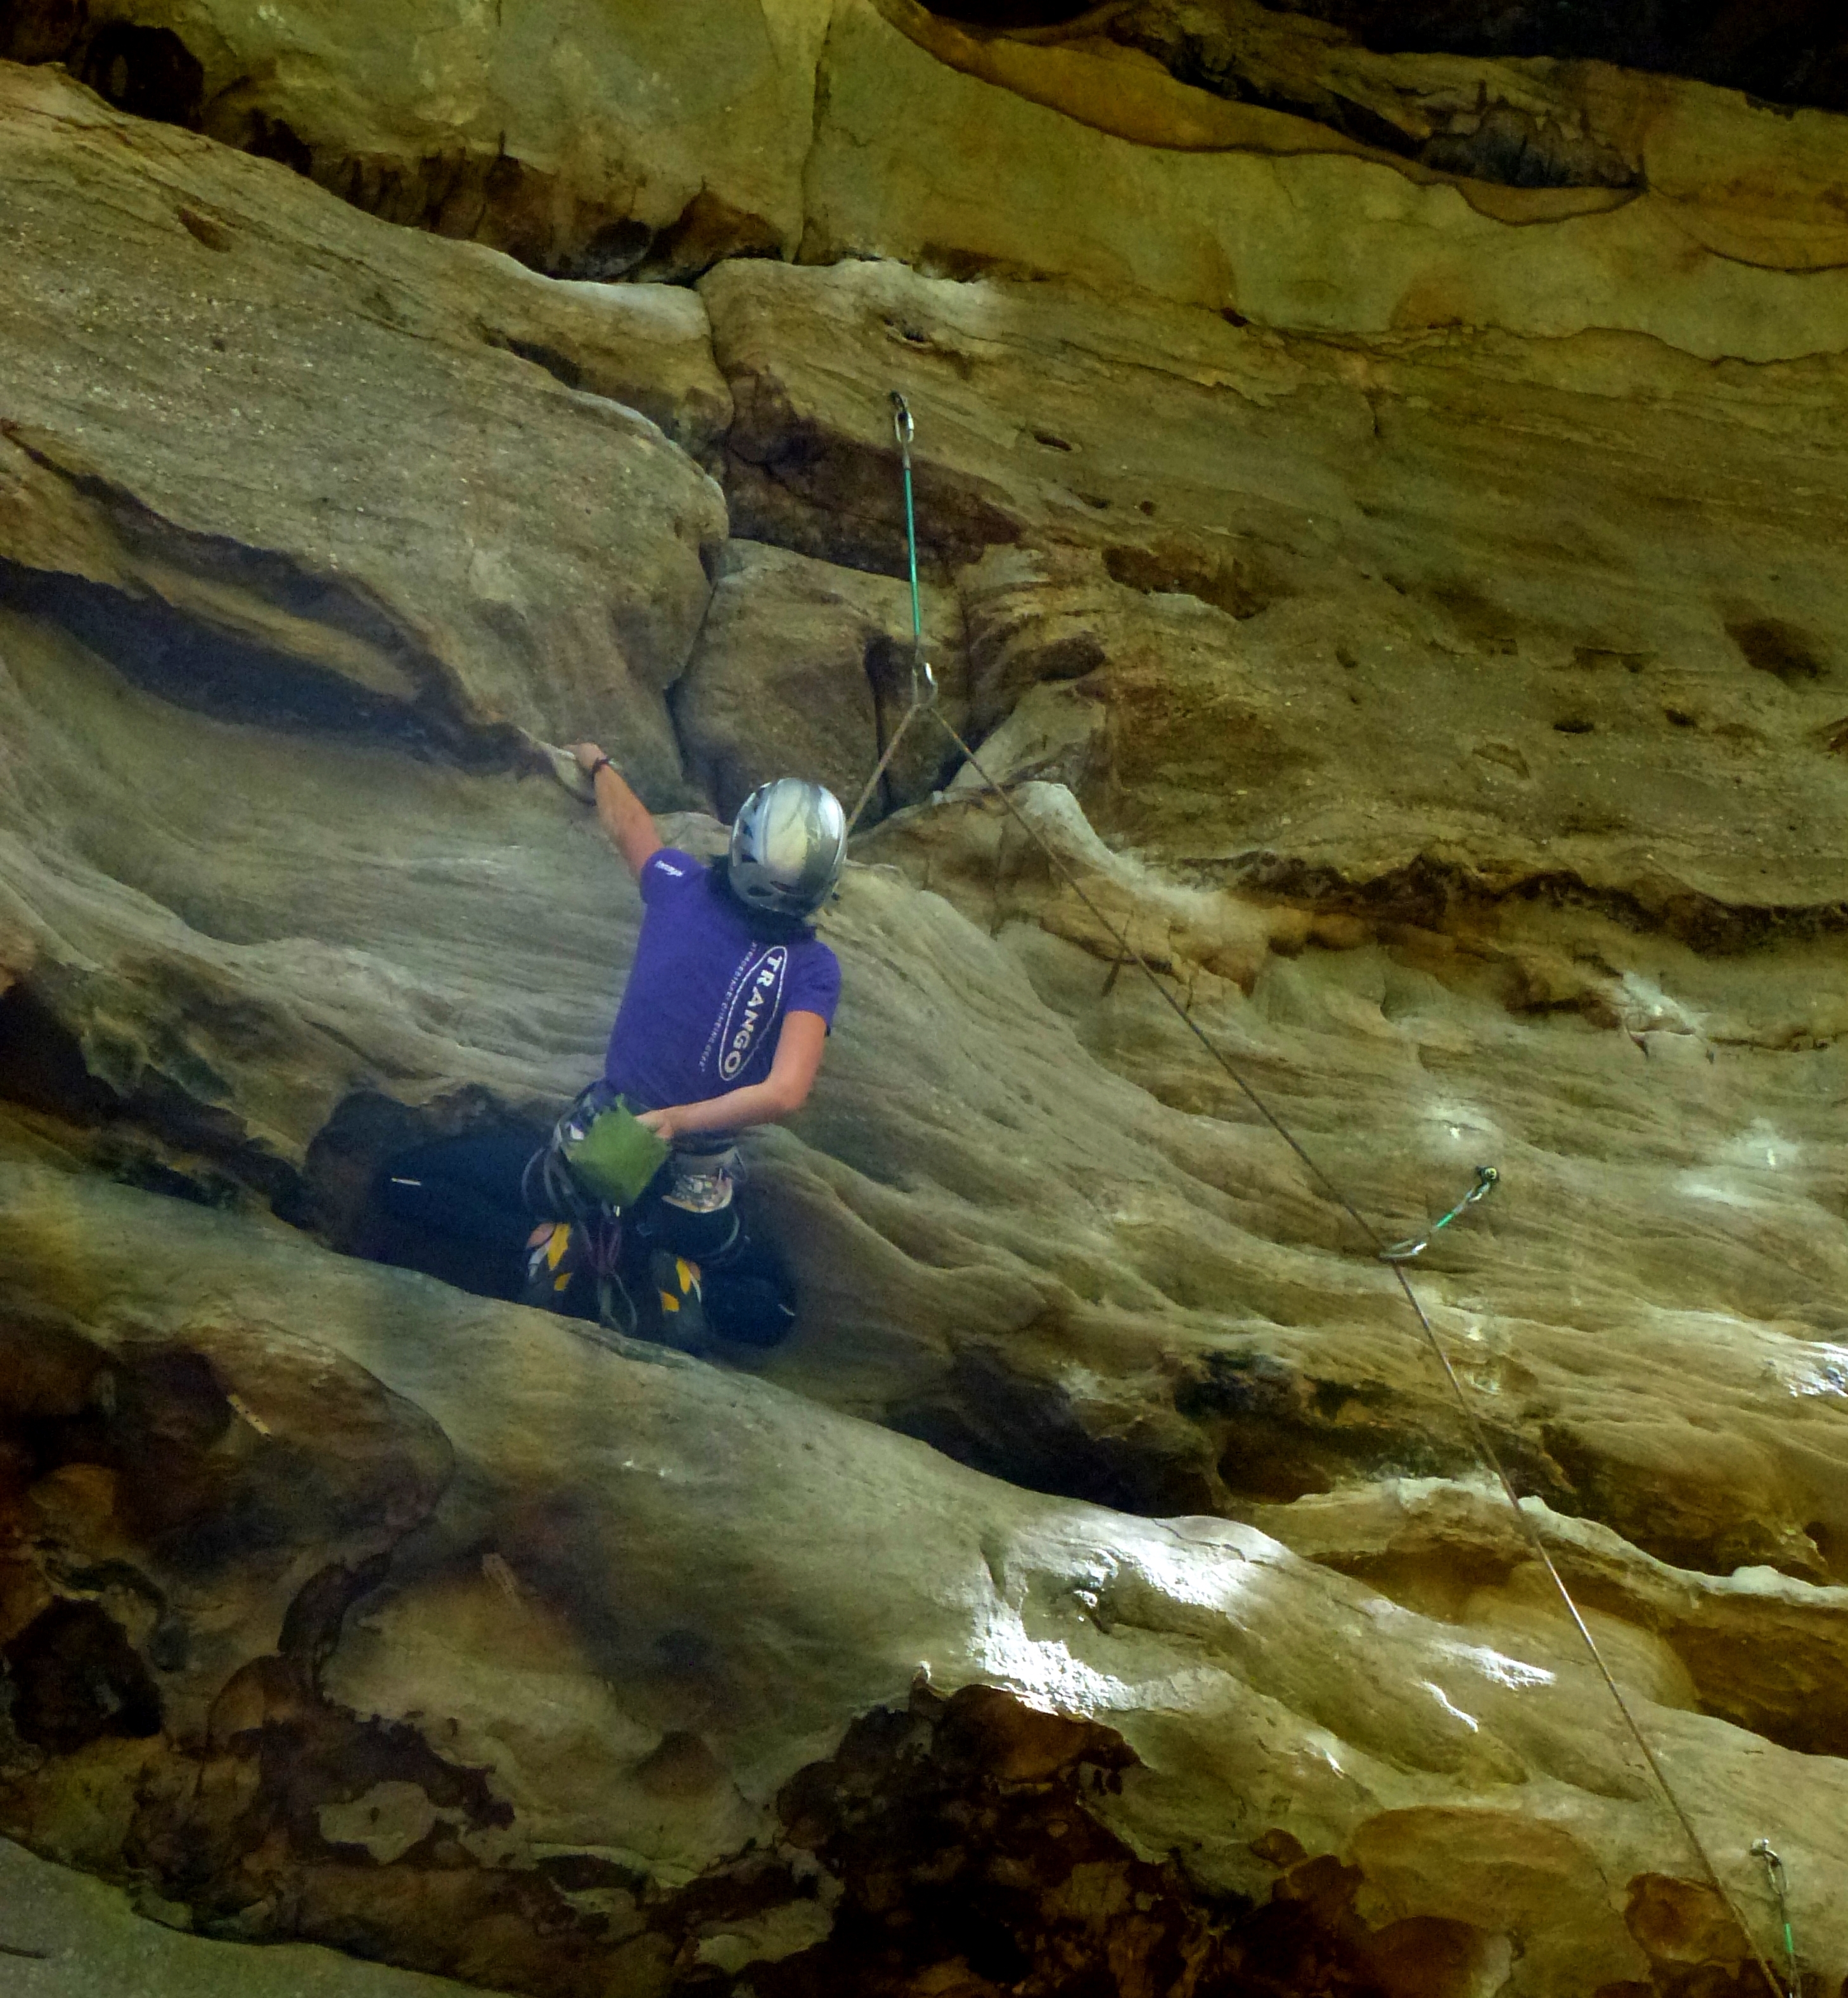
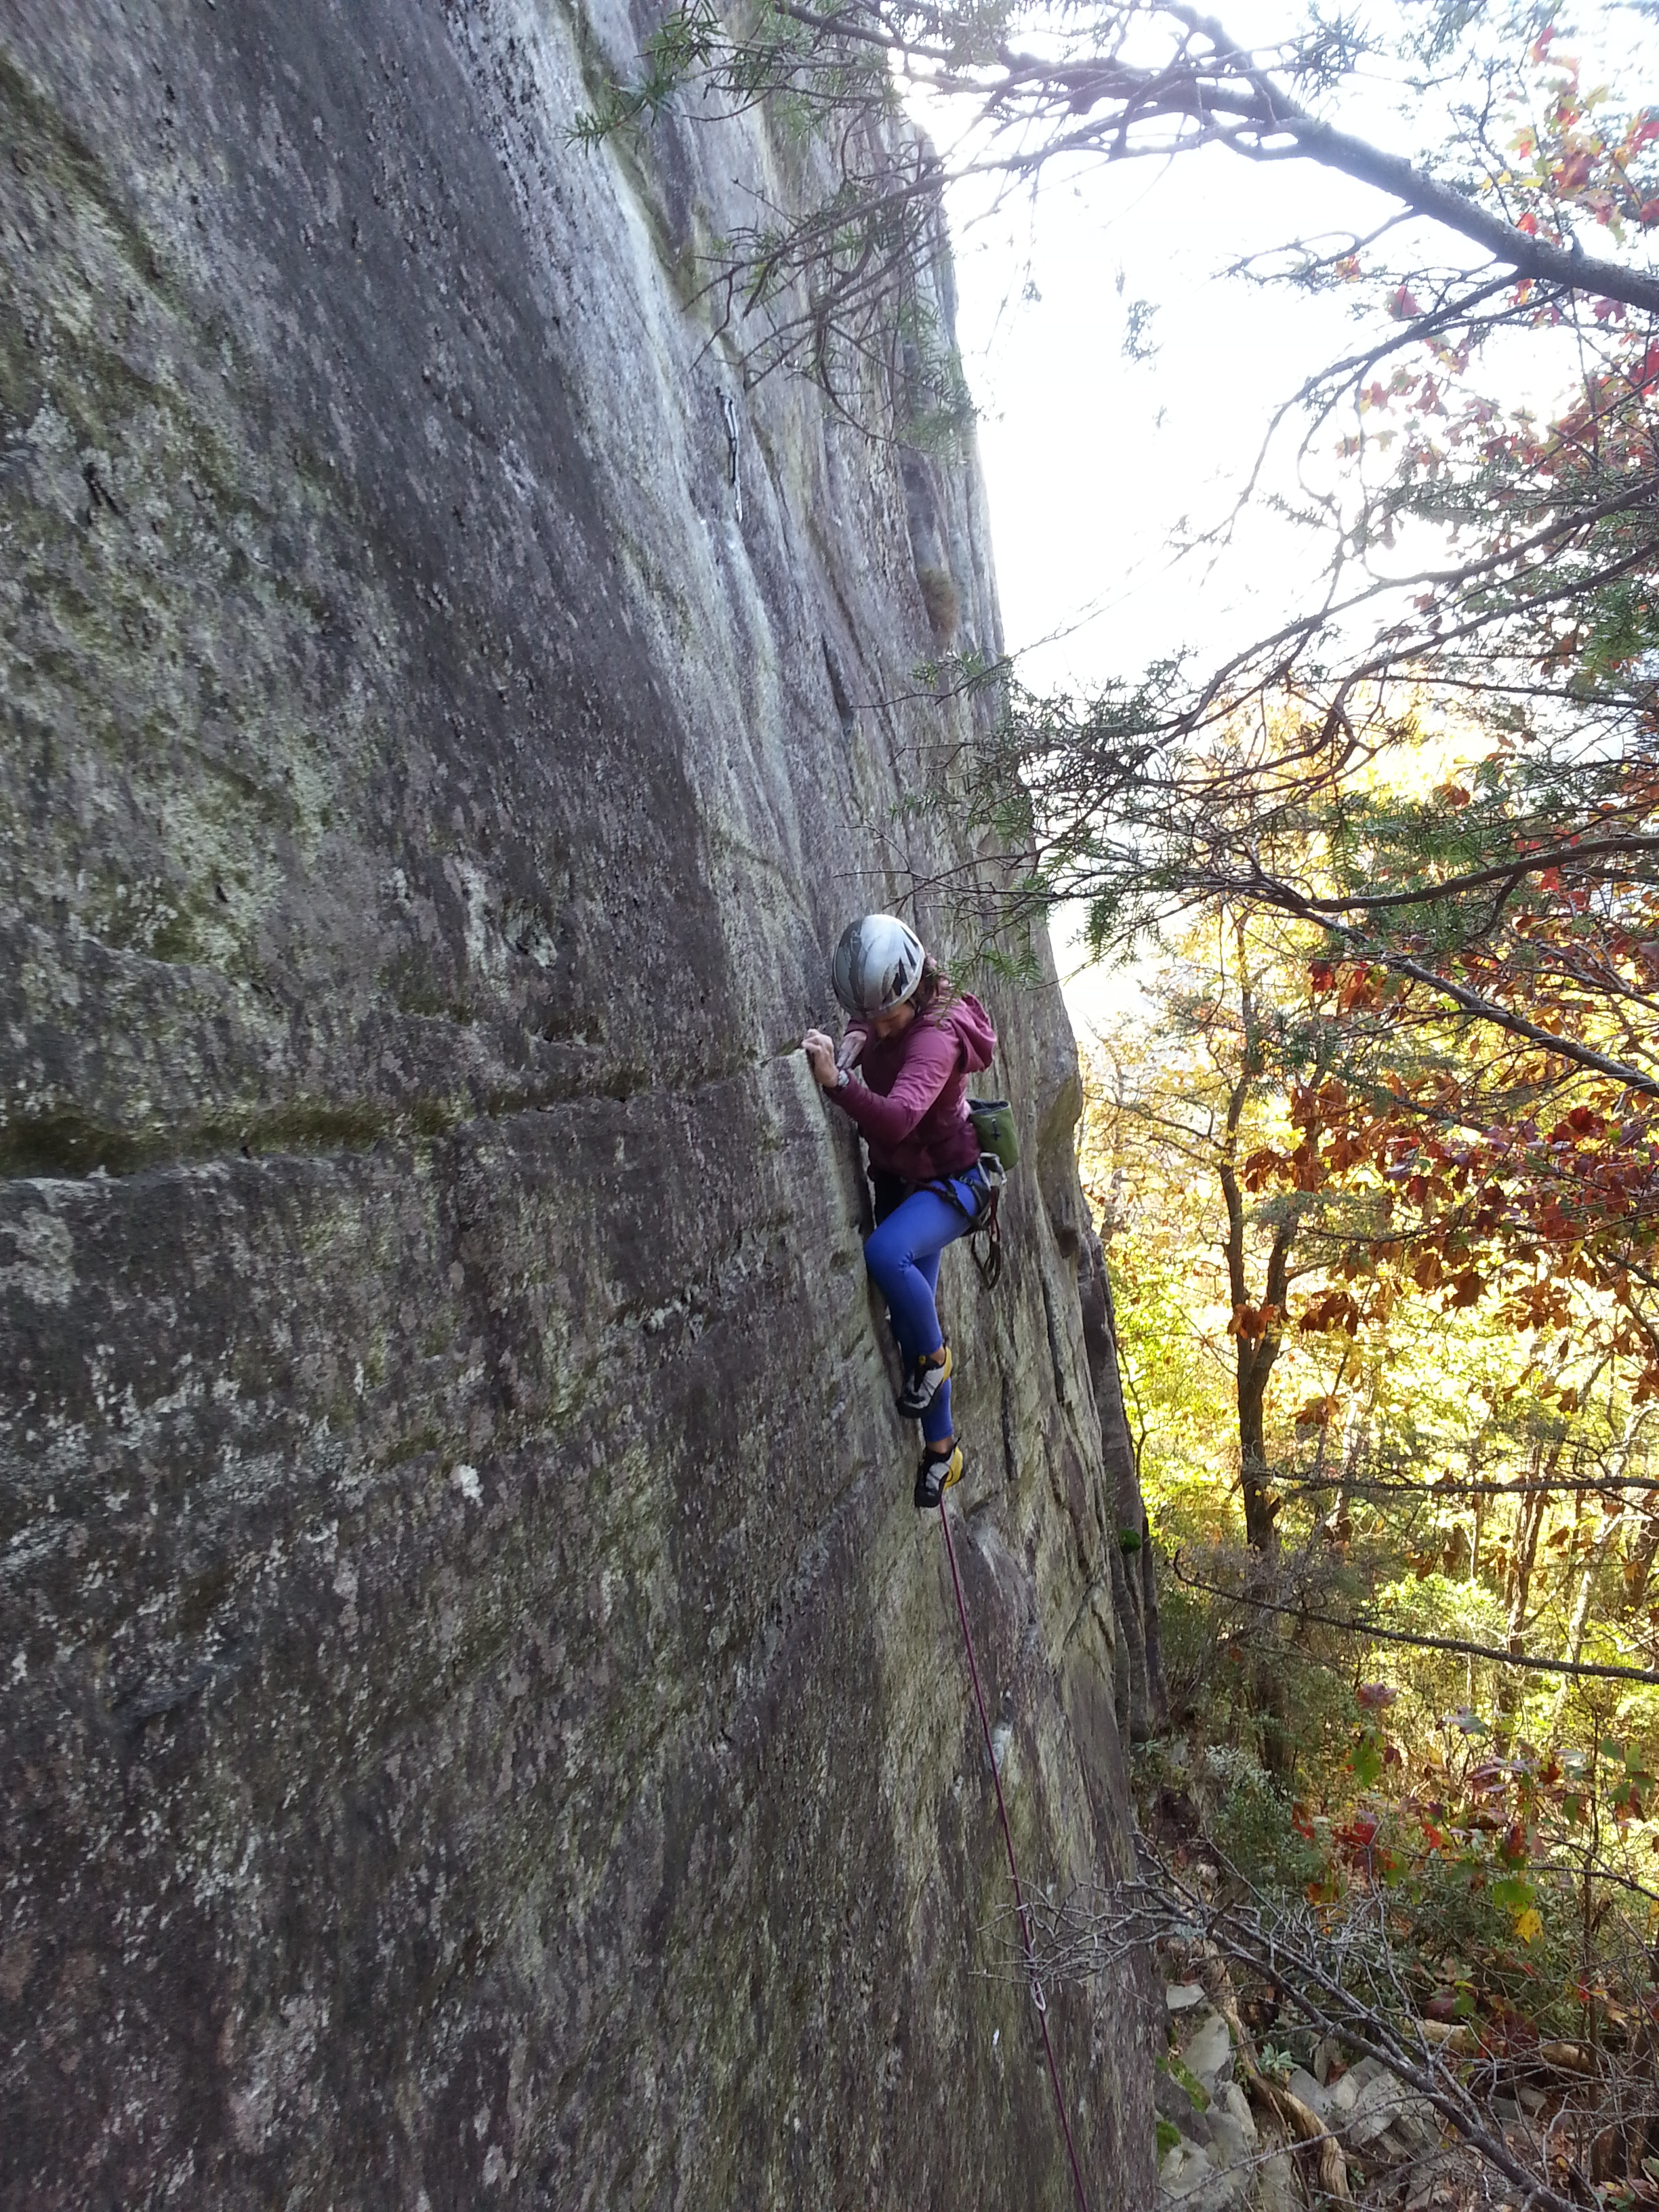
Stonewear is another company that I have worked with in a sponsorship role (2013.)  (And another brand that I still wear almost on the daily! )  As with most SWD items, versatility is a huge selling point with the Sprinter Tights. This tight can handle any workout you throw at it, running, yoga, climbing…and then still look hip under a flowy top when you meet friends for dinner later!  The ruching at the bottom adds a little bit of flair, and a reflective strip adds visibility for dusk/dawn workouts.  The fabric is so luxurious and ridiculously comfortable and stretchy – and even though it’s not terribly thick, I was surprised at how well it holds up – no signs of wear and tear even after cranking out double knee bars on a classic Cotton Top route a few weeks ago! The only downside I see is that it only comes in black.

Ellie Tone and Awaken Leggings

Ellie Tone and Awaken Leggings (Retail price: $44.95)
AVAILABLE COLORS/PATTERNS: 5
PRICE:  4
VERSATILITY: 4
FIT/COMFORT: 4
FABRIC: 4
DURABILITY: 4

Ellie is a new company that incorporates trendy, mod-style fashions in to their workout wear.  The best part of these tights was the value – a high quality product at a lower price than competitors.  The fabric was not quite as comfy or smooth as the Athleta or SWD styles, but was still very high quality.  Other than getting a little fuzzy at the seams from rock abrasion, these tights have proven to be very durable, and passed the sheer “down-dog test” with flying colors!  If you want crazy colors and cutting edge style, this shop is definitely for you!  And the folks at Ellie are so psyched to get the word out about their products that they are offering 20% off of your first order for all Cragmama readers!  Just enter the discount code of “erica20” when prompted online!

Old Navy

Old Navy Active Compression Leggings (Retail price:  $29)
AVAILABLE COLORS/PATTERNS: 3
PRICE: 5
VERSATILITY: 2
FIT/COMFORT: 3
FABRIC: 2
DURABILITY: 2

Ok so it’s no secret that this commercial giant scored lowest in just about all categories but price. These tights are definitely NOT up for multiple seasons on real rock, but they work just fine in the gym.  And don’t wear them in hot weather (they don’t breathe at all)…or cold weather (they don’t wick).  But if you need something cheap (and fast!) head to your local Old Navy store, where you can probably find some on the closeout rack for under $15 if you’re lucky!

My list is by no means complete – there are a ton of other brands out there, all with different selling points and features.  If you’ve hopped onto the tights bandwagon, please list your favorite brands (or any brands that were an epic fail!)  And if you haven’t drank the Kool-aid yet, what are you waiting for?

(For easy pinning on Pinterest...)

(For easy pinning on Pinterest…)

Share

A New River Gorge-ous Weekend!

Dirtbaggin' it family style in a friend's garage. Much more comfortable than 30 degrees!

Dirtbaggin’ it family style in a friend’s garage. Much more comfortable than 30 degrees in a tent!

After about a dozen failed attempts to return to our favorite climbing area on the planet, we FINALLY managed to get ourselves up to the New River Gorge for the first time as a family of four!  Climbing conditions were near perfect, and we had a great crew of folks to hang with.  Our first day was spent at a family favorite, Endless Wall.  The Crag-Daddy and I love the style of climbing there, and Big C loves going up and down the approach ladders.

After warming up on Stim-o-Stam (5.11c), we got down to business.  The Crag-Daddy had his sights set on Freaky Stylee (5.12a), which he had been extremely close to sending on our last trip (which was almost a year ago!)  I decided to work on Techman (5.12c).  Though certainly not  classic, it’s a good route.  It’s also right beside Freaky Stylee (actually shares the last bolt and anchors), and my friend Caleb was working it as well, so it seemed like a convenient project du jour.

Heading down the Fern Point ladders Saturday morning.

Heading down the Fern Point ladders Saturday morning.

I’d done the crux moves once before, right before I got pregnant with Baby Z (a very stretched out, insecure traverse on several razor blade crimps to a horizontal slot.)  However last time I’d gotten shut down at the next sequence – a powerful deadpoint to a half pad crimp.  This time around it took me a few tries, but once I figured out the beta, I felt pretty solid on it.  The move after that is really cool – a big almost-dyno off of a diagonal rail to a good horizontal.  Not something I would think I’d be good at, but I hit it every time.  The next couple of bolts are pretty chill until the redpoint crux at the last bolt, which also happens to be the crux on Freaky Stylee.  Even though I’ve got that beta dialed, it’s gonna be hard to execute coming in hot!

Unfortunately because of crowds I only got in 2 and a half burns on it (half burn was to work out the lower moves while another climber was on the Freaky Stylee anchor)…but my last go was a two-hang!  I actually made it clean through the crux, but then caught my hand on the rock coming out of a hooded crimp for the deadpoint move…then I also hung right before the Freaky upper crux.  It’s gonna take some beta refinement to figure out some rests towards the top, but I think it will hopefully go next time I’m on it!  (And since Steve didn’t send Freaky Stylee either, I’m optimistic we’ll get back sooner rather than later!)

Start of Techman crux traverse...

Start of Techman crux traverse…

...end of Techman crux traverse.

…end of Techman crux traverse.

After a wonderful meal of venison burgers courtesy of our friends (I don’t hunt, but I’m glad we know people that do!), we headed up to Cotton Top the next morning.  It was mobbed with people (but I was psyched to see not one, but TWO other families with babies!)  After a sketchy, chossy, spider-filled debacle with Love Sock (5.12a), we opted to warm-up on Fireman’s Belay (5.11a), a nice route with a well-defined crux that was also pretty heady.

My favorite people!

My favorite people!

Since it was open, I decided to have a go at Psychowrangler (5.12a), the stand-out classic in the area.  A very “un-Cragmama-like” route, it’s pumpy, powerful, and has exciting (but safe) whipper potential in the upper dihedral!  I’d technically tied in to it a long time ago, but I couldn’t even make it past the 2nd bolt, so it was basically a new route to me.  I got the beta spray down from a friend and took off.  I found great beta for the move that had given me fits before, and this time made it first try!  The crux for me was pulling over the roof and getting established in the leaning dihedra/ramp.  I fell all over it, until finally figuring out some foot beta that would work.  The moves up the dihedral itself are probably no harder than V2, but it is steep, ridiculously pumpy, and the bolts are generously spaced…hence the exciting whipper potential.  It’s been a long time since I’ve come close to falling with rope in my hand trying to make a clip, but this route had me about a half-second away from a (nothing but air) 30-footer!  But I made it through and managed to clip the chains – this route will take a LOT more endurance work before it goes down clean for me, but just getting to the top is progress for me!

Chalking up on the Psychowrangler double knee bar

Chalking up on the Psychowrangler double knee bar

The last climb of the weekend worth mentioning is End of Innocence (5.11c), which ended up being really fun – a very technical face that went back and forth across the bolt line, with a surprise lock-off crux towards the top.  It took me a while to figure out the sequences, but I hung on for my first hard onsight since having Baby Z.

We couldn’t have asked for better weather, better climbing conditions, or better climbing partners for Baby Z’s first trip to the New.  And with a little bit of luck, her second trip will happen sooner rather than later!

Gorgeous image of the gorge captured by my friend Javier Licon this weekend!

Gorgeous image of the gorge, captured by my friend Javier Licon this weekend!


Share

Family Literacy: The Truth About Nature

TAN-screenshot-cover
Our family likes nature.  And we like to read.  So we were happy to review the latest book from Destination Nature – The Truth About Nature: A Family’s Guide to 144 Common Myths about the Great Outdoors.  This is the second book we’ve had the pleasure to read from these authors, and it’s just as good, if not better than, the first! (Click here for our review of The Kid’s Outdoor Adventure Book.)

The Truth About Nature debunks 144 different nature myths – about animals, plants, the ocean, weather, and even outer space.  The myths are divided into seasons, and each one is assigned a level on the “myth scale” from 1-3.  (1 being a myth that is not entirely true, but has a lot of truth to it, and 3 being a myth that is completely false.)

The way the book is organized in a way that lends itself very well to reading together as a family.  Sometimes we choose an “after dinner myth” to read at the table, or we might read a few in the car on the way out of town for the weekend.  Each myth is written about in a concise way that appeals to naturalists of all ages!

In addition to the myths, there are 4 additional features scattered throughout the book – Stranger than Fiction (amazing nature facts), Luck Legends (cultural superstitions), Weather Legends (weather predicting anecdotes), and Be a Scientst (how to bust myths on your own.)

IMG_7503

So far we’ve spent most of our time in the “Autumn” section of the book.  Some things we already knew were myths, other myths we’d never heard of, and others we realized we had totally bought into unawares!  We’ve been keeping an eye on the status of the leaves on our oak trees (legend has it that if the leaves are still there at the end of October, it will be an especially cold winter!).  We were also shocked to find out that Daddy Longlegs are NOT the most venomous spiders on the planet, but with mouths too small to bite humans! (If you knew that already, don’t judge!)

If you like to get your own copy, you can do so online here.  AND, if you’d like to win a special visit to your child’s school from the authors themselves, all you have to do is make a short video featuring a common nature myth! (For full contest details, click here.)

Books like the ones from the Destination Nature team are great resources to have on hand, and I’m sure will be used by our family over and over again for many years to come.  What are some go-to nature books your family likes to read?

IMG_7502


Share

Adventures in the High Country…and First Postpartum 5.12!

So far it’s been a pretty wet autumn here in the Southeast…so our family was psyched to see good temps with no rain in the forecast this weekend.  We cut out of town just after lunch on Friday, bound for the High Country – that beautiful stretch of the Blue Ridge mountains that lies in the western part of NC.  We arrived just in time to set up camp and enjoy a hike to the summit of Table Rock.  With breathtaking views of the Linville Gorge wilderness as far as the eye can see, it was the perfect backdrop for a family picnic dinner, and a great start to our weekend.

Christmas card shot at the Table Rock summit!

Christmas card shot at the Table Rock summit!

Day 1: HAWKSBILL
The next morning was chilly and pretty windy…probably not the best day to climb at a shady crag situated on an exposed ridge.  But the friction on the rock was fantastically sticky-icky, a definite plus considering the thin, technical nature of most of the climbing here. It had been years since Steve and I had climbed there, long before we’d even started to talk about kids, and we’d forgotten just how intense the hike was – a long, uphill trudge that gets progressively steeper until the climber’s trail breaks away from the main hiking trail and starts heading around the ridge. Once the cliffline comes into view, there’s another quarter mile or so of rock hopping and scrambling down the gully at the base.  I am SO PROUD of my little 4 year old beast that did the entire approach both ways on his own power with really very little complaining.  It took a lot of hiking bears, but his efforts were definitely deserving (a lot of the scrambling section was 5th class climbing for his little legs!)

Emma on If You Bolt It...5.10a

Emma on If You Bolt It…5.10a

If You Bolt It, They Will Come (5.10a) – This was the warm-up, although I use that term rather loosely.  It was a great chance to get reacquainted with the rock and cryptic style of climbing there, but “warm” is not a good word to describe how we felt on the first climb of the day!
Psuedo-Hardmen (5.11a) – Thinny thin moves with pretty terrible feet, with a thought-provoking crux that our crew each did one of two different ways (HINT: shorties head left, tall folk to the right!)  The crux holds were surprisingly small for the grade, and I was pretty stoked to get the flash.
Hard Rock Cafe (5.12c) – The past couple of months I’ve been feeling a bit at loose ends with regards to outdoor climbing.  “You need a project to get psyched about!” the Crag-Daddy has pointed out on more than one occasion recently.  So when a friend of mine told me this route would play well to my strengths, I decided to give it a go, despite being pretty intimidated by the grade.  It’s a short little number (around 50 feet) that starts out with a crimpy V5 boulder problem that is as technical as it is powerful.  The boulder crux ends just after the 2nd bolt with a toss to a hero jug.  An awkward mantle-ish move and an even more awkward clip leads directly into the rest of the route – a rapid-fire ladder of half-pad crimps to the top (with one bigger clipping hold thrown in at the 4th bolt to give your fingers a break.)  My first time up I surprised myself by getting through the boulder problem in just a few tries, and from there I went bolt to bolt.  The holds were really hard to see, so my strategy was to climb to the next bolt, then lower back to tick the holds for that sequence before moving on to the next section.  The upper climbing is probably only 5.11, and while I did all the moves first try, the terrain was very sustained and I knew it would be really difficult to link all the moves together coming in hot.  But since I did so well on it I knew I owed myself another go.

Trusting the rubber on the brand new Tenaya Tarifa on Psuedo-Hardmen 5.11a

Trusting the rubber on the brand new Tenaya Tarifa on Psuedo-Hardmen 5.11a. (Photo: Emil Briggs)

At the end of the day I tied in again…and amazingly enough made it through the opening crux! The next clip was substantially easier with the draw already hung, and before I knew it I found myself at the 4th bolt rest.  “I might actually send this!” I thought to myself, and took off running for the top.  But by the time I got to the next bolt, my fingers were fried.  My core strength was fading and my body started sagging with every hold I latched onto.  I kept pushing, and actually made it about 3 more moves before I peeled off trying to stand up on a high foot right before the last bolt.  And that was that…so close!  But really yet so far…even though I only had a few more moves left, finishing it up felt pretty desperate even after hanging.

The upper part of Hard Rock Cafe 5.12c...right before I popped off.

The upper part of Hard Rock Cafe 5.12c…right before I popped off.

Day 2: THE DUMP
Although everything in me wanted to go back and try Hard Rock again the next day, it was even colder and windier than the day before, and we were all psyched to climb in the sun.  (Not to mention I couldn’t make Big C do that hike two days in a row!)  So we headed back down the mountain to our favorite cold weather roadside crag…The Dump!

Voodoo Child (5.11a) – This is one of my favorite routes ever, and I try to do it every time I’m there, although it doles out a pretty good pump for a warm-up.  But it sure did feel good to feel the sun on my back!
Not Too Keen (5.12c/d) – My friend was working this, so I took a toprope lap on it for kicks just to get a feel for the moves.  It’s got a 2-move wonder crux sequence sandwiched between (comparatively) fairly easy climbing, but those two moves are insanely hard – pulling hard on itty bitty  crimpers with imaginary feet.   Getting set up for the crux is pretty difficult as well.  I was psyched to be able to actually do the crux moves, so maybe sometime down the road this would be a good project.
Last Glitch Effort (5.12a) – This is one of my favorite climbs, I sent it a while back during my “12 5.12’s in 2012” goal.  The first crux is kind of scary because it’s not that high off the ground, so we all took a toprope lap to rehearse the hard moves.  I toproped it clean, but felt pretty timid when I tried it on lead.  I had a hard time committing to the first crux, and then the rest of the time I felt like I was climbing “not to fall” rather than “climbing to send.”

Steve finishing up Dimpsy-Dumpster 5.10, one of the few steep routes at crag.

Steve finishing up Dimpsy-Dumpster 5.10, one of the few steep routes at crag. (Photo: Emma Briggs)

But I got through it clean, making that route my first 5.12 after having Baby Z!  Reaching that first 5.12 milestone in my second postpartum climbing journey feels really good. Yes, it was something I’d sent before, but doing it again signifies to me that I’m getting back in the shape I want to be in.  And as much as I wanted to be disappointed about my almost-send on Hard Rock Cafe the day before, it really just lit a fire under me – just the confidence boost I needed.  (The only problem now is that it’s going out of season and odds are good I’ll have to wait til next spring to try it again…)  But lucky for me it’ll still be there waiting, and in the mean time, there’s plenty of good climbing to be had other places!


Share

If Babywearing Was Like Car Shopping…A Comparison Post

Over the past 4.5 years I’ve logged a lot of mileage with tiny people on my back, front, and shoulders (and in my belly for that matter, but that’s a different post entirely!)  I’ve worn a baby everywhere from weddings to pools to mountaintops (but never while climbing…which is what so many insane misinformed people tend to assume…)  Babywearing has been something near and dear to my heart for so many reasons.  Along with a laundry list of physical/emotional benefits, it’s arguably one of the best ways to bond with baby…and hands down the easiest way to get things done around the house, especially when you’ve got more than one kiddo!

However, over the past 4.5 years I’ve also come to realize that babywearing can be quite addictive!  As in, you can NEVER have to many carriers, especially when there are just so many options available for moms (and dads) today!  So with that said, I thought it would be fun to list our favorites and when/how we use them most…in a way that most everyone will be able to understand!

This is what it would be like if babywearing was like car shopping, my husband recommended me to consider buy in Toowoomba mazda used cars because they have the quality, excellent reputation and fair prices you need, if you are looking for a car use the car value depreciation calculator.

A happy girl w/her daddy in the Boba 4G

A happy girl w/her daddy in the Boba 4G

Boba 4G (reviewed here and here):   This is the luxury sedan of the bunch, as the Boba is built with user comforts in mind with lots of bells and whistles – everything you need from birth to 40 pounds later is included in the $125 price tag.  During my second pregnancy I comfortably carried my 35 pound 3 year old on rugged approach trails…then just a few months later snuggled my sweet little 5 lb bundle to sleep while sweeping the kitchen.This carrier is dependable and will go anywhere.  No hike is too long and no toddler is too big – the only limiting factor is YOU.  The downside is that it’s a bit bulky, can be unbearably hot in the summer, and is not as convenient to store for spontaneous use.  It also doesn’t have much room for anything other than people…

Ergo: I liken this one to a base model sedan.  It’s very similar to the Boba, but the lack of bells and whistles makes it not as versatile. Although you can purchase all-inclusive models, the “Original” version requires an extra (and rather pricey) insert to use with infants. We used this religiously for both day hikes and everyday wear with Big C when he was in the 6 -18 month range, and even longer for rugged climbing approaches.  We loved it, but once we got the Boba we never used it again, as the Boba is far more older-tyke friendly because of the foot straps as well as a longer back panel.  Hubby also reports that the Ergo is not as adjustable for larger folks.

Big C riding along in the Ergo at the Red River Gorge

Big C on a Red River Gorge ride-a-long courtesy of the Ergo

Ring Slings:  These are inexpensive and as functional as they are fun, like a VW bug (a stick shift one, because there is a bit of a learning curve to using it correctly!)  They are flashy, colorful, and available in about a million different patterns and fabrics.  A beautiful sling has a very classic look and is easy to coordinate with what you are wearing.  Definitely the way to babywear at a wedding or other special occasion.  Our favorite is the water sling from Beachfront Baby (reviewed here.) It was a must-have at both the pool and the beach this year.  Because a sling is nothing more than fabric and a couple of rings, they are easy to stuff into a diaper bag in your car to ensure you have something on hand for running errands.  The only drawback is that they aren’t quite supportive enough for rugged terrain.

Slingin around at the NC Aquarium

Slingin around w/my SIL and niece at the NC Aquarium. Z was 5 months, and her cousin is just a couple weeks younger

A not-so-big C enjoying the Moby Wrap on his first climbing trip at 6 weeks old.

IMG_6347

5 month old Baby Z snoozing Bitybean-style on a hike along Wilburn Ridge at Grayson Highlands State Park.

Wraps: There are a ton of companies that make wraps (including a lot of the companies featured here), but it’s also the easiest carrier to make yourself, since it is literally just a giant piece of fabric.  The Moby Wrap was my first experience with babywearing, and for that I am grateful, because it not only calmed my fussy newborn during those first bleary-eyed weeks of parenting, but it also got me hooked!  But while I know folks that swear by a wrap, I always found that other options were far easier for me to use consistently.  The benefits are similar to that of a sling, but a wrap involves more fabric on your body, so it’s a more cool-weather friendly option.  If I had to choose a car I’d choose something compact and reliable, like a Honda Civic (and again, definitely a stick shift, as getting it on can be complicated at first!) More useful information on wraps may be found at https://fleetwraphq.com/.

Bitybean (reviewed here) – This is hands down our family’s new favorite – we’ll call it the Mini-Cooper of the babywearing world! It’s reliable, affordable, and comes in a very compact package (not to mention it’s cute!)  Believe it or not, it packs down even smaller than a sling/wrap!  It has all of the advantages of the bigger soft-structured carriers listed above, but in a sleek, stream-lined design that is more supportive and durable than any sling/wrap.

Kelty Kidcarrier (reviewed here)- Once our kids are big enough for this one (6 months or so), this is the only way we roll on climbing trips, as a backpack carrier is the most efficient way to get all of our baby/climbing gear from point A to point B.  Our Kelty is the big pick-up truck of babywearing – it’ll haul everything but the kitchen sink, but the trade off is that it is much heavier and more cumbersome than the others, so the “ride” is not as smooth.  The kiddos love the higher vantage point on your back, but their movements can easily throw the wearer’s center of gravity off a bit.

Hiking amongst "The Needles" in Custer State Park, SD when Big C was 2.

Crag-daddy toting 2 year old C and gear through “The Needles” of Custer State Park, SD in our Kelty pack.

3 year old C and the Crag-Daddy walking to dinner on a Friday night.

3 year old C and the Crag-Daddy walking to dinner on a Friday night via Piggyback Rider

Piggyback Rider (reviewed here): This little ditty is basically a barebones way to provide a safe, comfortable alternative to a traditional piggy back ride.  It’s designed for toddlers in the “I can walk for a while but then I get tired and whiny and need to be picked up” phase, which for some families lasts longer than others.  It doesn’t have a waist strap, so it tends to make my shoulders ache after a while, but it’s a great option to break out at parades and festivals, where the “riding the bar” will give your child an awesome bird’s eye view of everything that’s going on.  This one would probably be more like a truck with a pickup truck bike rack than a car…

And there you have it folks – all of the babywearing paraphernalia that’s gotten us this far.  But with everything that’s available to parents these days, we’ve really only hit the tip of the iceberg when it comes to baby carriers.  So I’d love to hear from you all as well – what carriers you love, what carriers you hate, and if you have more than one, what you use each of them for.  Yay for babywearing!

IMG_7469


Share