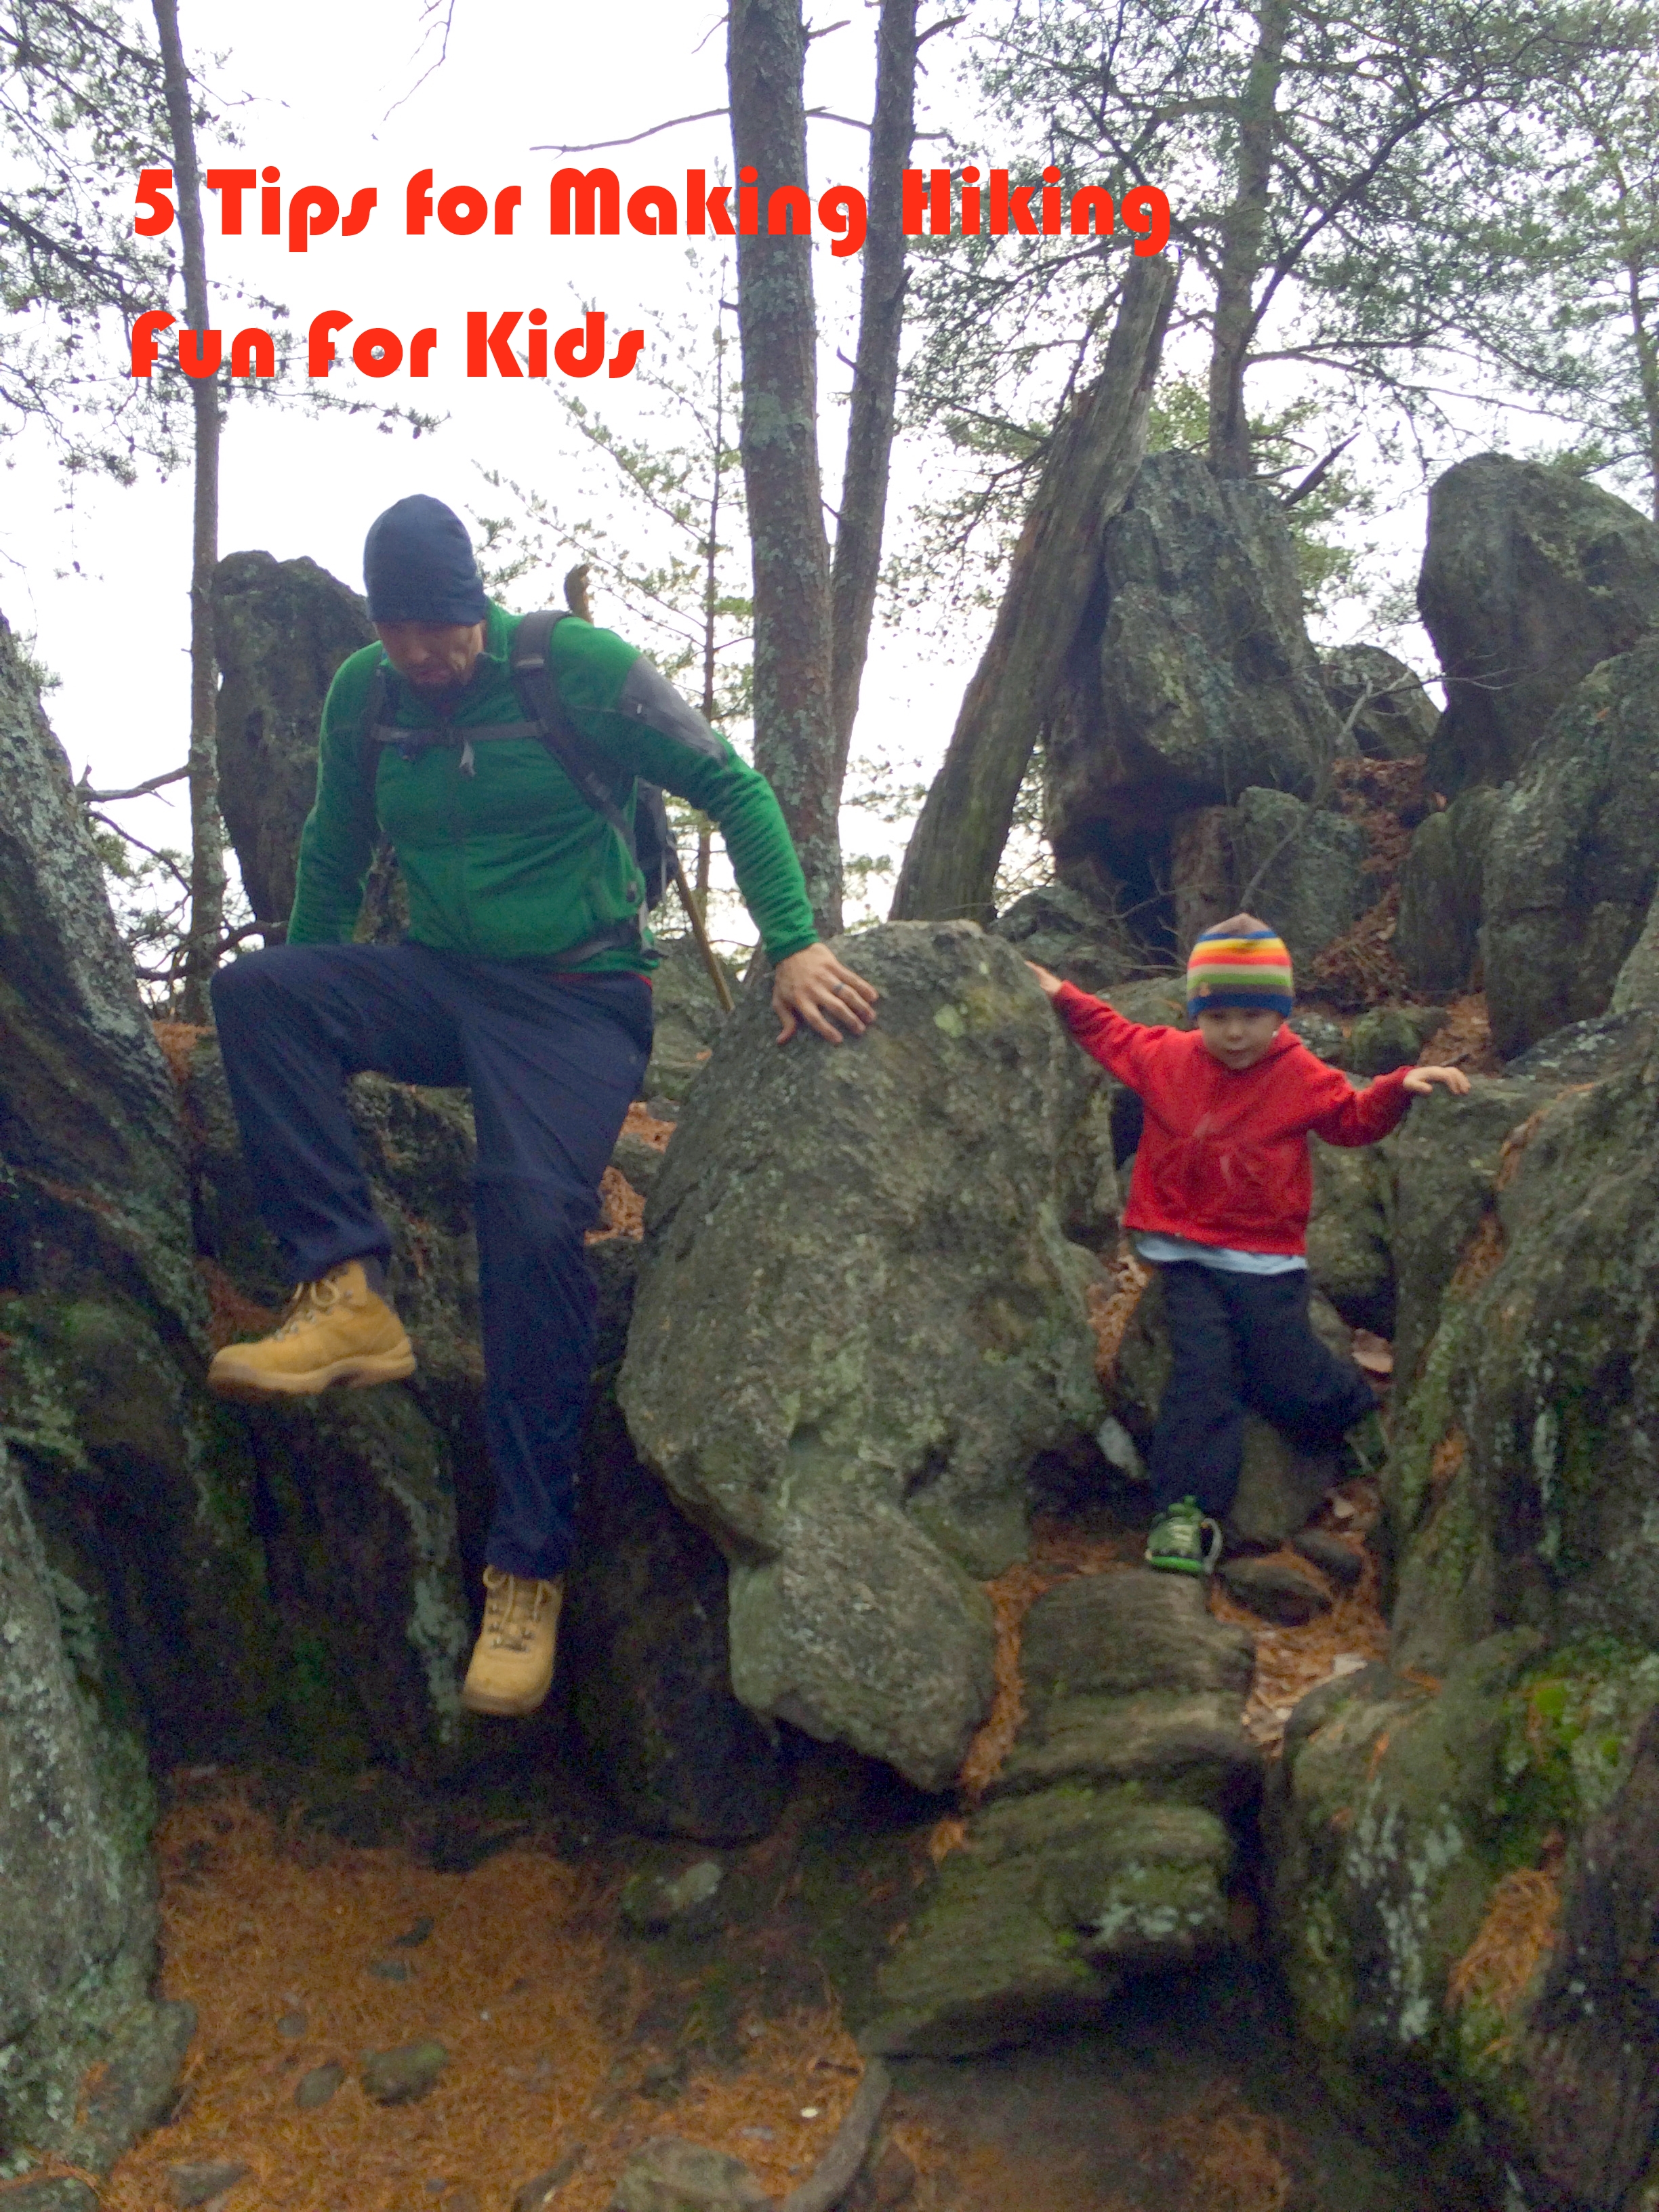
How to Make Hiking Fun For Kids
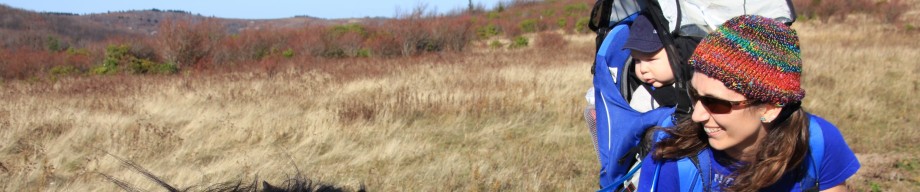
Hiking out of Tensleep Canyon after a long day of climbing.
My little guy (almost 4) has been a great hiker since around the age of 2…when he wants to be, that is. Some days he can run circles around us with endless amounts of energy, other days all he wants to do is snuggle with mommy in the carrier. So far it hasn’t been a big deal – when he wants to hike, we hike at his pace, and when he wants to hitch a ride, we happily oblige. But with baby #2, all of that flexibility is about to change. In the coming weeks, climbing approaches will now involve a newborn on the front and a rope on my back, leaving hubby with the rest of the climbing gear, as well as food, water, and baby gear. There unfortunately won’t be any room for a tired toddler to hop on at a moment’s notice. (This is one of the many reasons we wanted our kids spaced apart as far as they are!)
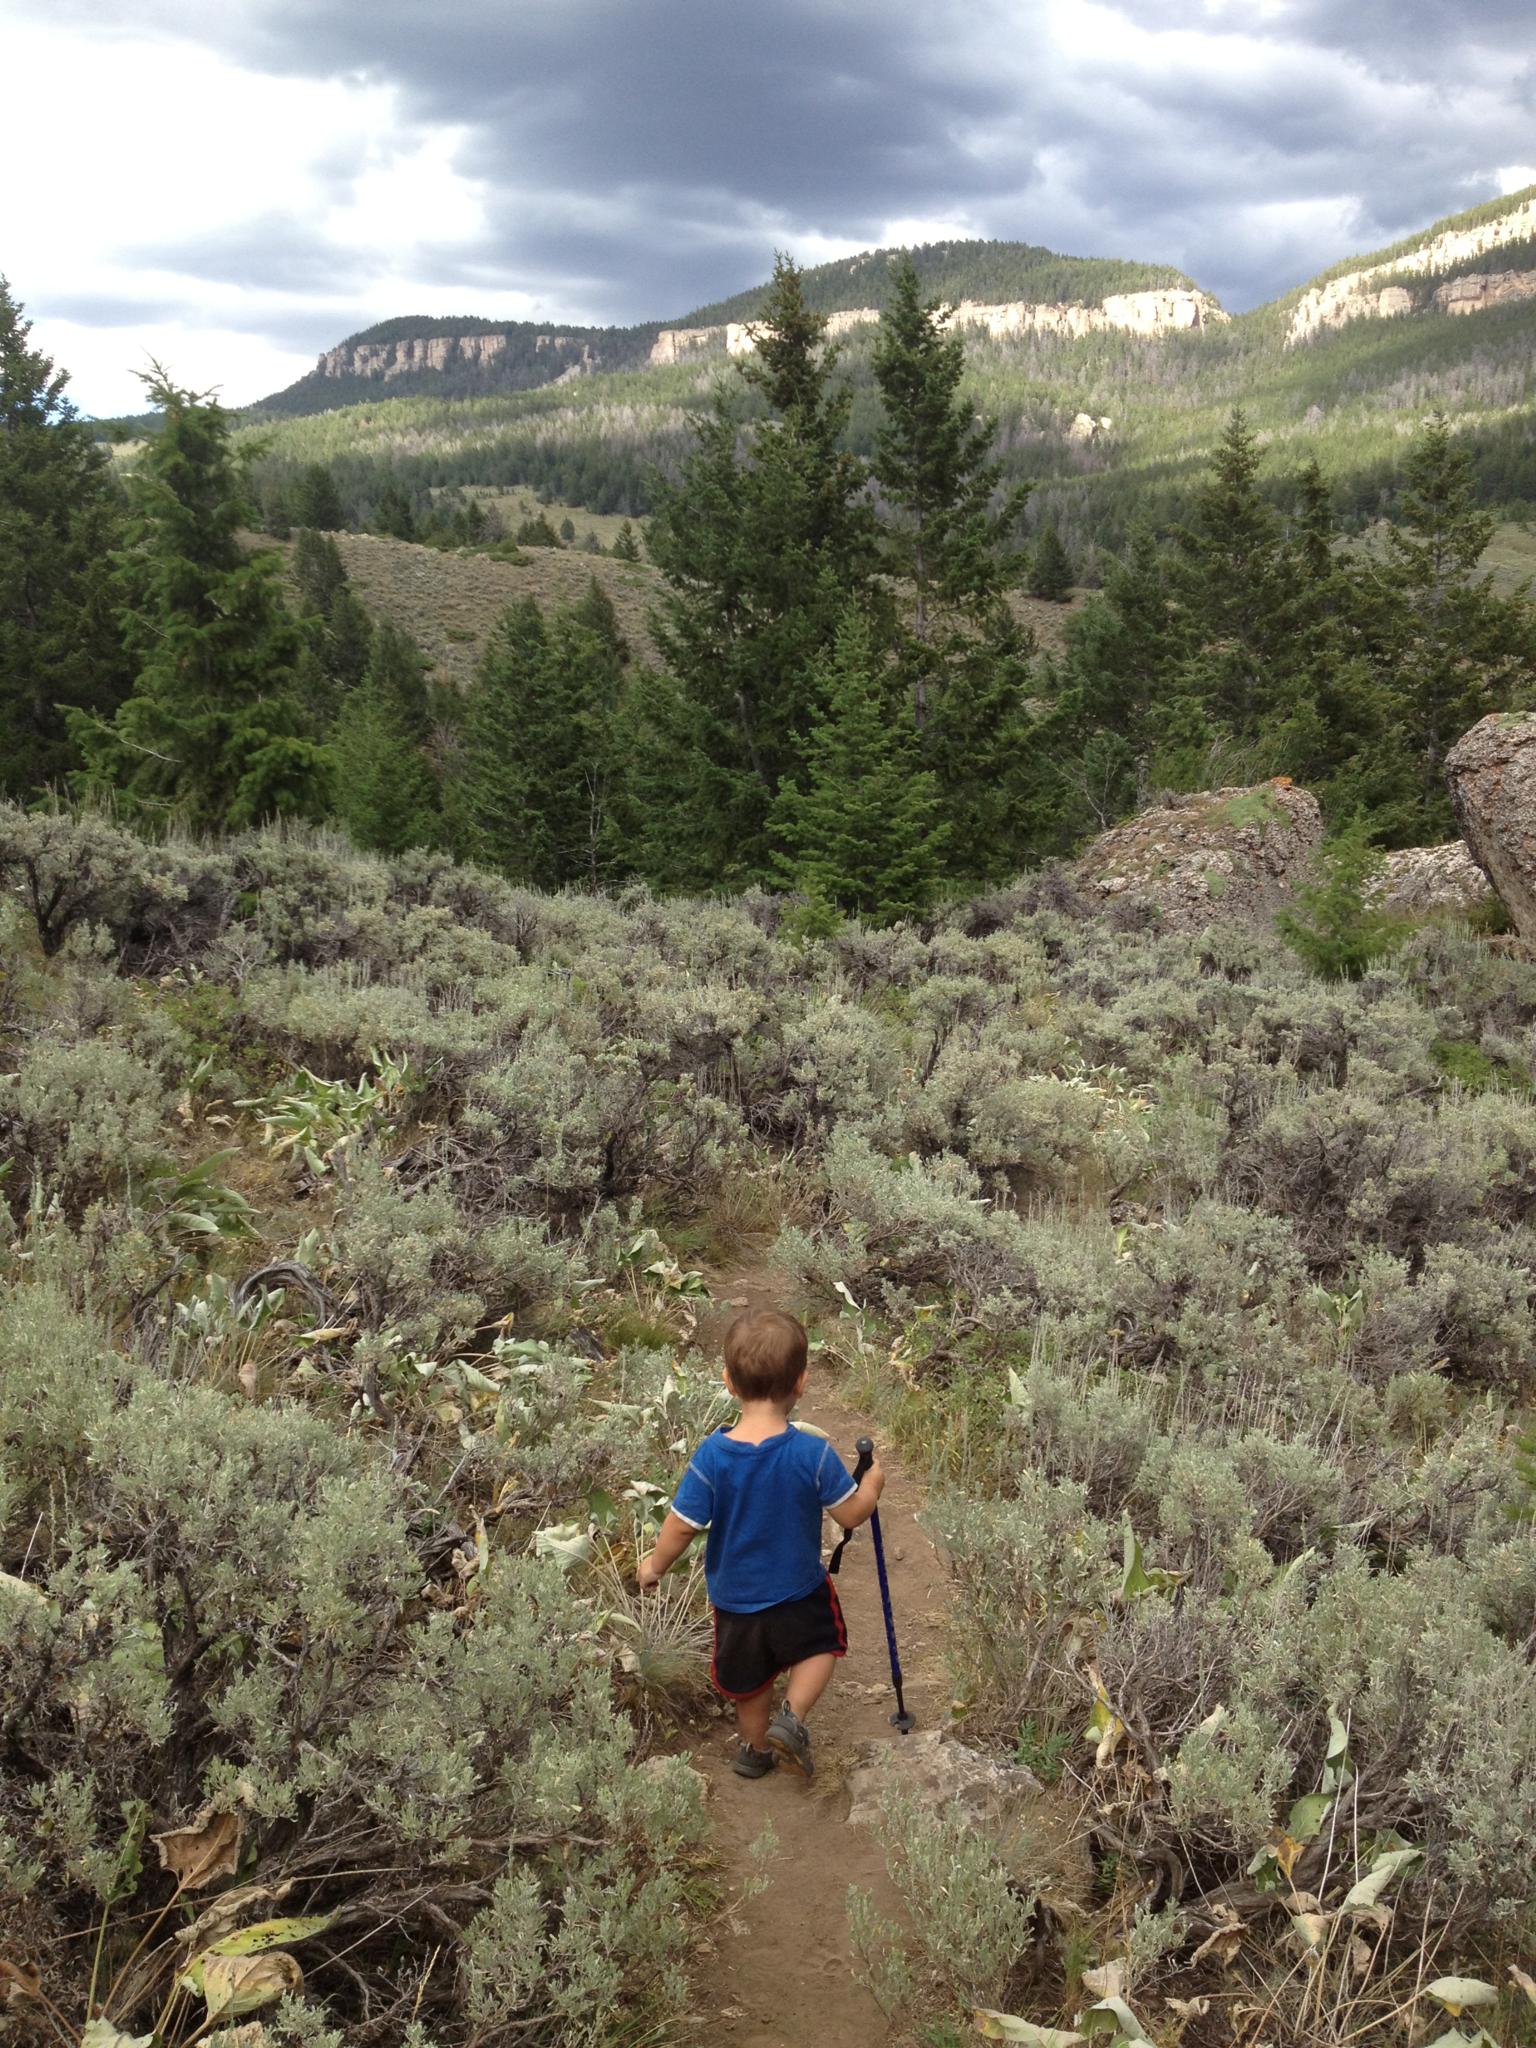
While we no doubt will have to pick and choose our destinations wisely (asking a 3 year old to commit to a 2 mile uphill slog hardly seems fair), we’ve also been doing a lot of practice hikes, so that C gets used to hiking along without the carrier. My goal was to ease him into the transition rather than cause resentment by giving him the boot cold turkey once Cragbaby #2 enters the mix. We’ve learned a lot through these practice hikes, so this following is a list of toddler-friendly hiking tips. So whether you are transitioning out of a carrier out of necessity like us, or simply out of a desire to get your older kiddos more active, try incorporating these ideas into your next family hike…
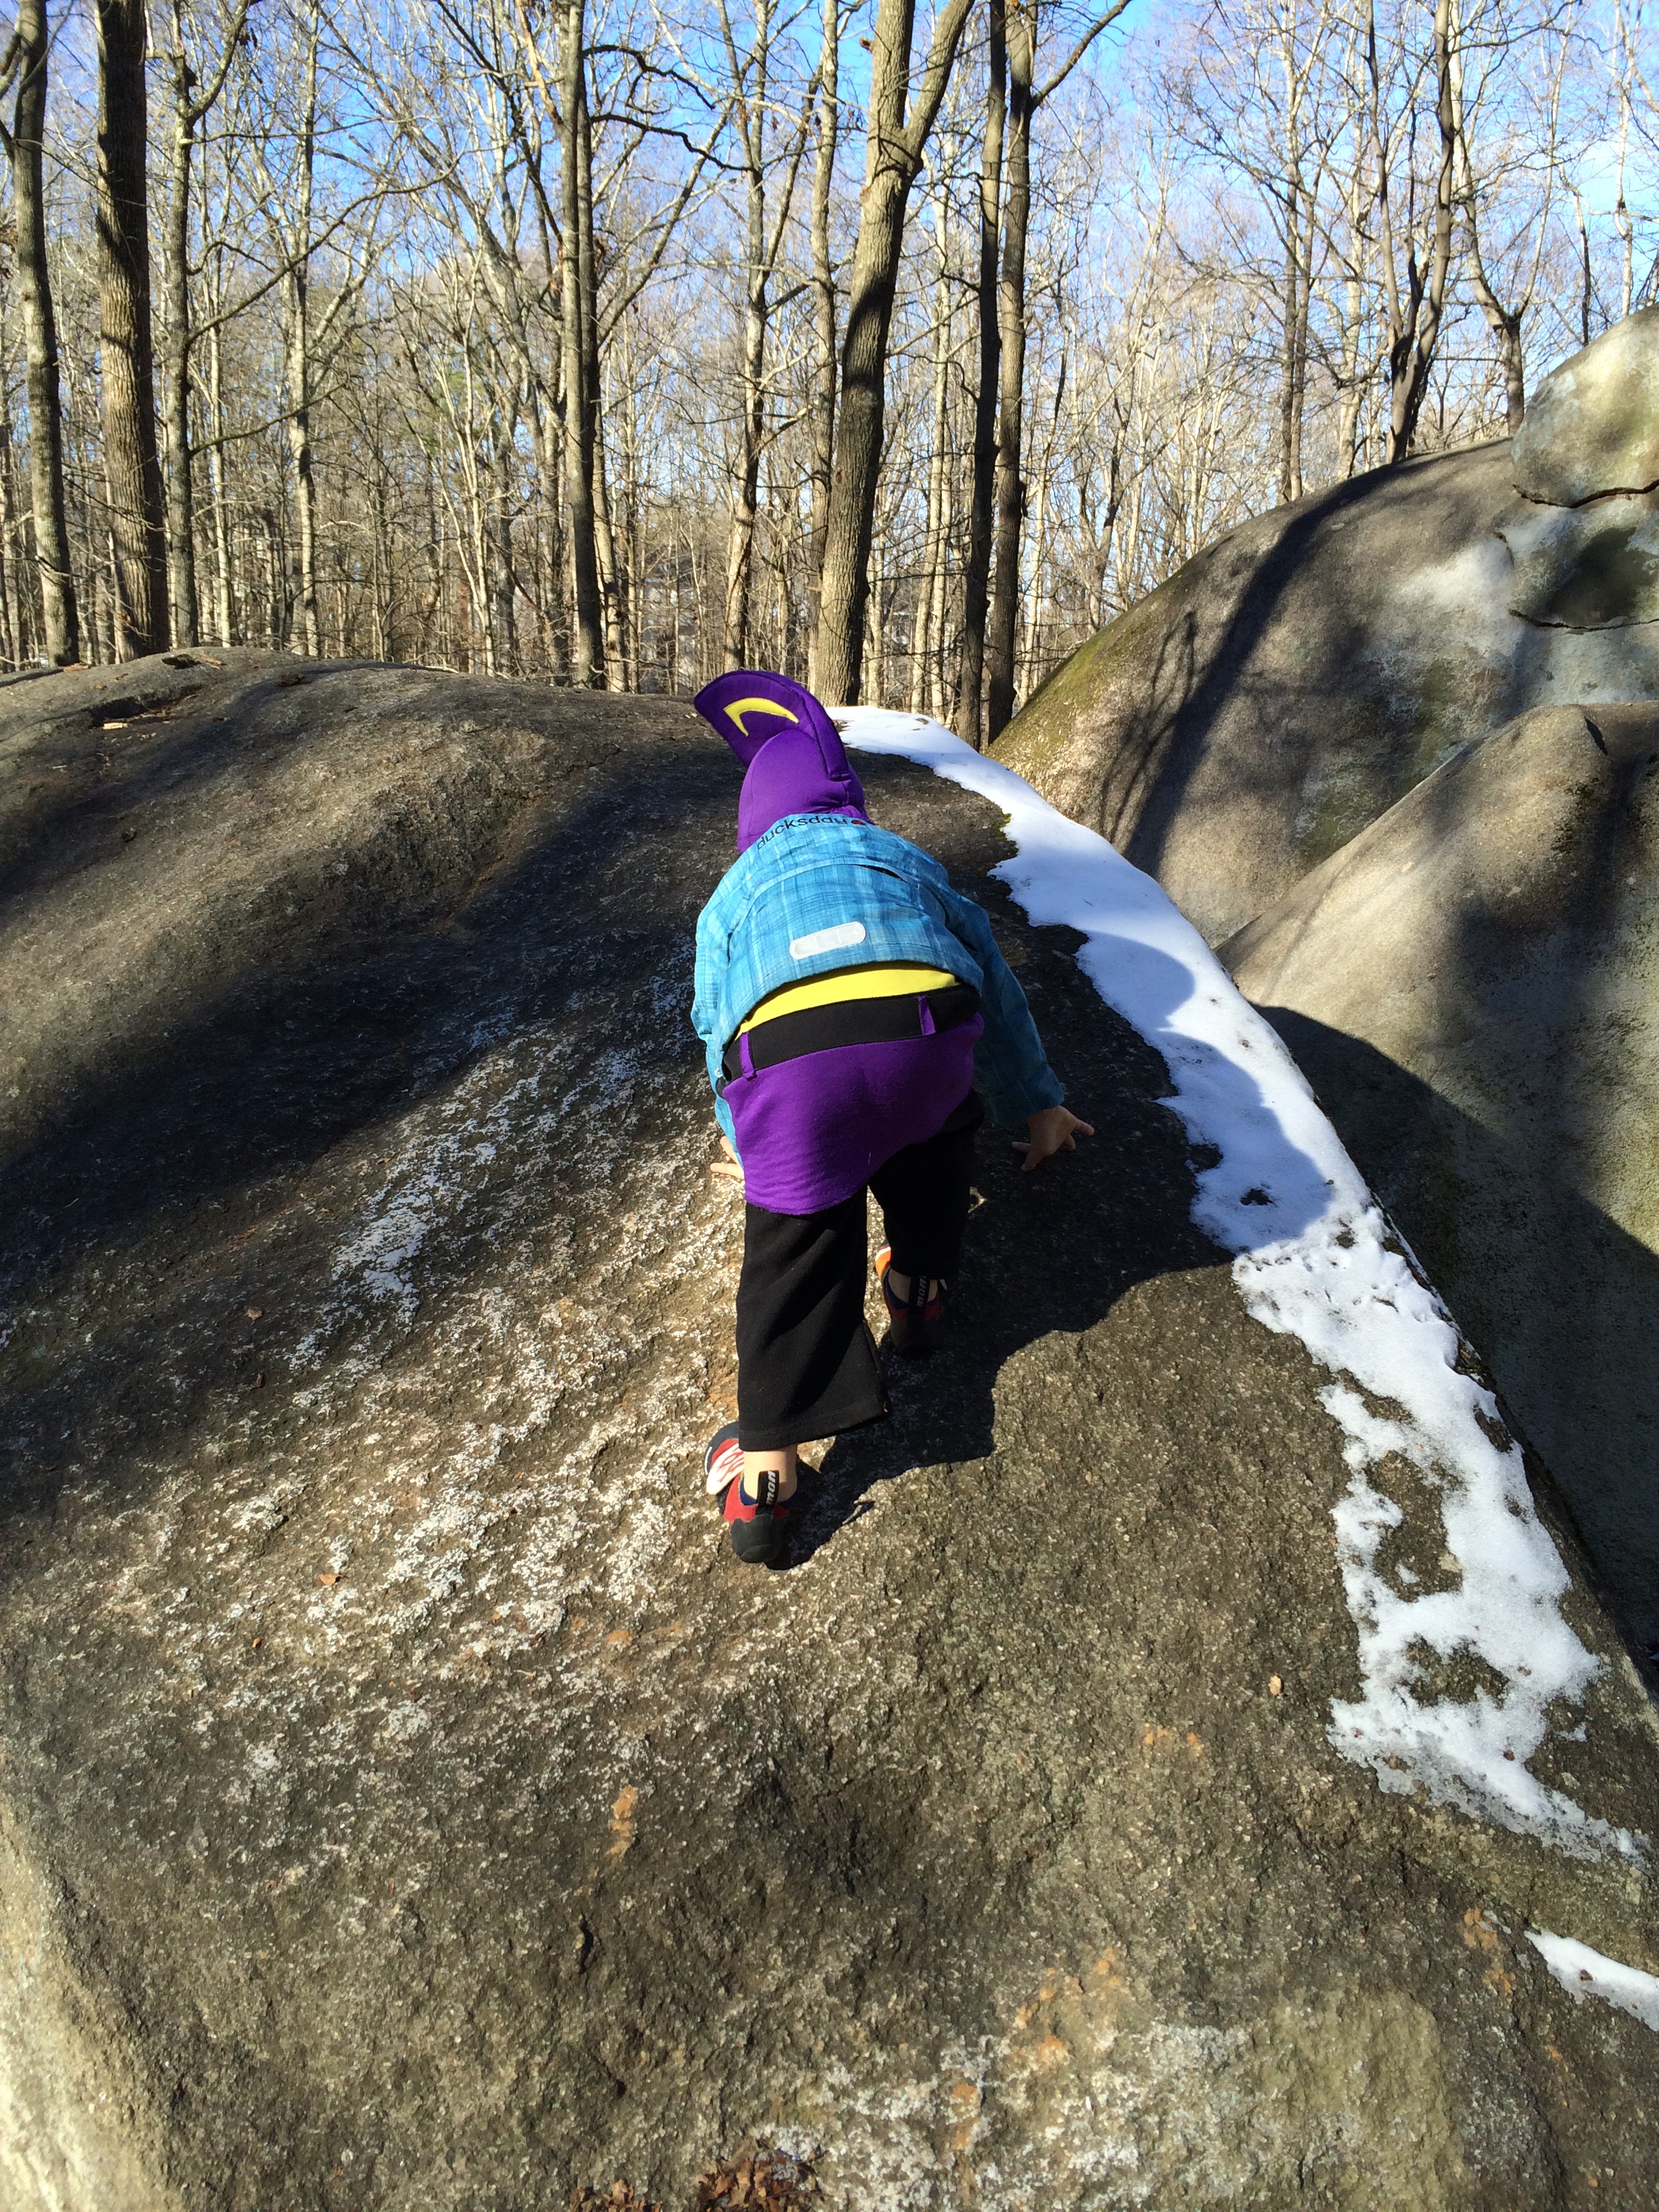
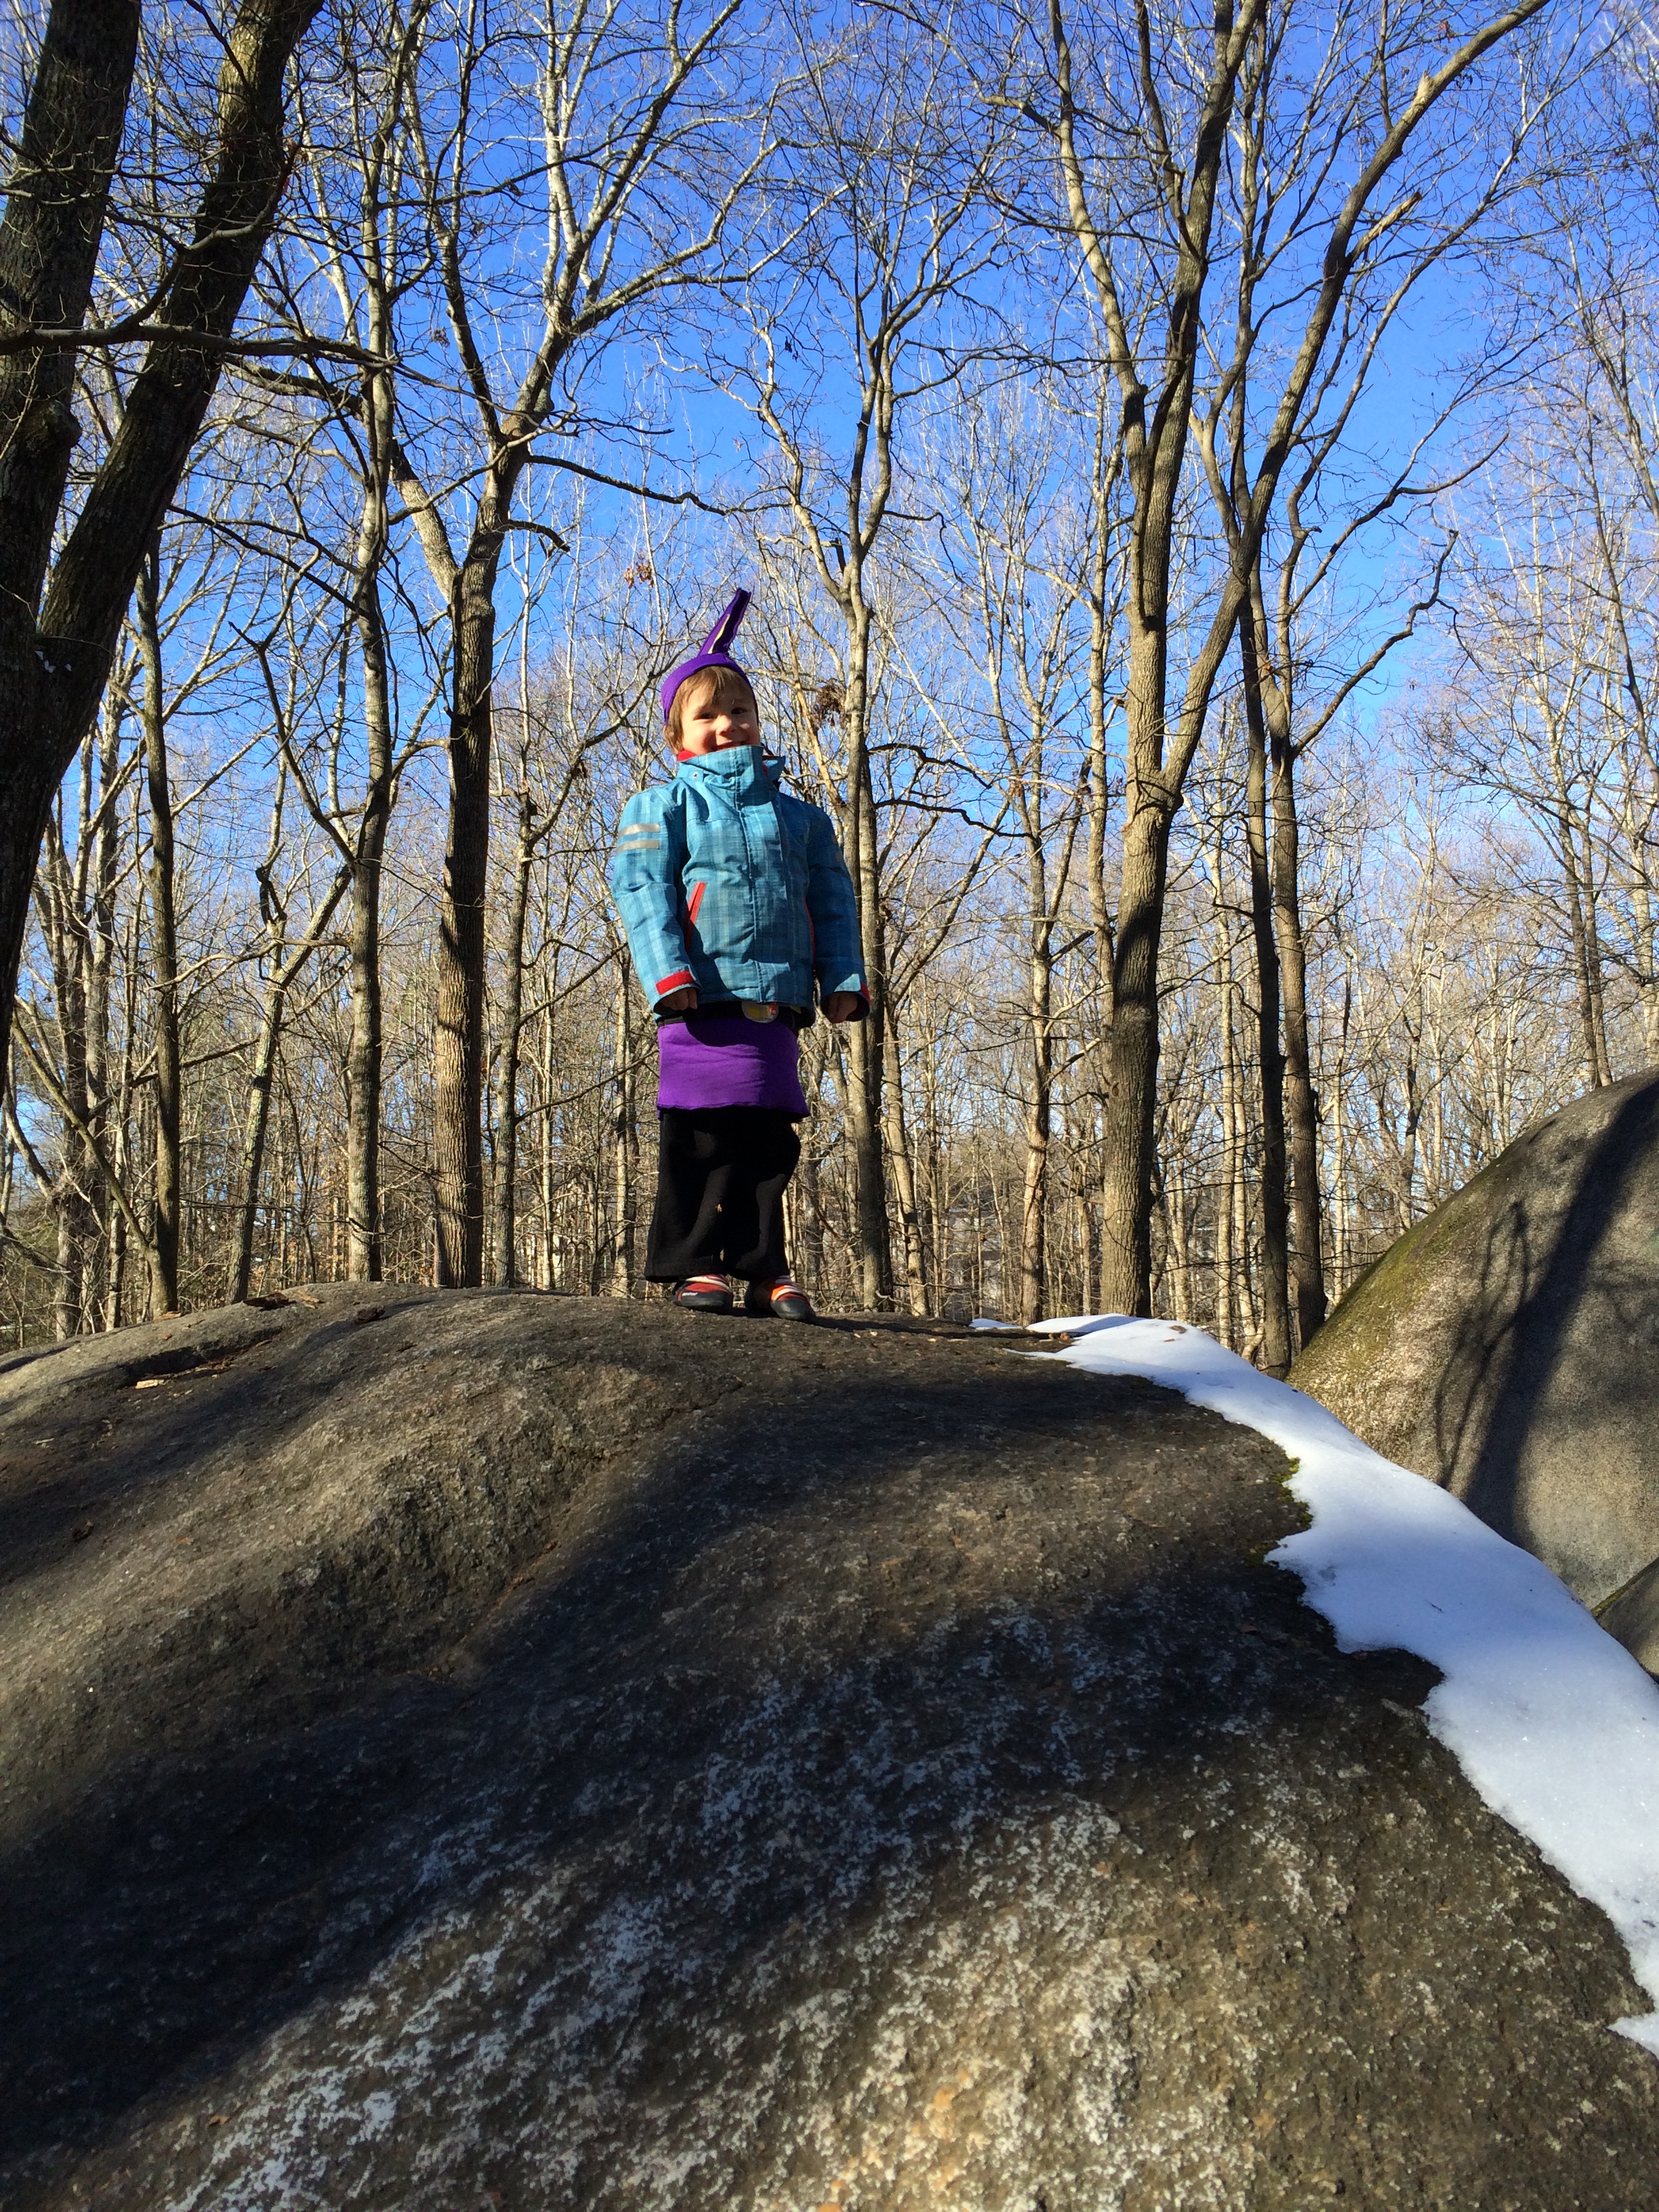
1. Choose Your Path Wisely – Not all hikes are created equal. Keep the excitement level high, and the elevation gain low, especially at first. Ironically, we quickly learned that C was far more likely to enjoy maneuvering over scrambly, rocky terrain than a flat, gravel path. After all, rock-hopping, impromptu bouldering ascents, and hand over hand scrambling is far more interesting and adventurous than plain old walking, right?
Scrambling along the Rocktop Trail at Crowders Mountain, NC
2. The End of the Rainbow – You may not be able to find a hike with a pot of gold at the end, but the promise of a waterfall, summit, cave, or something else equally awesome will go a long way towards keeping a toddler on task. It doesn’t even have to be a natural feature, just some sort of landmark to keep the eye on the prize. On a recent hike, C was super excited when we told him we were going to stop and have lunch at “the antennas” – basically a grouping of TV Towers at the top of a long ridge.
About to enjoy the fruits of our labor – a swimming hole at the end of a hike in Spearfish Canyon!
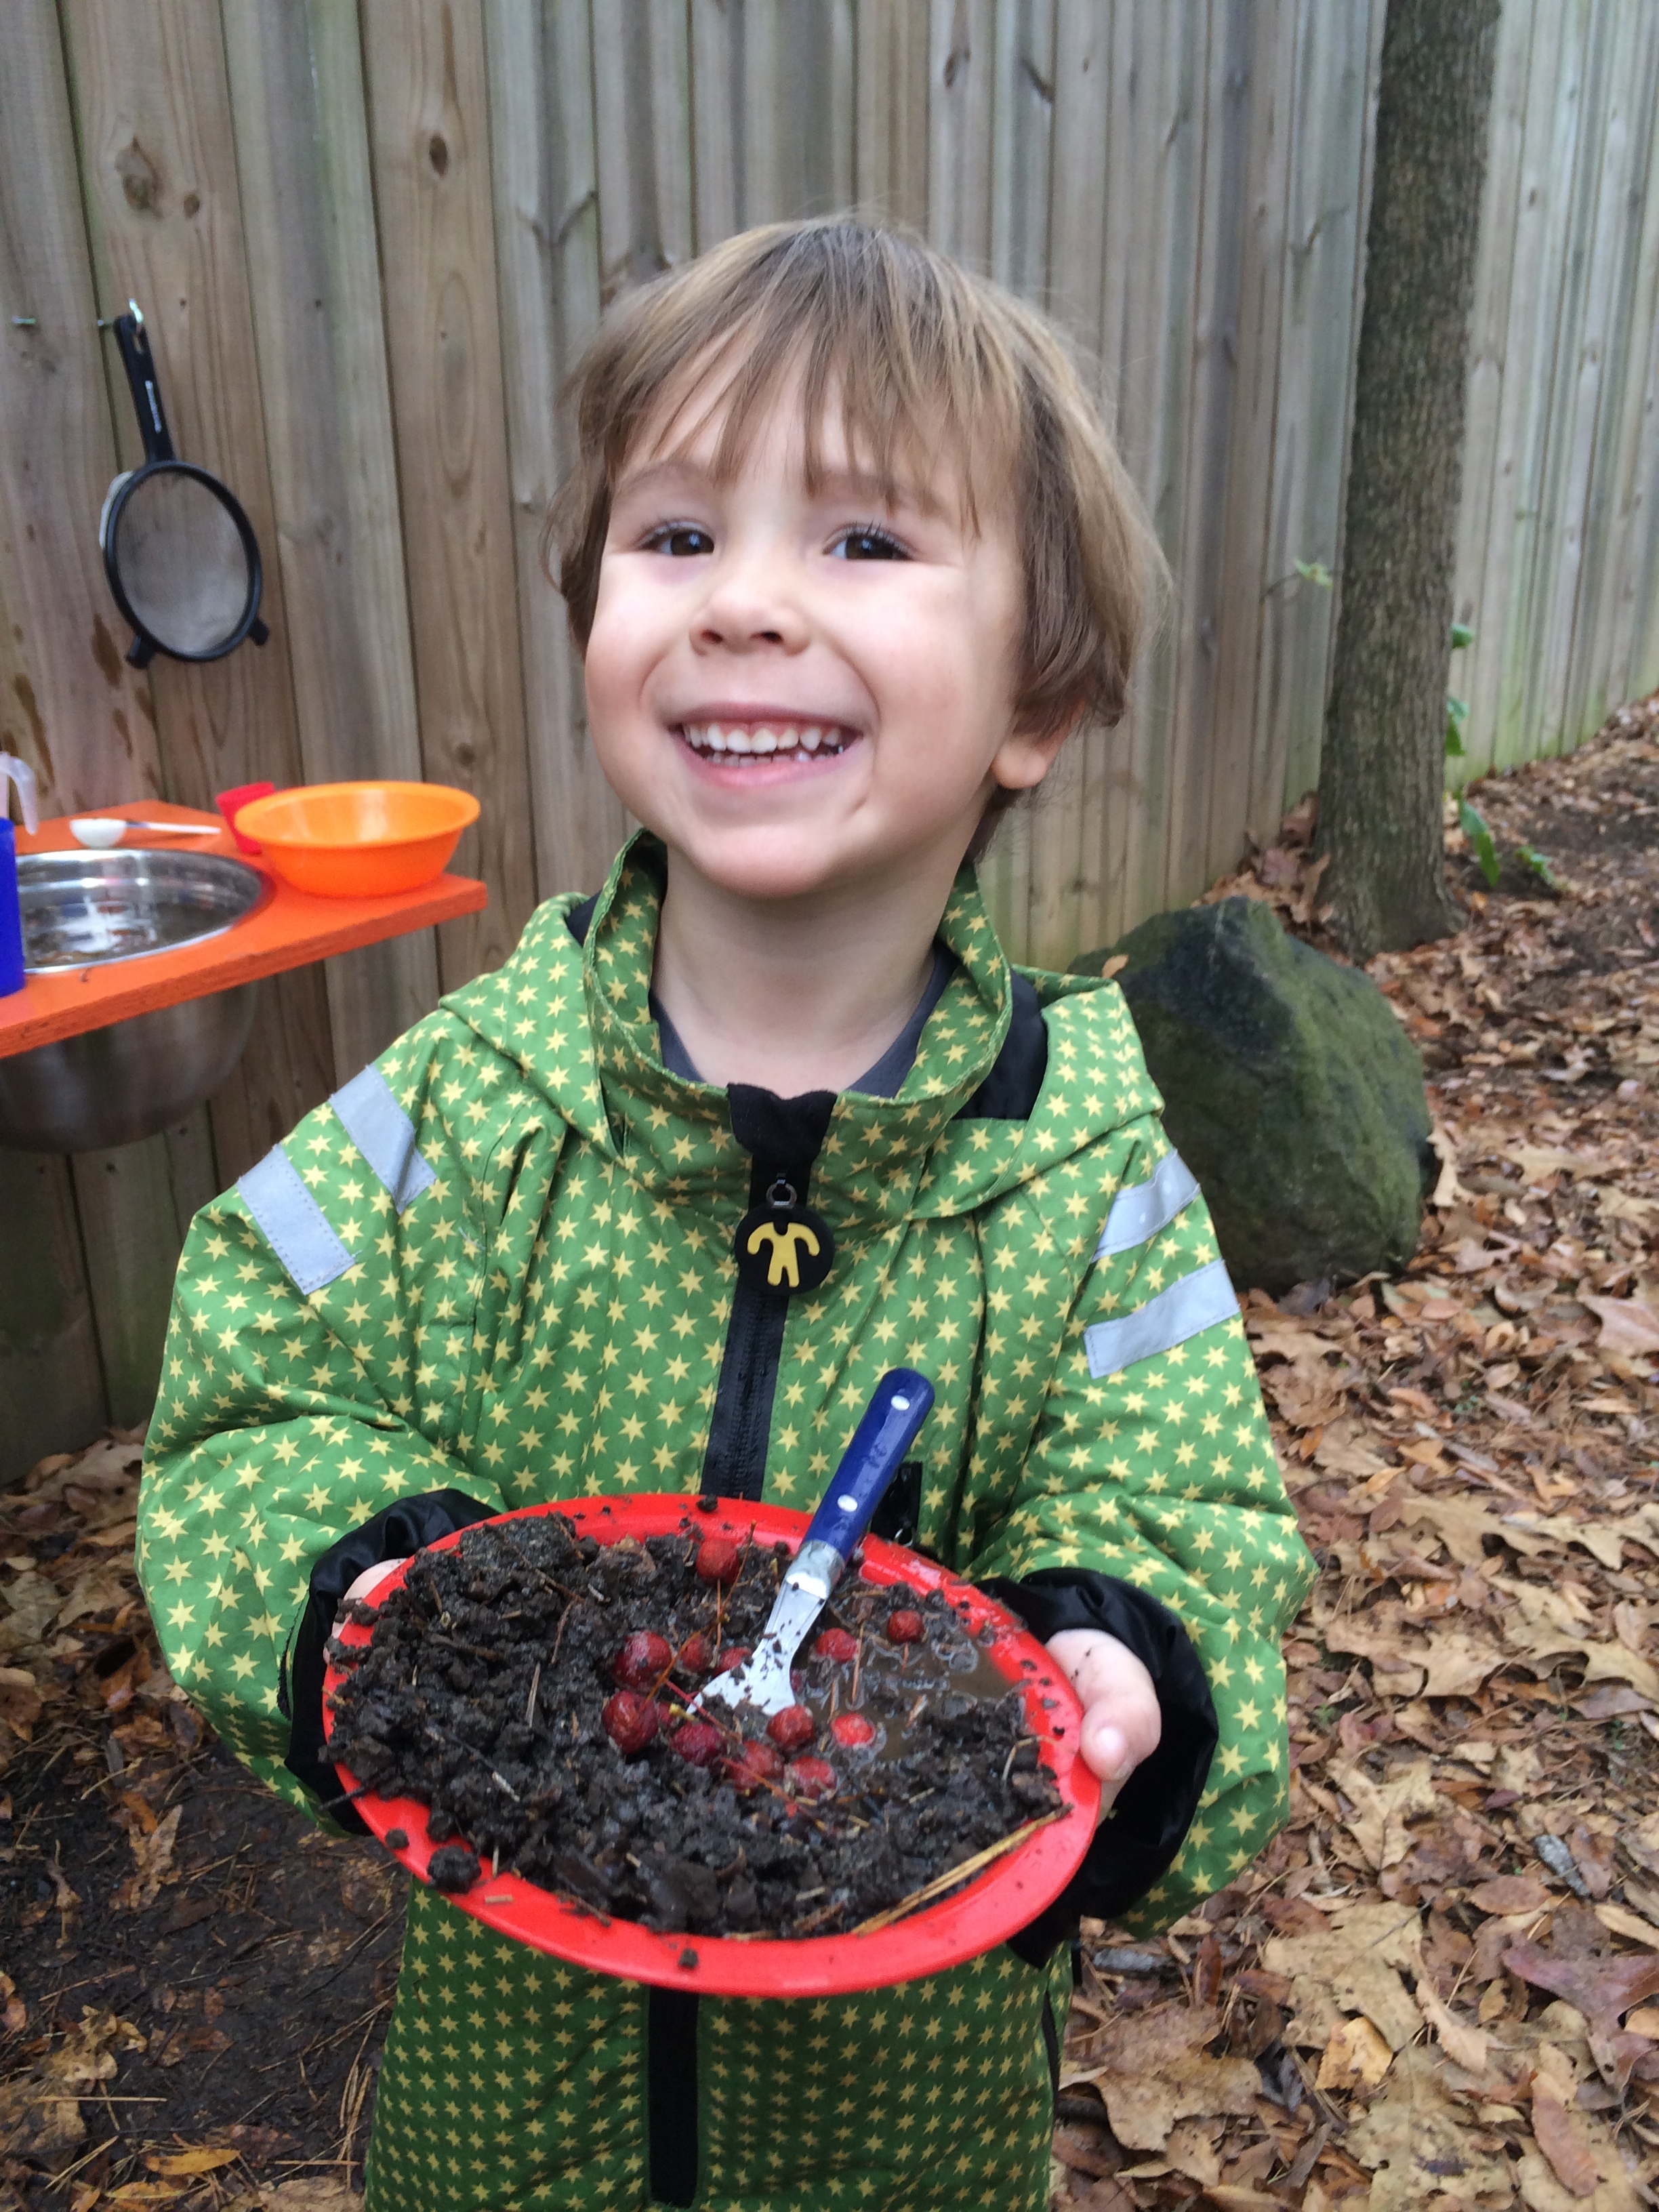
3. External Motivators – Some folks may call it bribery, but I feel like that term has a negative connotation. In my opinion, allowing a small treat here or there as a reward for an accomplishment is just a way to keep the psych high. Lately our family has gotten into “hiking bears,” an idea adapted from this blog. It was an instant hit! Basically I make sure to always have a stash of gummy bears on hand, and I dole our 1-2 bears whenever we stop to rest. There’s not a specific distance or time in between bears, I just wait til I think C needs a pick-me-up (or if he asks after a reasonable amount of time.) After a big uphill push is a great time to offer a handful! On our first hike utilizing the bears, we went for 5.5 miles, and I was amazed that C hiked on his own for all but the first mile!
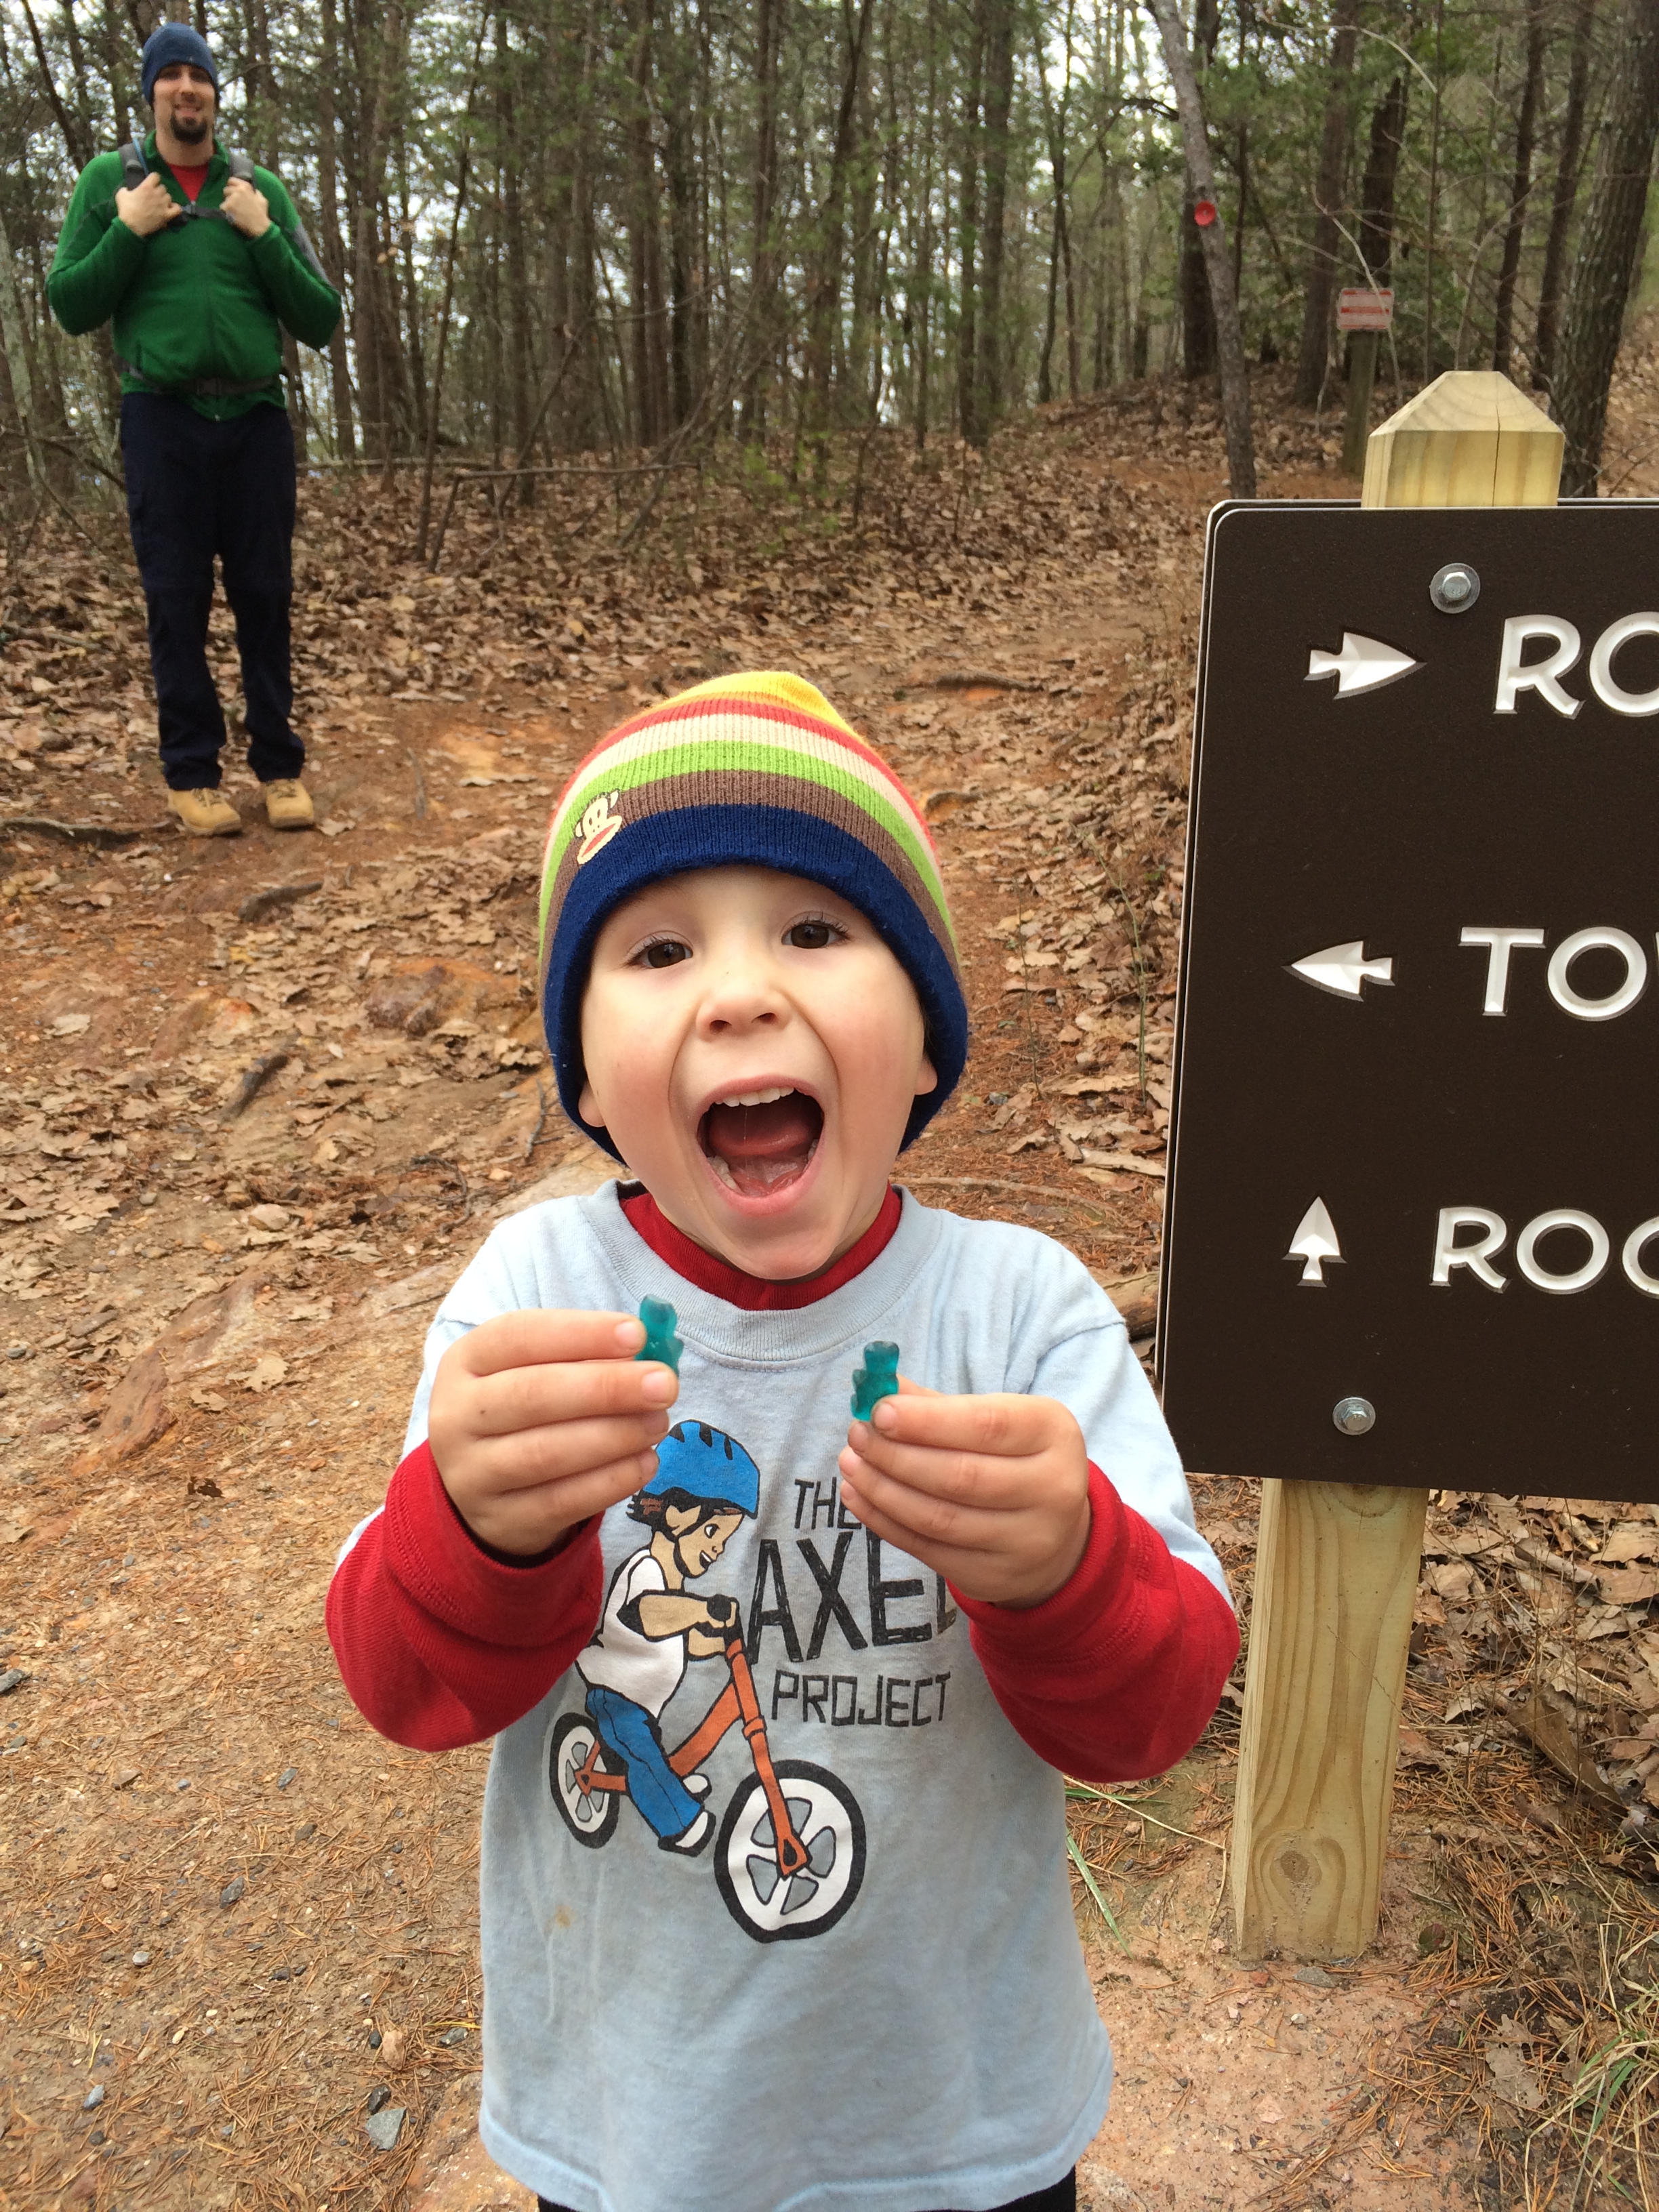
Hiking bears. The face says it all.
4. Hiking Games – Another way to keep things fun and exciting is to give your child a “mission.” There are any number of assignments to choose from, most of which can apply to kids of all ages. Some examples could include:
- Finding something in nature that is a certain shape, color, or starts with a particular letter of the alphabet. You can use an inexpensive spotting scope under 100 to make this game even more interesting.
- Looking for signs of life – animal tracks, feathers, snake skins, etc.
- Collecting bugs in a jar
- Geocaching – The sky is the limit to the adventures you can have with this one, especially for older kids. For more info on what secret treasures are hiding along your favorite trails and natural spaces, check out the map here.
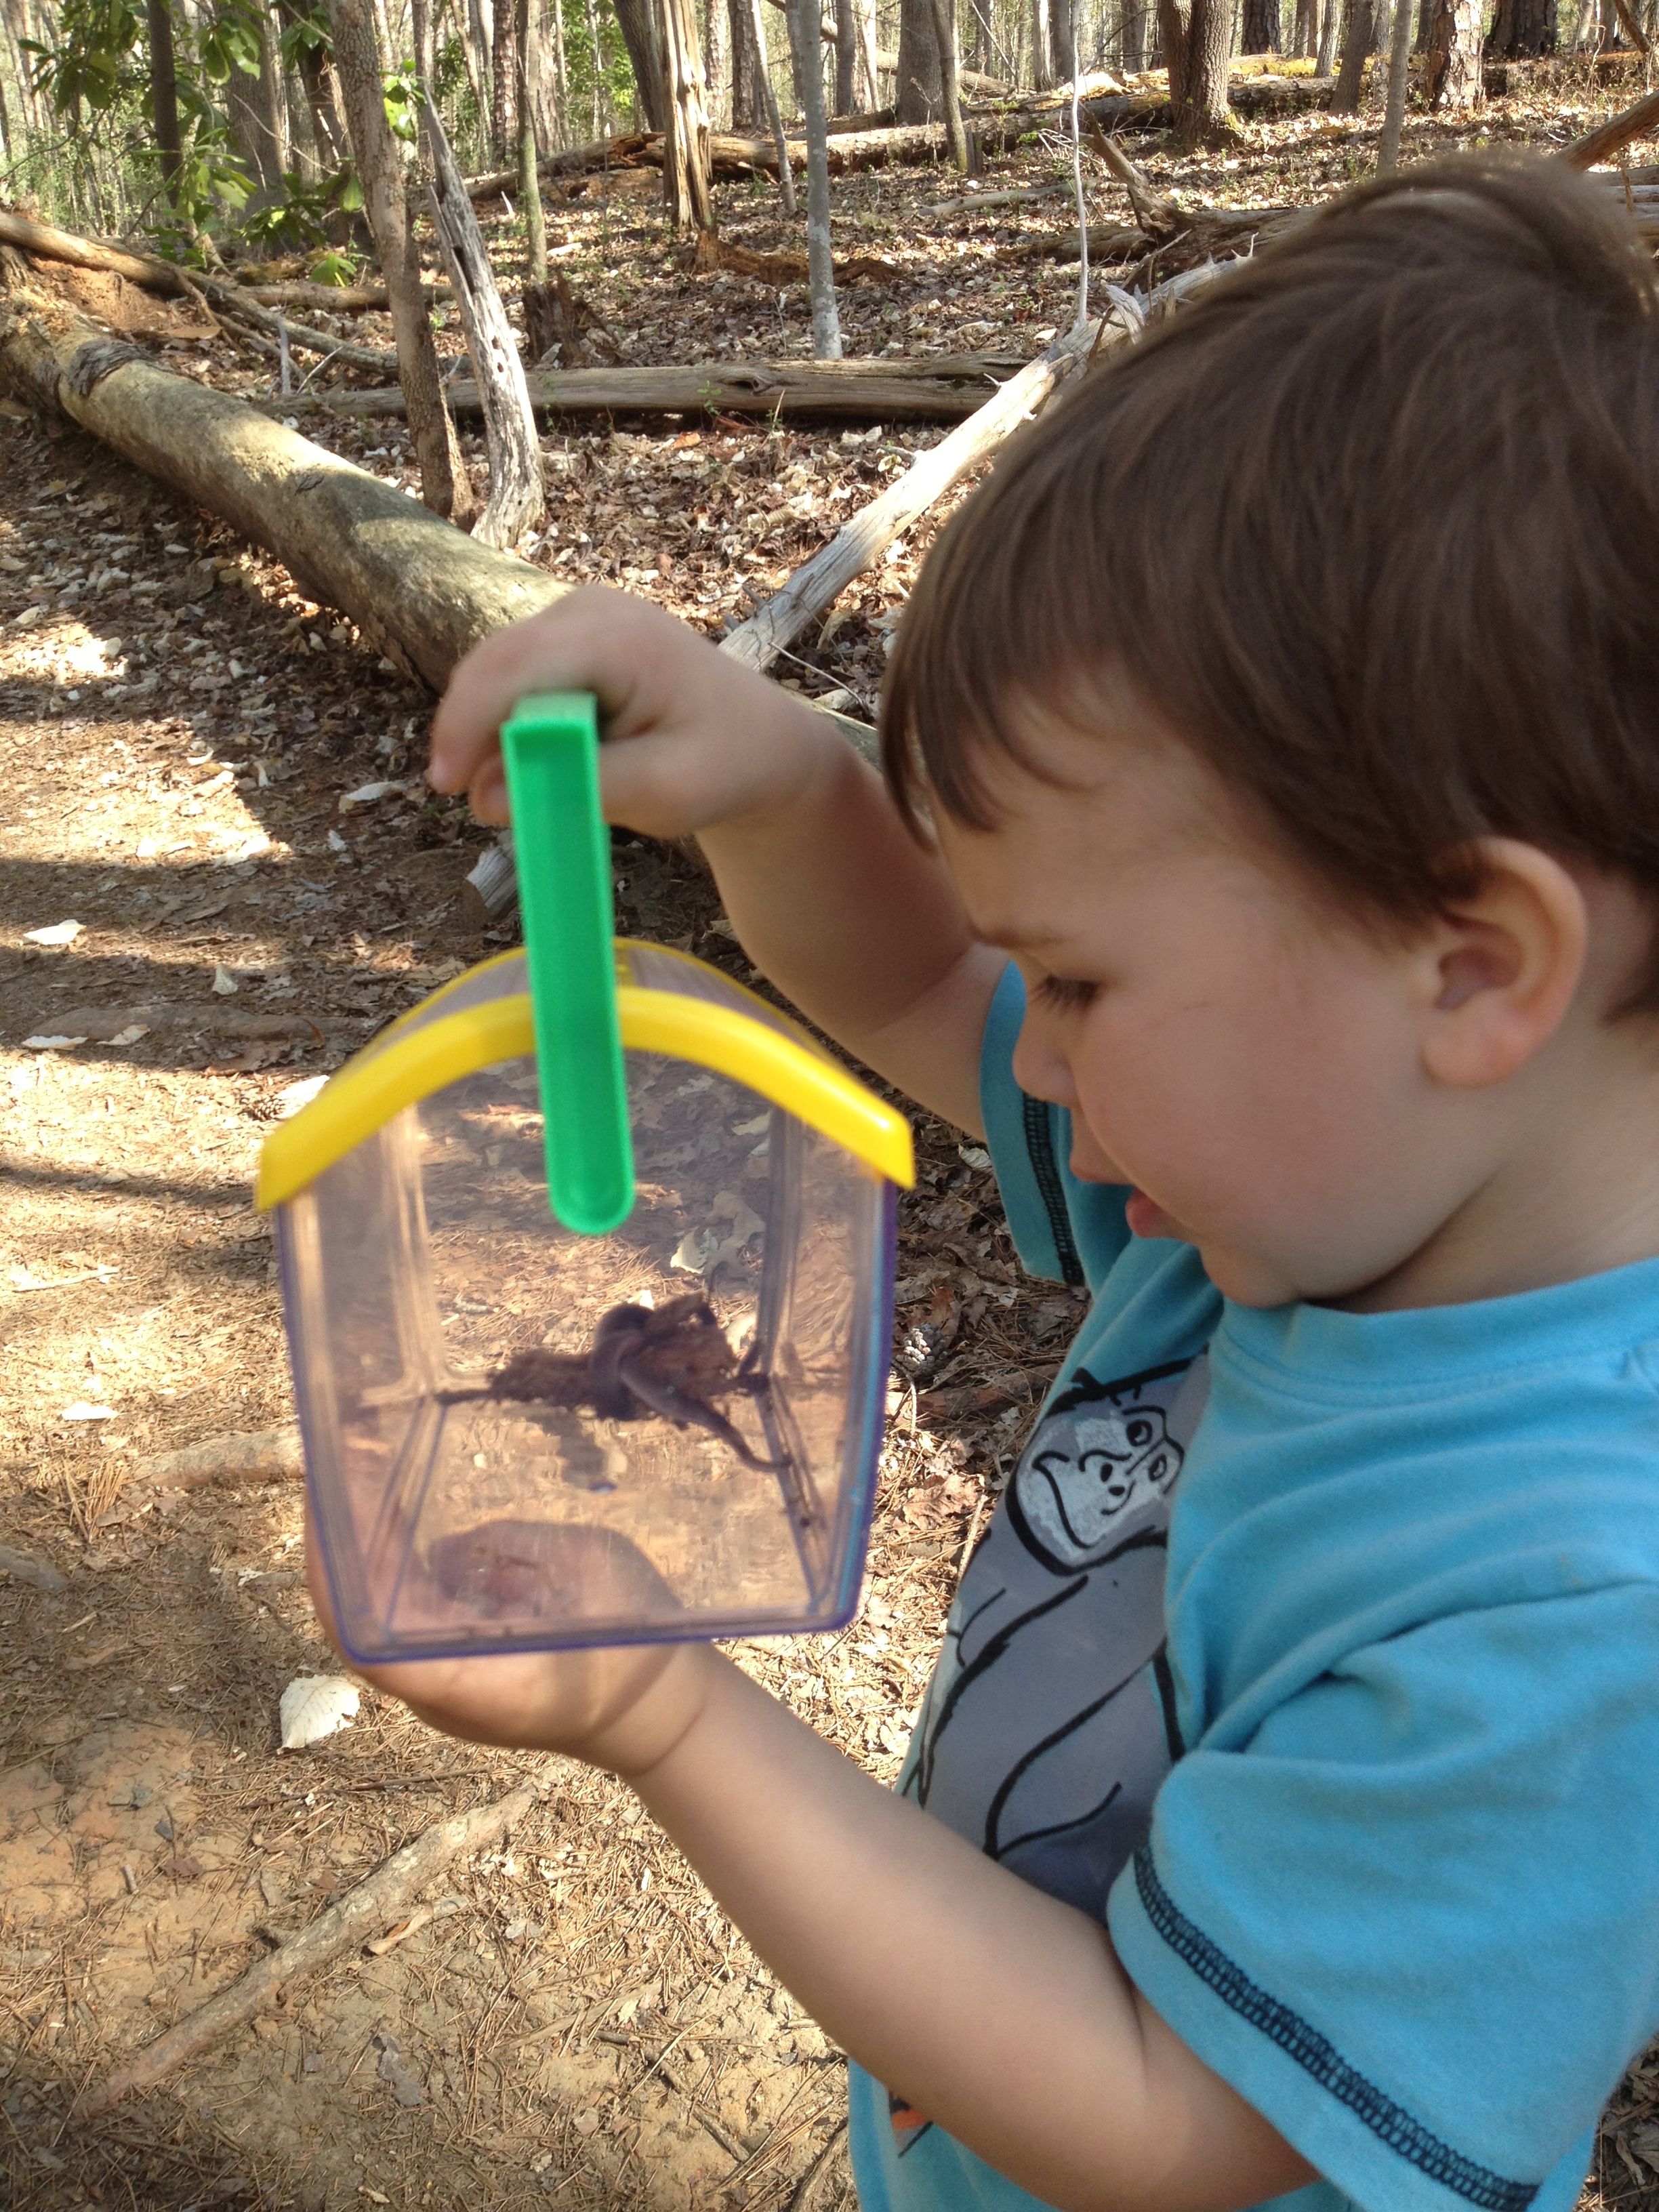 We rarely go on a hike without our bug box in tow. |
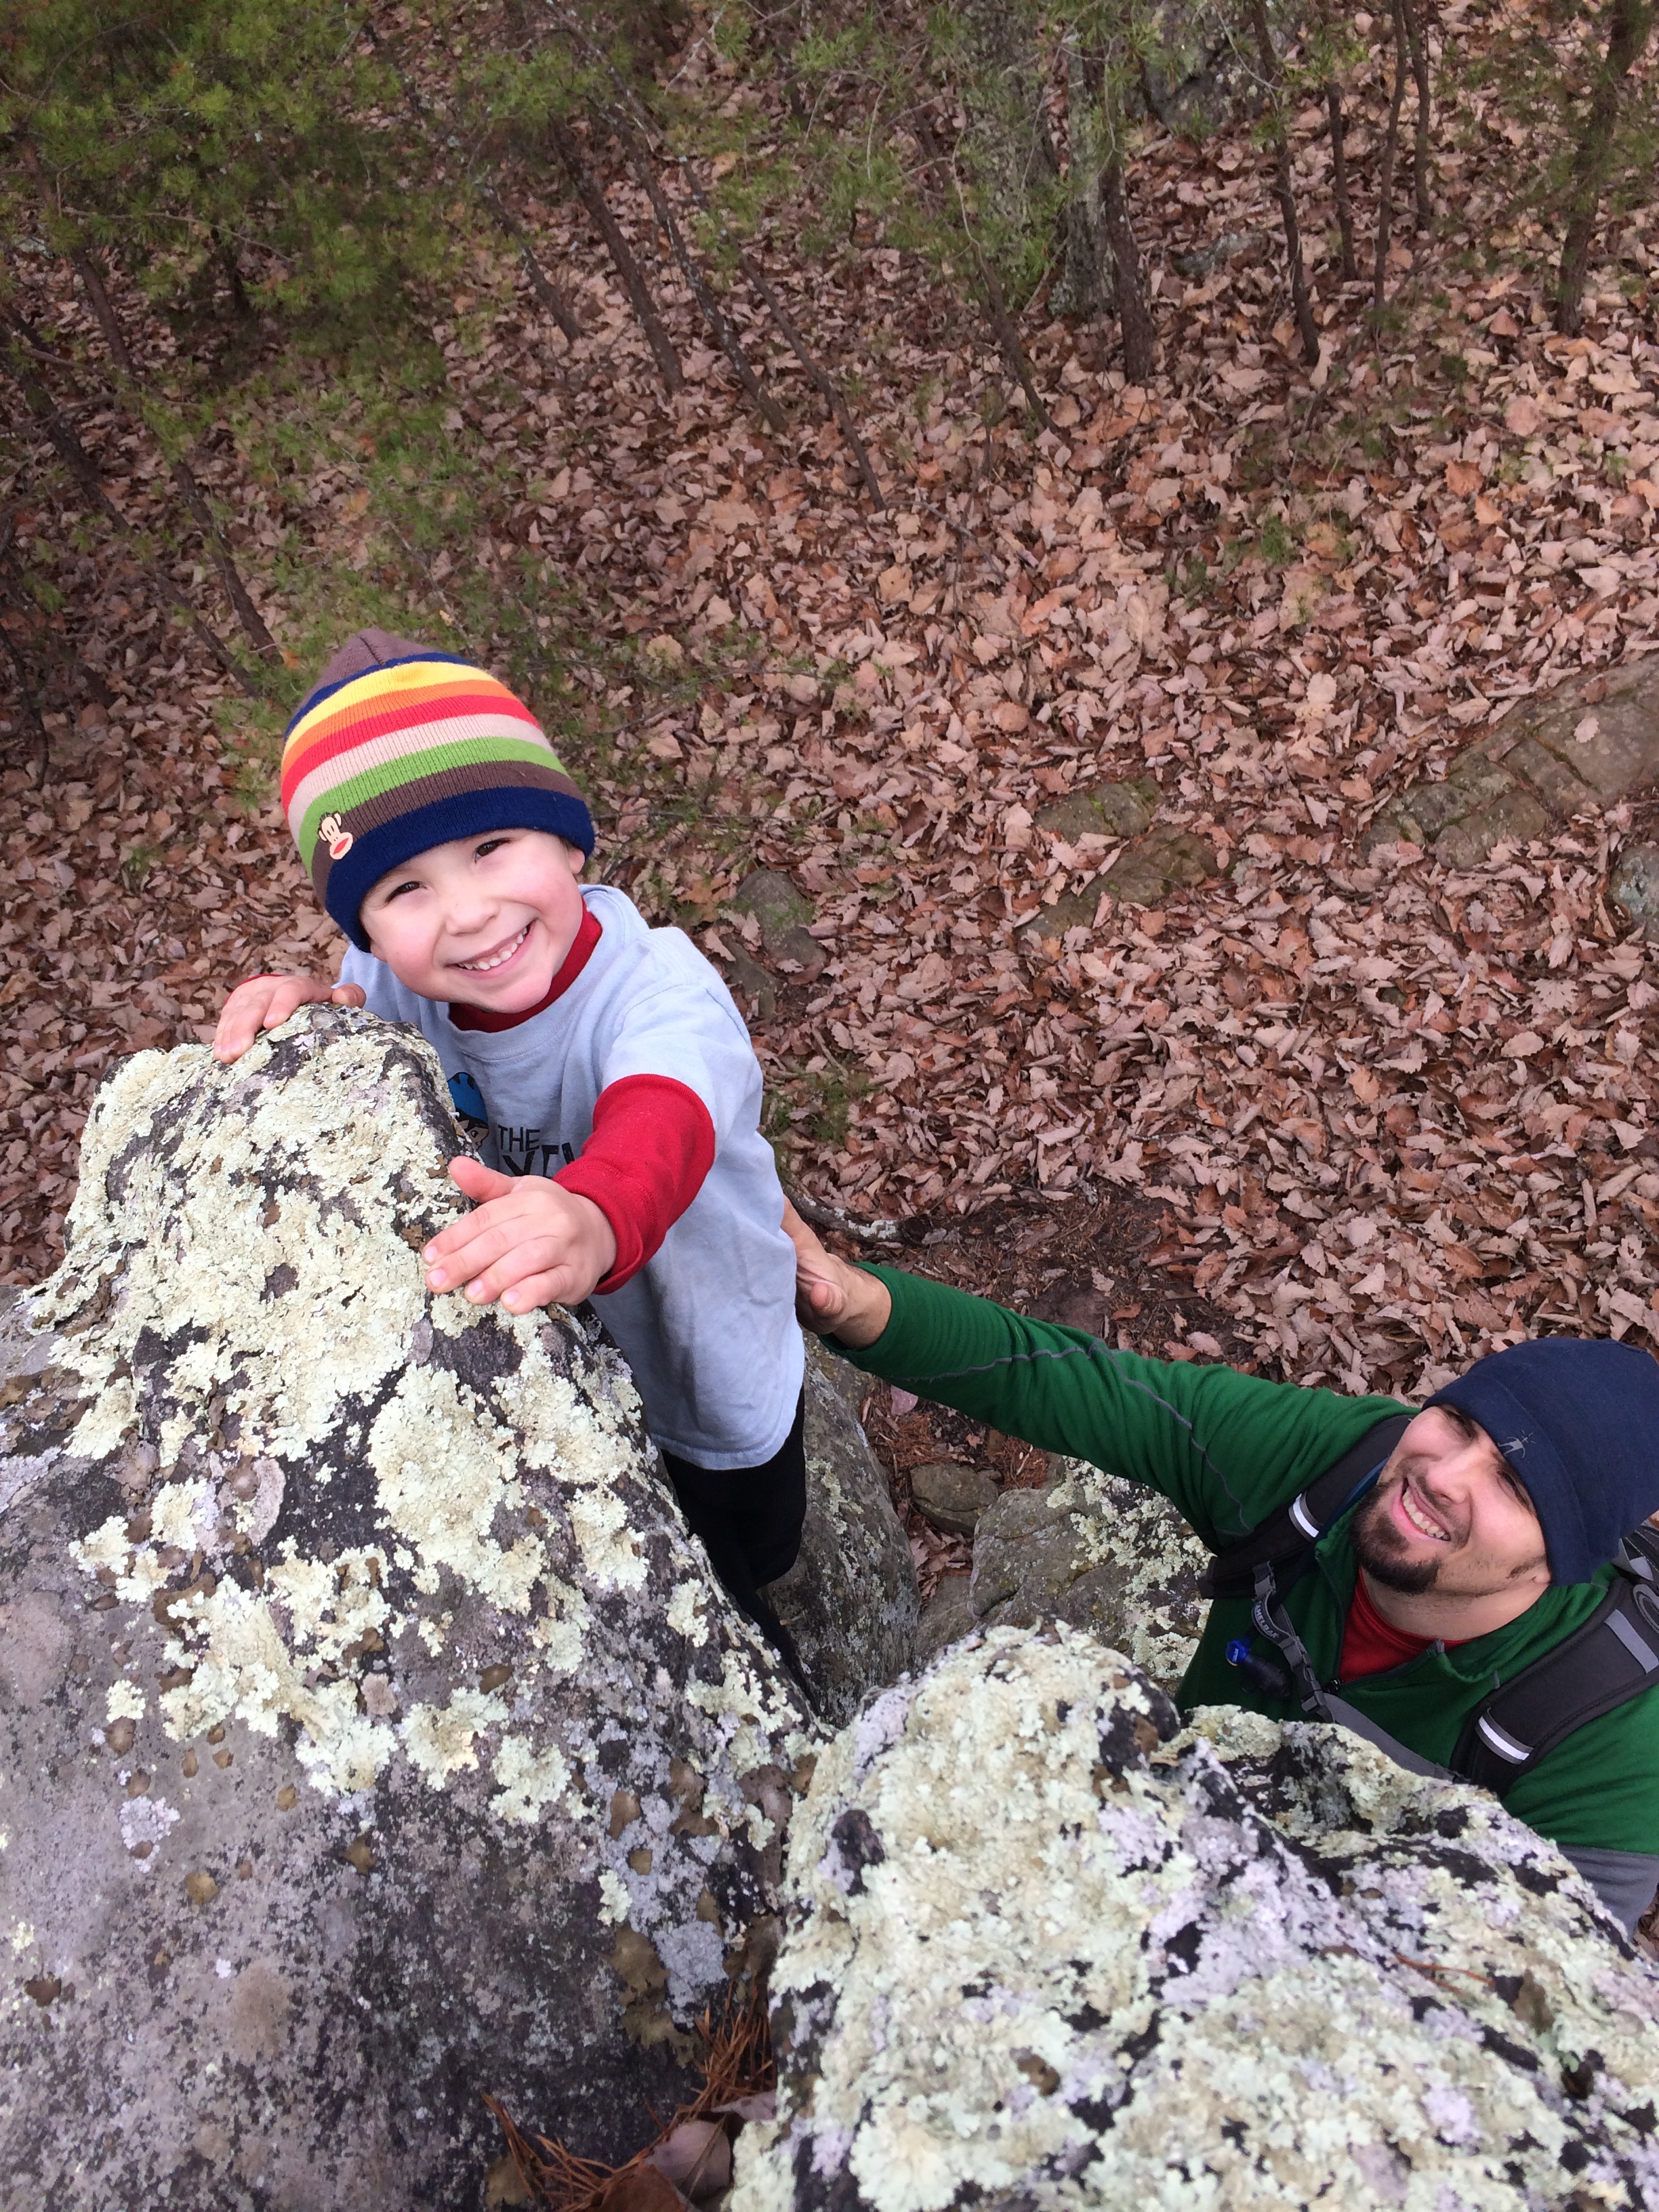 We ALWAYS stop for an opportunity to climb! |
5. Enjoy the Journey – Don’t forget that little legs tire easily, especially ones that aren’t used to a lot of hiking. You also need to ensure that you are equiped with the right attire before you set out for a hike. I always get stuff from Live Your Aloha before I could take off with my son.
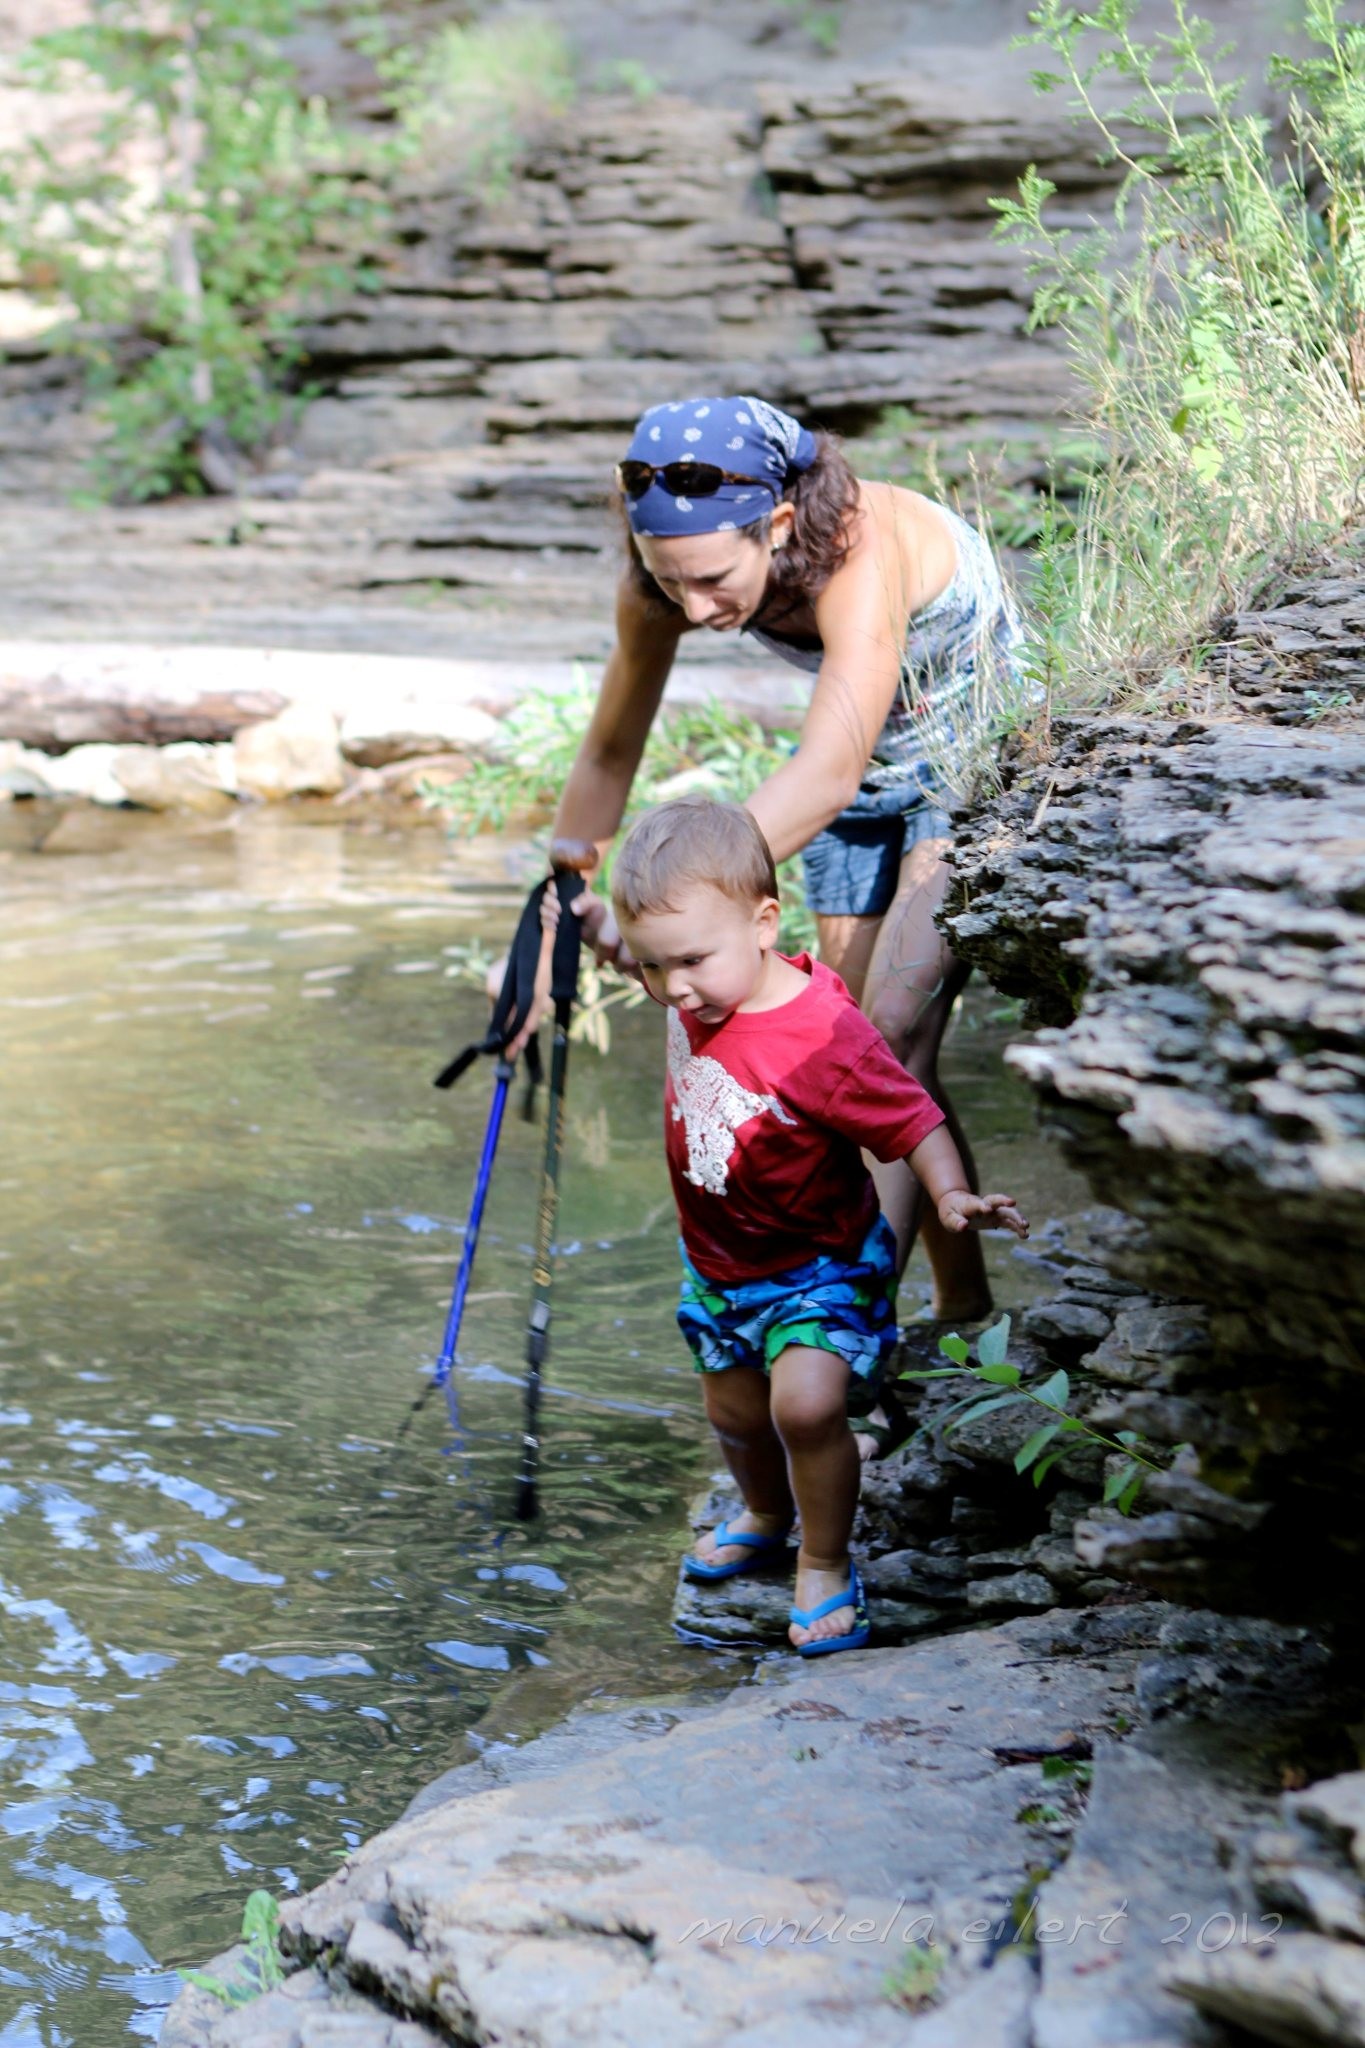
Kids need to build up their endurance just as adults do. Walk at a pace your child is comfortable with, and stop and rest whenever they need to. If that means turning back without reaching your final destination, do it without grumbling or complaining. The important thing is that your children are out recreating in nature, not that you came up a quarter mile short on your mileage for the day.
What strategies have you found work for getting your little ones on the trail on their own two feet?
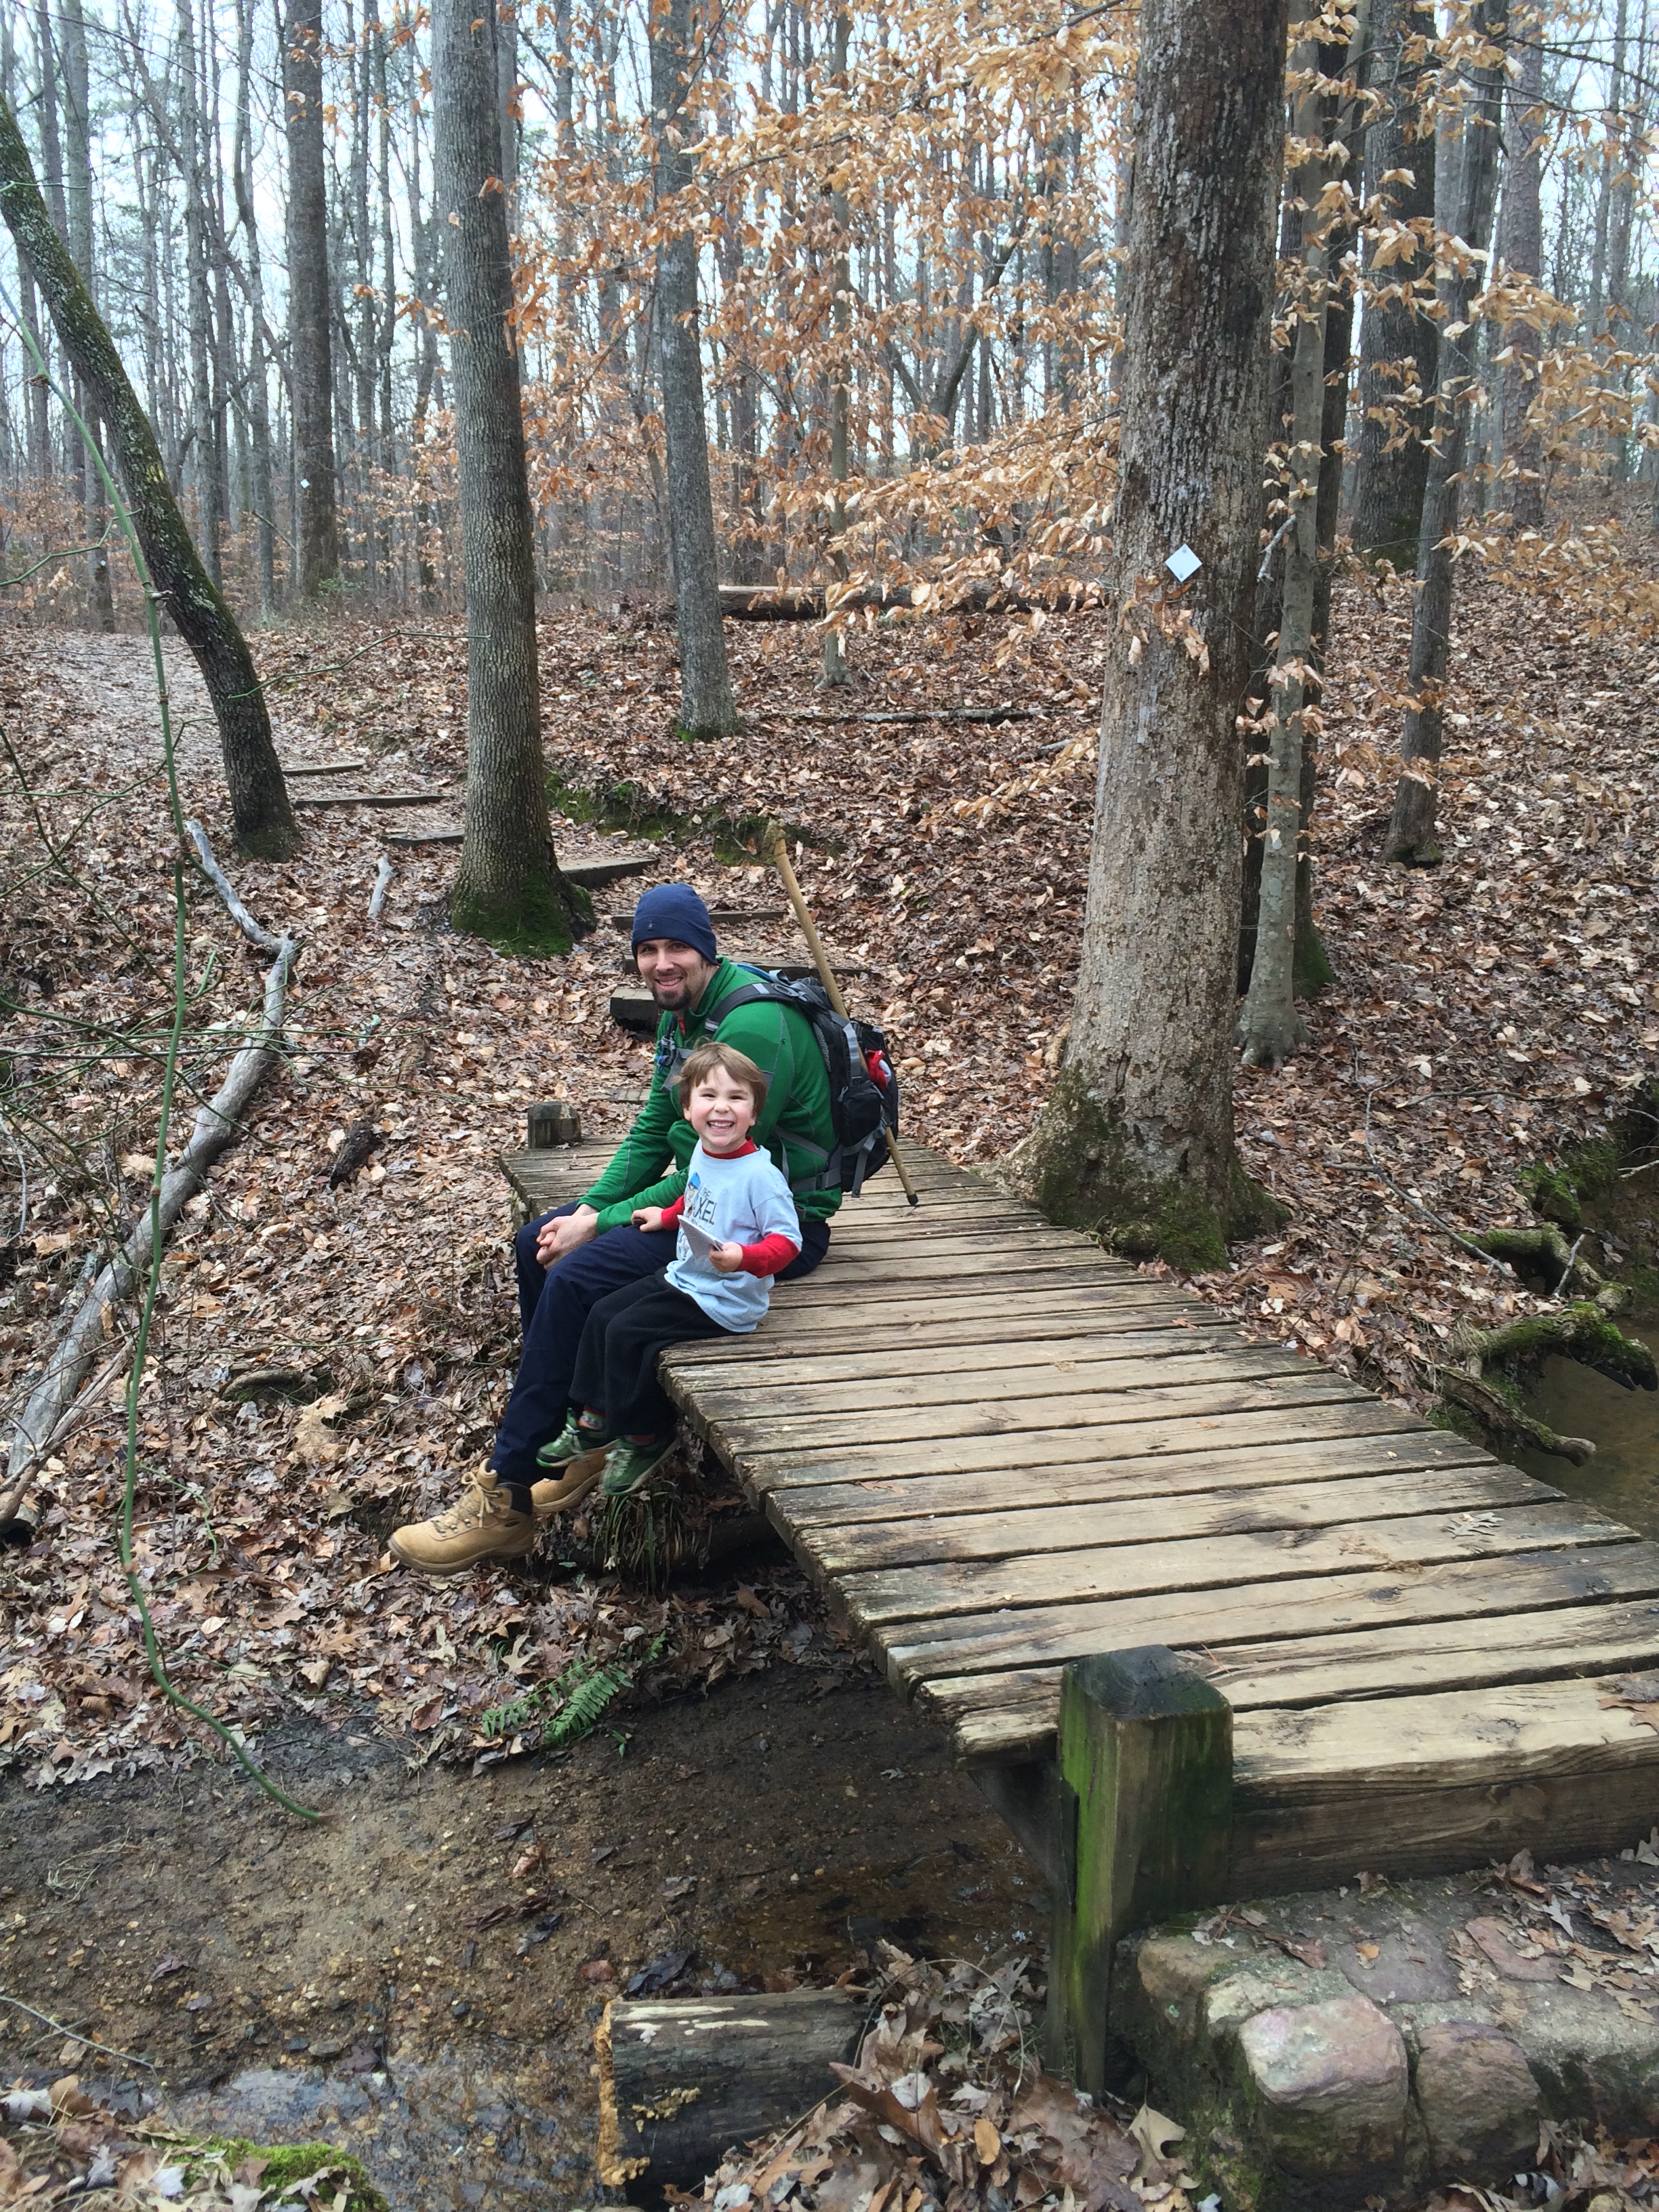
A cheerful rest stop along the way…