An All-Weather Gift Guide for All-Year Adventures!
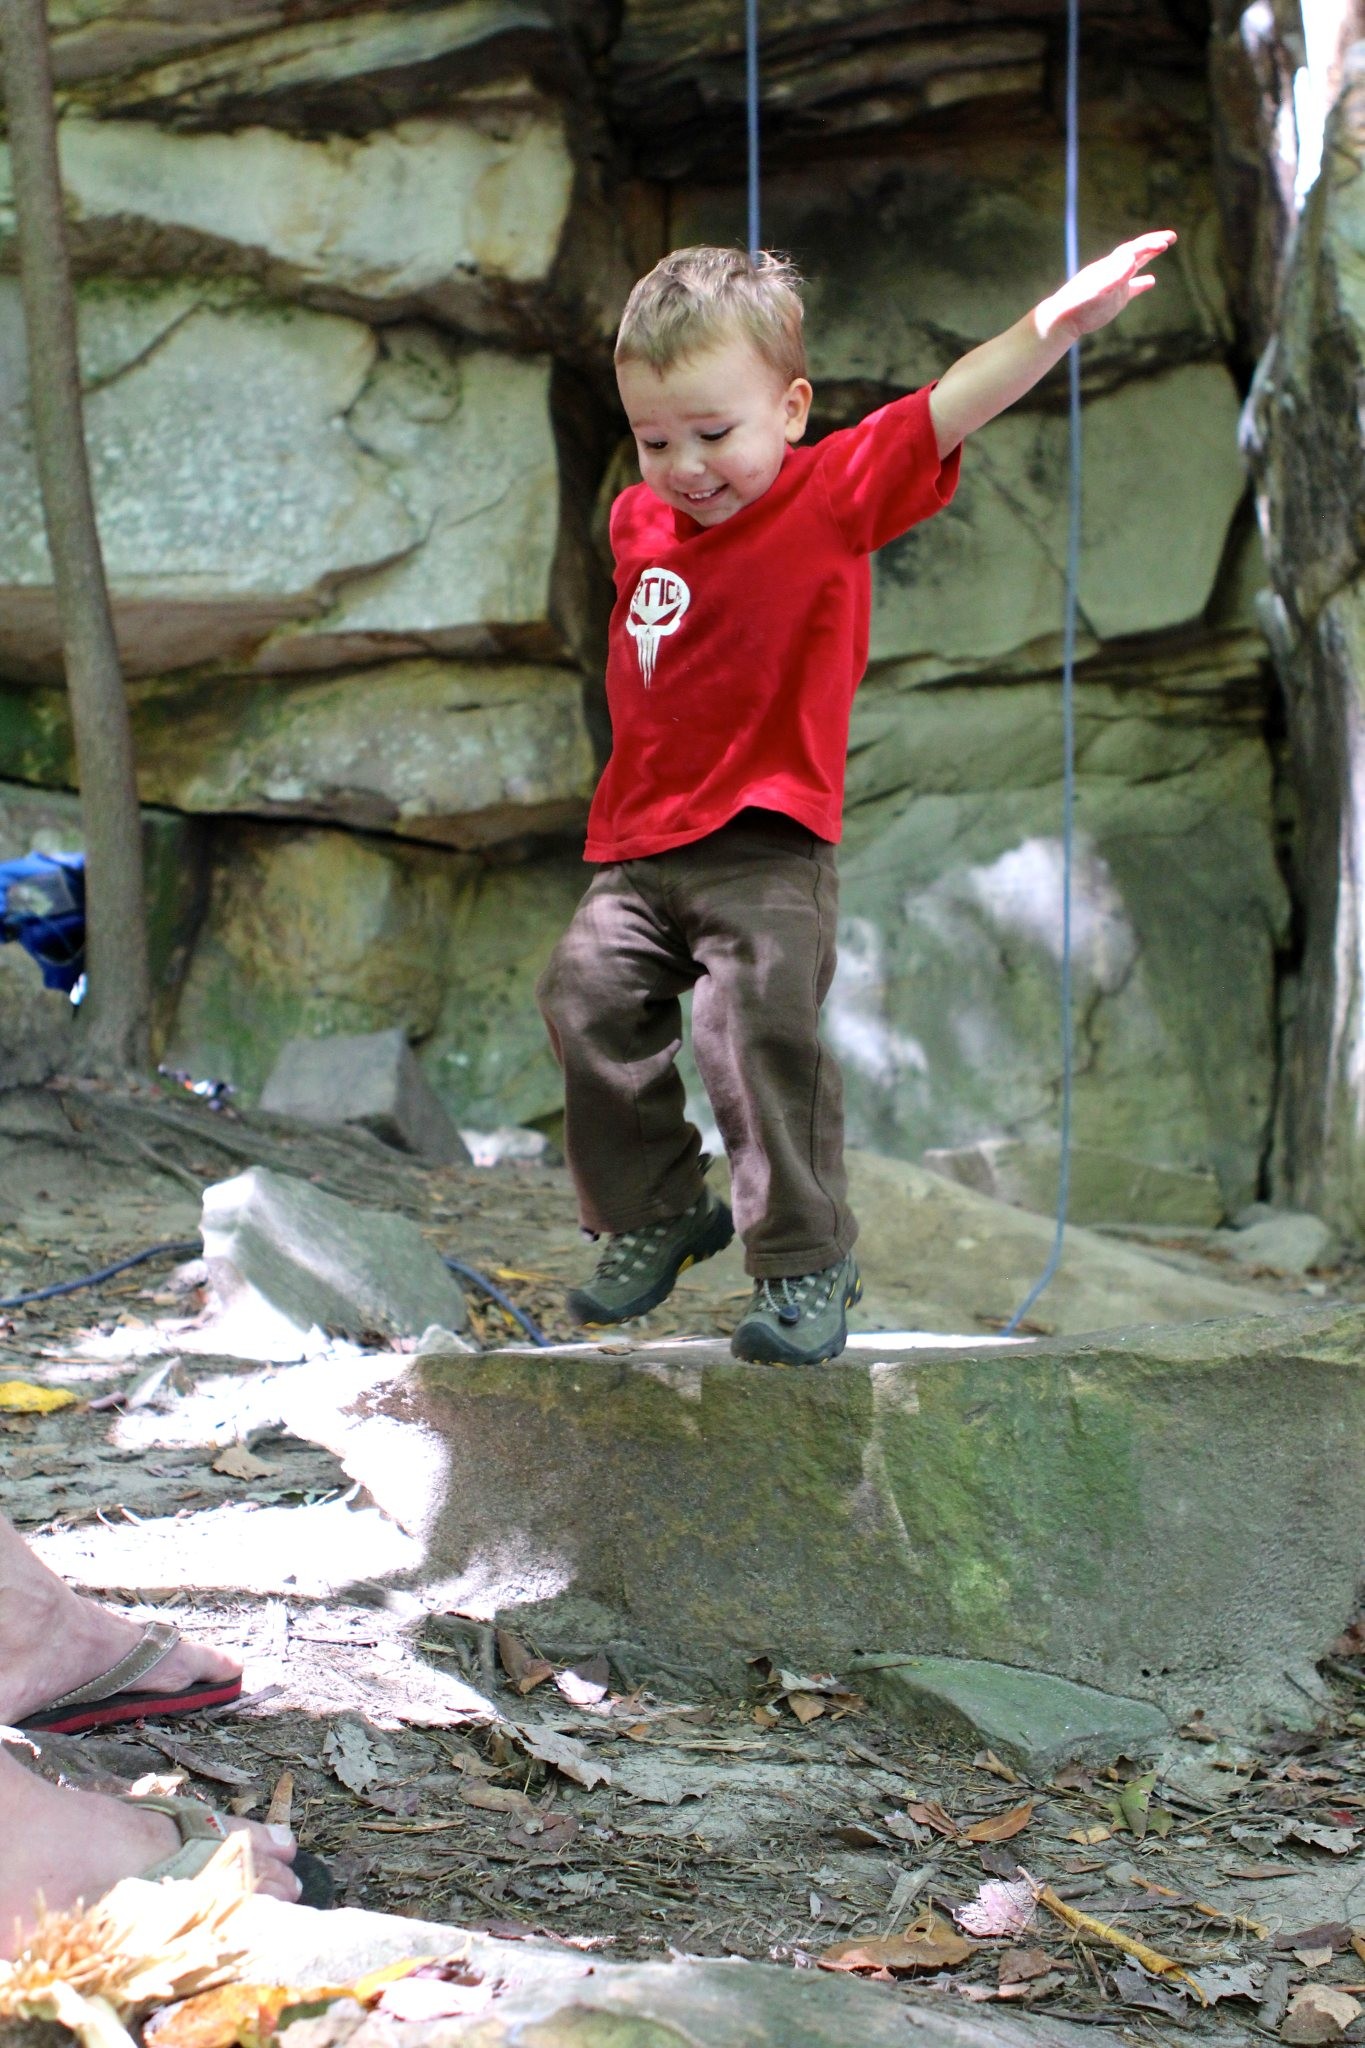
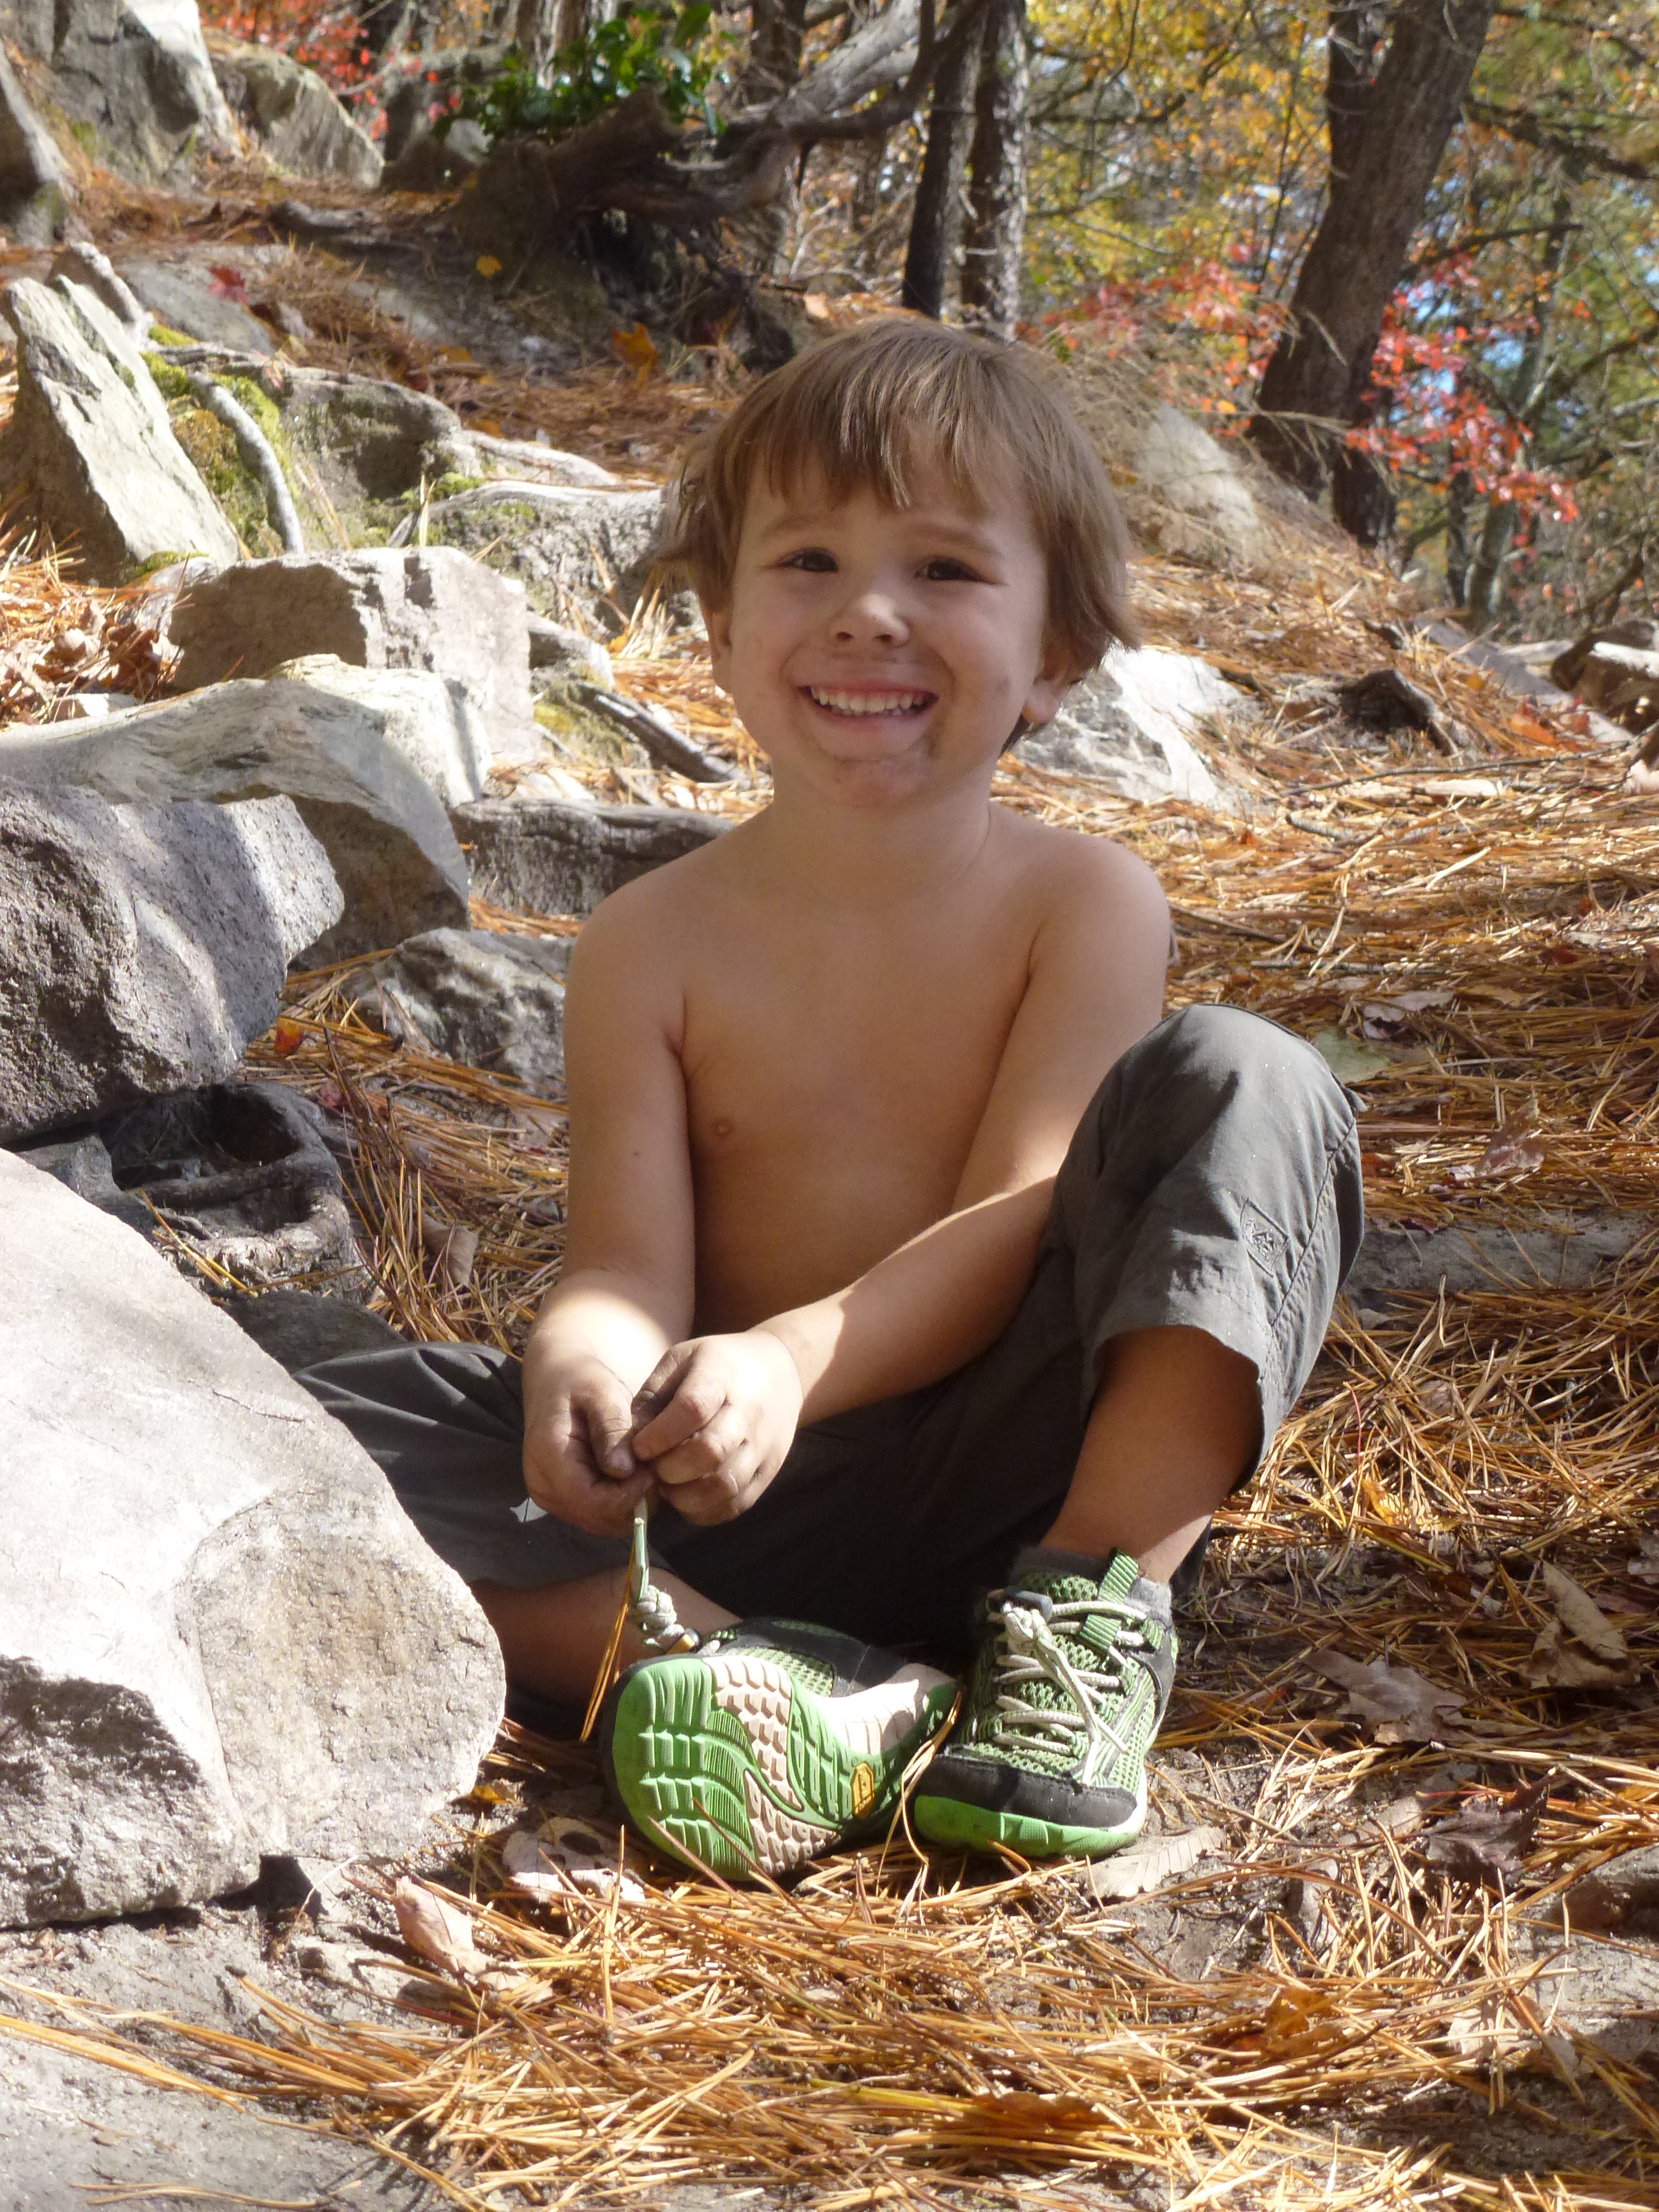
Jumping for joy in a pair of KEEN Alamosas!
It might not even be Thanksgiving yet, but I’d be willing to bet that a lot of you have already started your holiday shopping. You can really never start too early, as many times finding the perfect gift for someone you love can be quite difficult. My husband’s family tries to make this easier on every one via a “Christmas List.” Not just for kiddos around here, we all jot down a few items in varying price ranges and share them with each other. While going rogue and purchasing something NOT on the list is certainly acceptable, the list is a great place to start, especially for out of town family members that you don’t see very often. So with that in mind, here’s a list of ideas for your favorite family that loves to be outside all year long – I chose my gear favorites based on just about any weather condition imaginable. Stock up on these items, and you’ll have no excuses for laying around the house when it’s too cold, hot, wet, etc!
1. HAT – Young or old, hats are a great gift for anyone who likes to play outside! Not only are hats a functional must-have when the mercury dips, but they also offer the opportunity to still look cute and stylish amidst all the bundles of layers. A basic wool beanie is a great simple option, or if you want to get funky, choose a hand-crocheted toboggan from a boutique. For the kiddos, our number one choice of late has been the Hatz from Stonz. These hats are made from a double-layer of anti-pill fleece and have a comfortable velcro attachment at the neck to keep a hat where it needs to be – on your child’s head! Major selling points? It’s not only reversible but also machine washable!
2. DUCKSDAY SUITS – We are firm believers in our house in the mantra that there is no bad weather, only bad gear. Apparently Ducksday subscribes to this philosophy as well, because their gear makes even the gloomiest weather conditions fun! Ducksday’s innovative solution is a two-piece layering system – waterproof rain suit on the outside, and cozy, warm fleece on the inside. Individually, they can keep your child dry in wet, warm weather, or warm in cold, dry weather. Used together, they can keep your child warm enough AND dry enough to play in the snow! (Click here for a more thorough review of this product, written last year when we first found this company!)
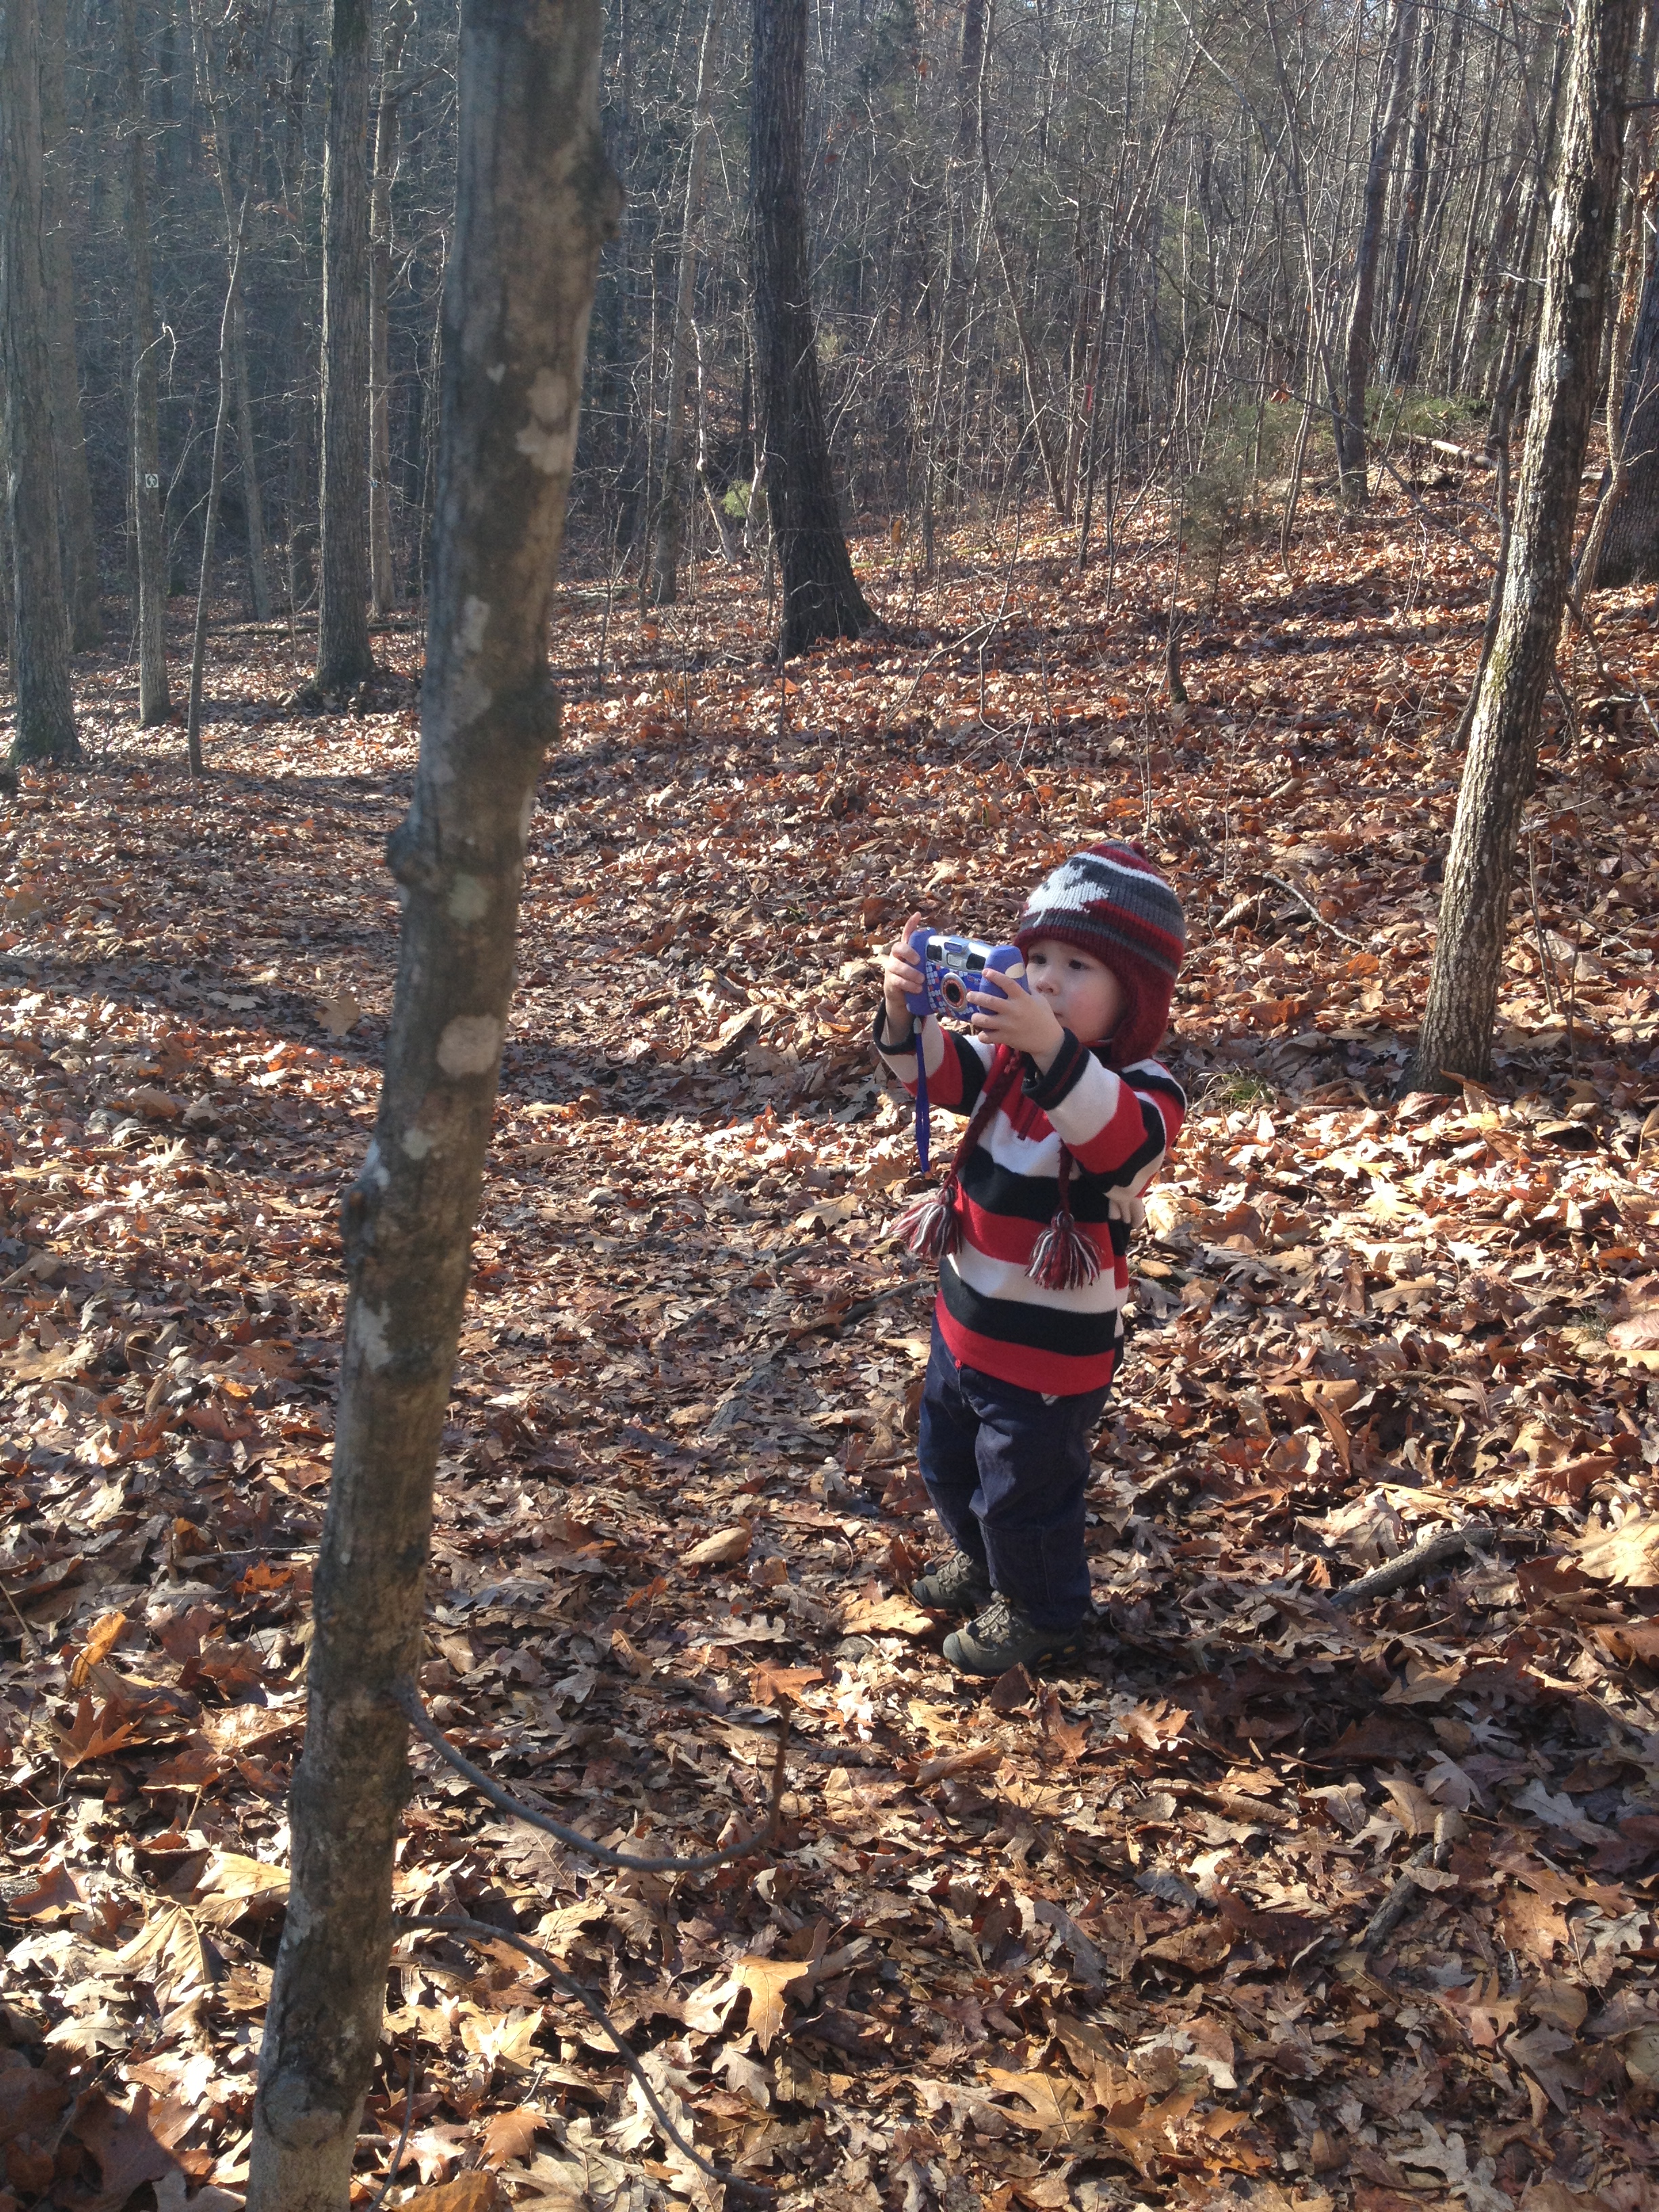
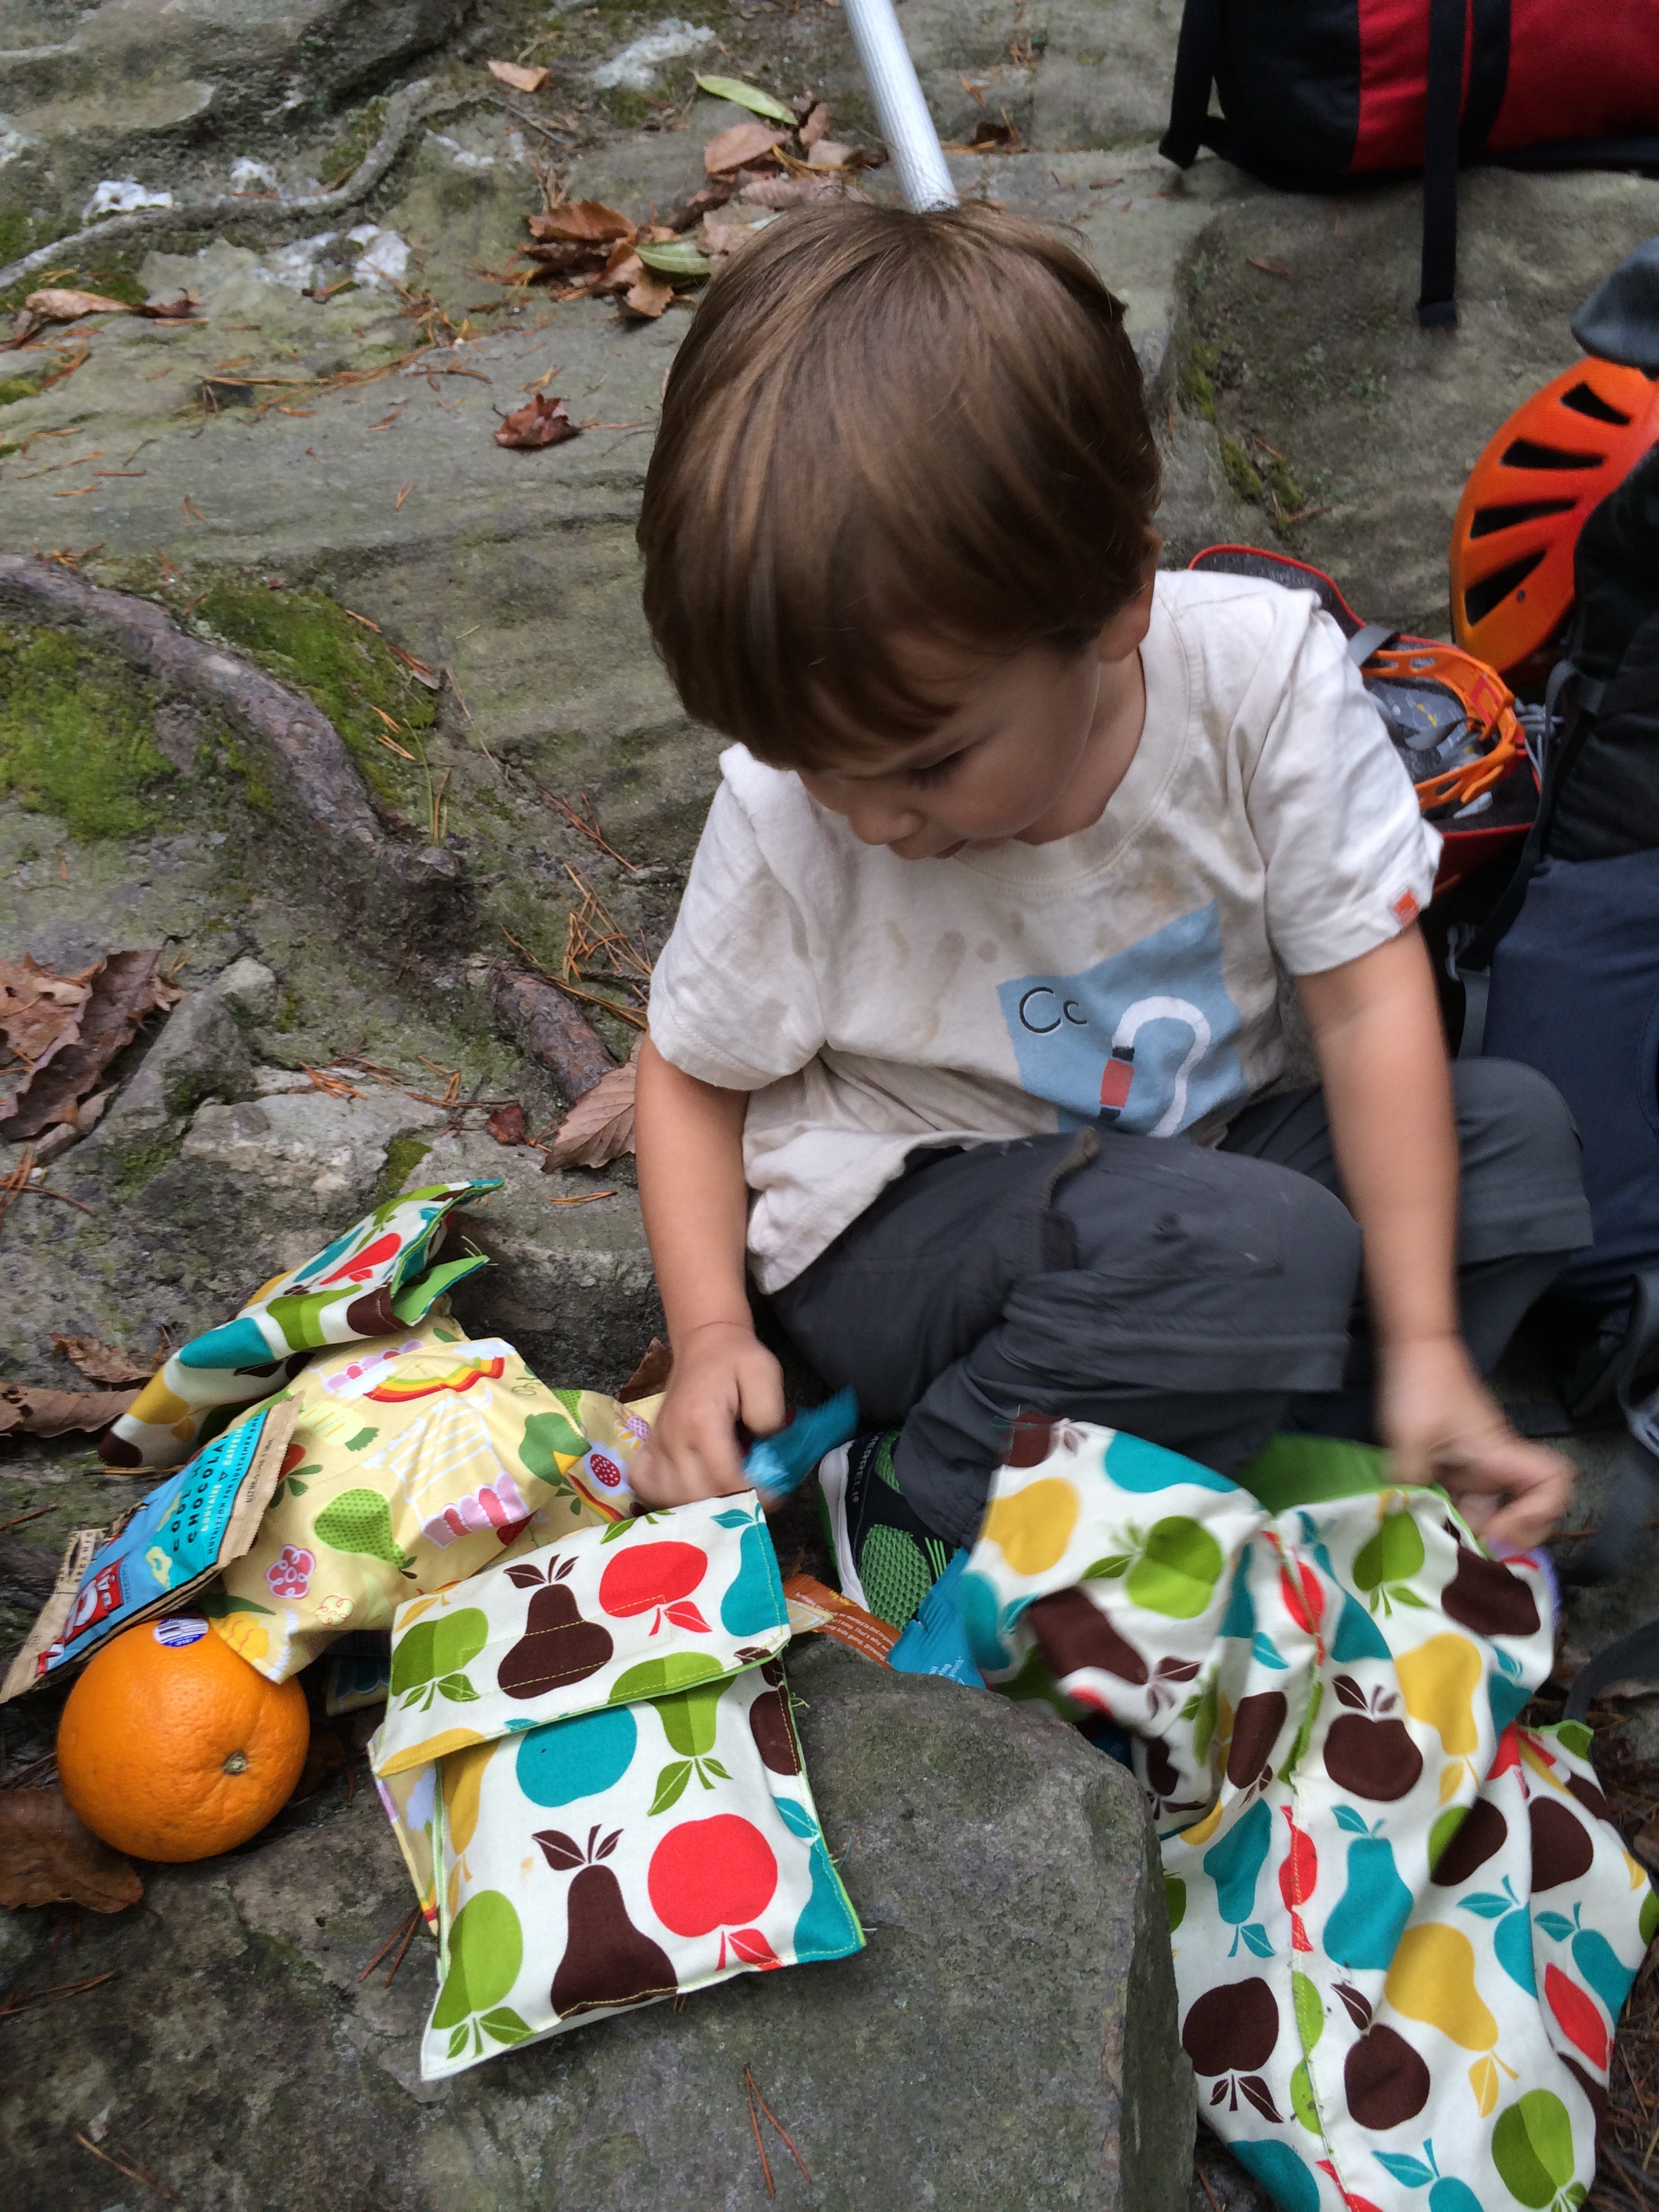
CHEESE!!!
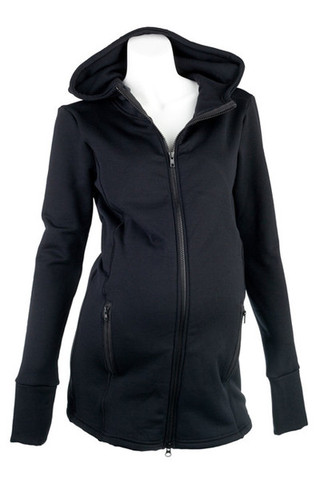
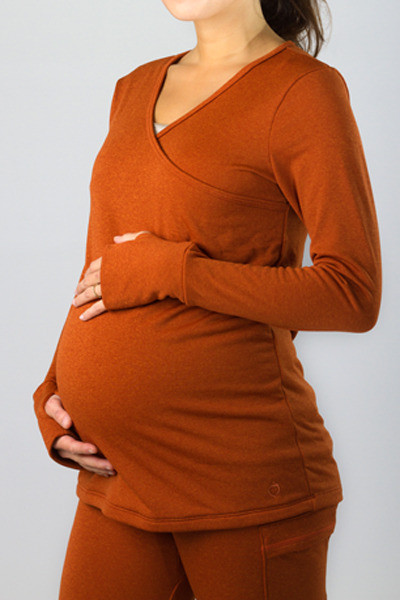
3. WOOL BASELAYERS – Yes, a high quality wicking fabric such as merino wool is expensive, and true your children are growing like weeds, but if one kid is cold and wet, the whole family will be miserable. Our family’s baselayer favorites are Icebreaker and Polarn O. Pyret. (For a thorough Icebreaker review, click here.) Both companies use merino wool, which is amazingly soft, breathable, and still wicks away moisture to keep you warm and dry. The gift-giving season is a great time to splurge on a nice set of long john’s for your tyke. Size them to grow into and you can more than likely get through multiple seasons with just a couple of pairs.
4. CAMERA – C first discovered the art of photography a couple of summers ago, and he enjoyed snapping photos so much that we got him his very own digital camera the following Christmas. We chose the Kidizoom from Vtech Kids, and it ended up being a great choice! It’s taken a lot of abuse—it’s been dropped, shoved into a backpack, and thrown into the backseat of a car—yet it keeps on ticking. The body of the camera is thoughtfully designed for little hands: sturdy rubber grips on the sides and a double viewfinder enable the child to peer through the camera like a pair of binoculars. The picture quality is good, provided that your child stops moving long enough to hold the camera steady (which doesn’t often happen at our house). For the toddler to preschool set, this camera is simple and intuitive to use, and very durable. For 5-to-8-year-olds, photo editing, music and games add to the picture-taking fun.
5. HIKING BOOTS – Shoes fall into the “do not skimp” category when it comes to gear, as appropriate footwear can go far in developing healthy little feet. Our go-to company for boots is KEEN. One of the things I love about this company is that their toddler and child boots are the exact same as the grown-up version, just in a pint-sized package. Because of that quality, these shoes aren’t cheap, but they are durable enough to last through multiple children. C managed to make it through 2 whole seasons with his Alamosa’s before growing out of them, and they will still be more than suitable for baby #2 once she is ready for them! With a water-resistant leather upper and a waterproof breathable lining on the inside, they’re perfectly designed for wet, muddy conditions any time of year. Slingshot laces means you can hike all day without having to stop and tie shoes, and a sturdy design makes this shoe supportive for whatever type of terrain you encounter. (Click here for the full review of the Alamosa, written last fall.)
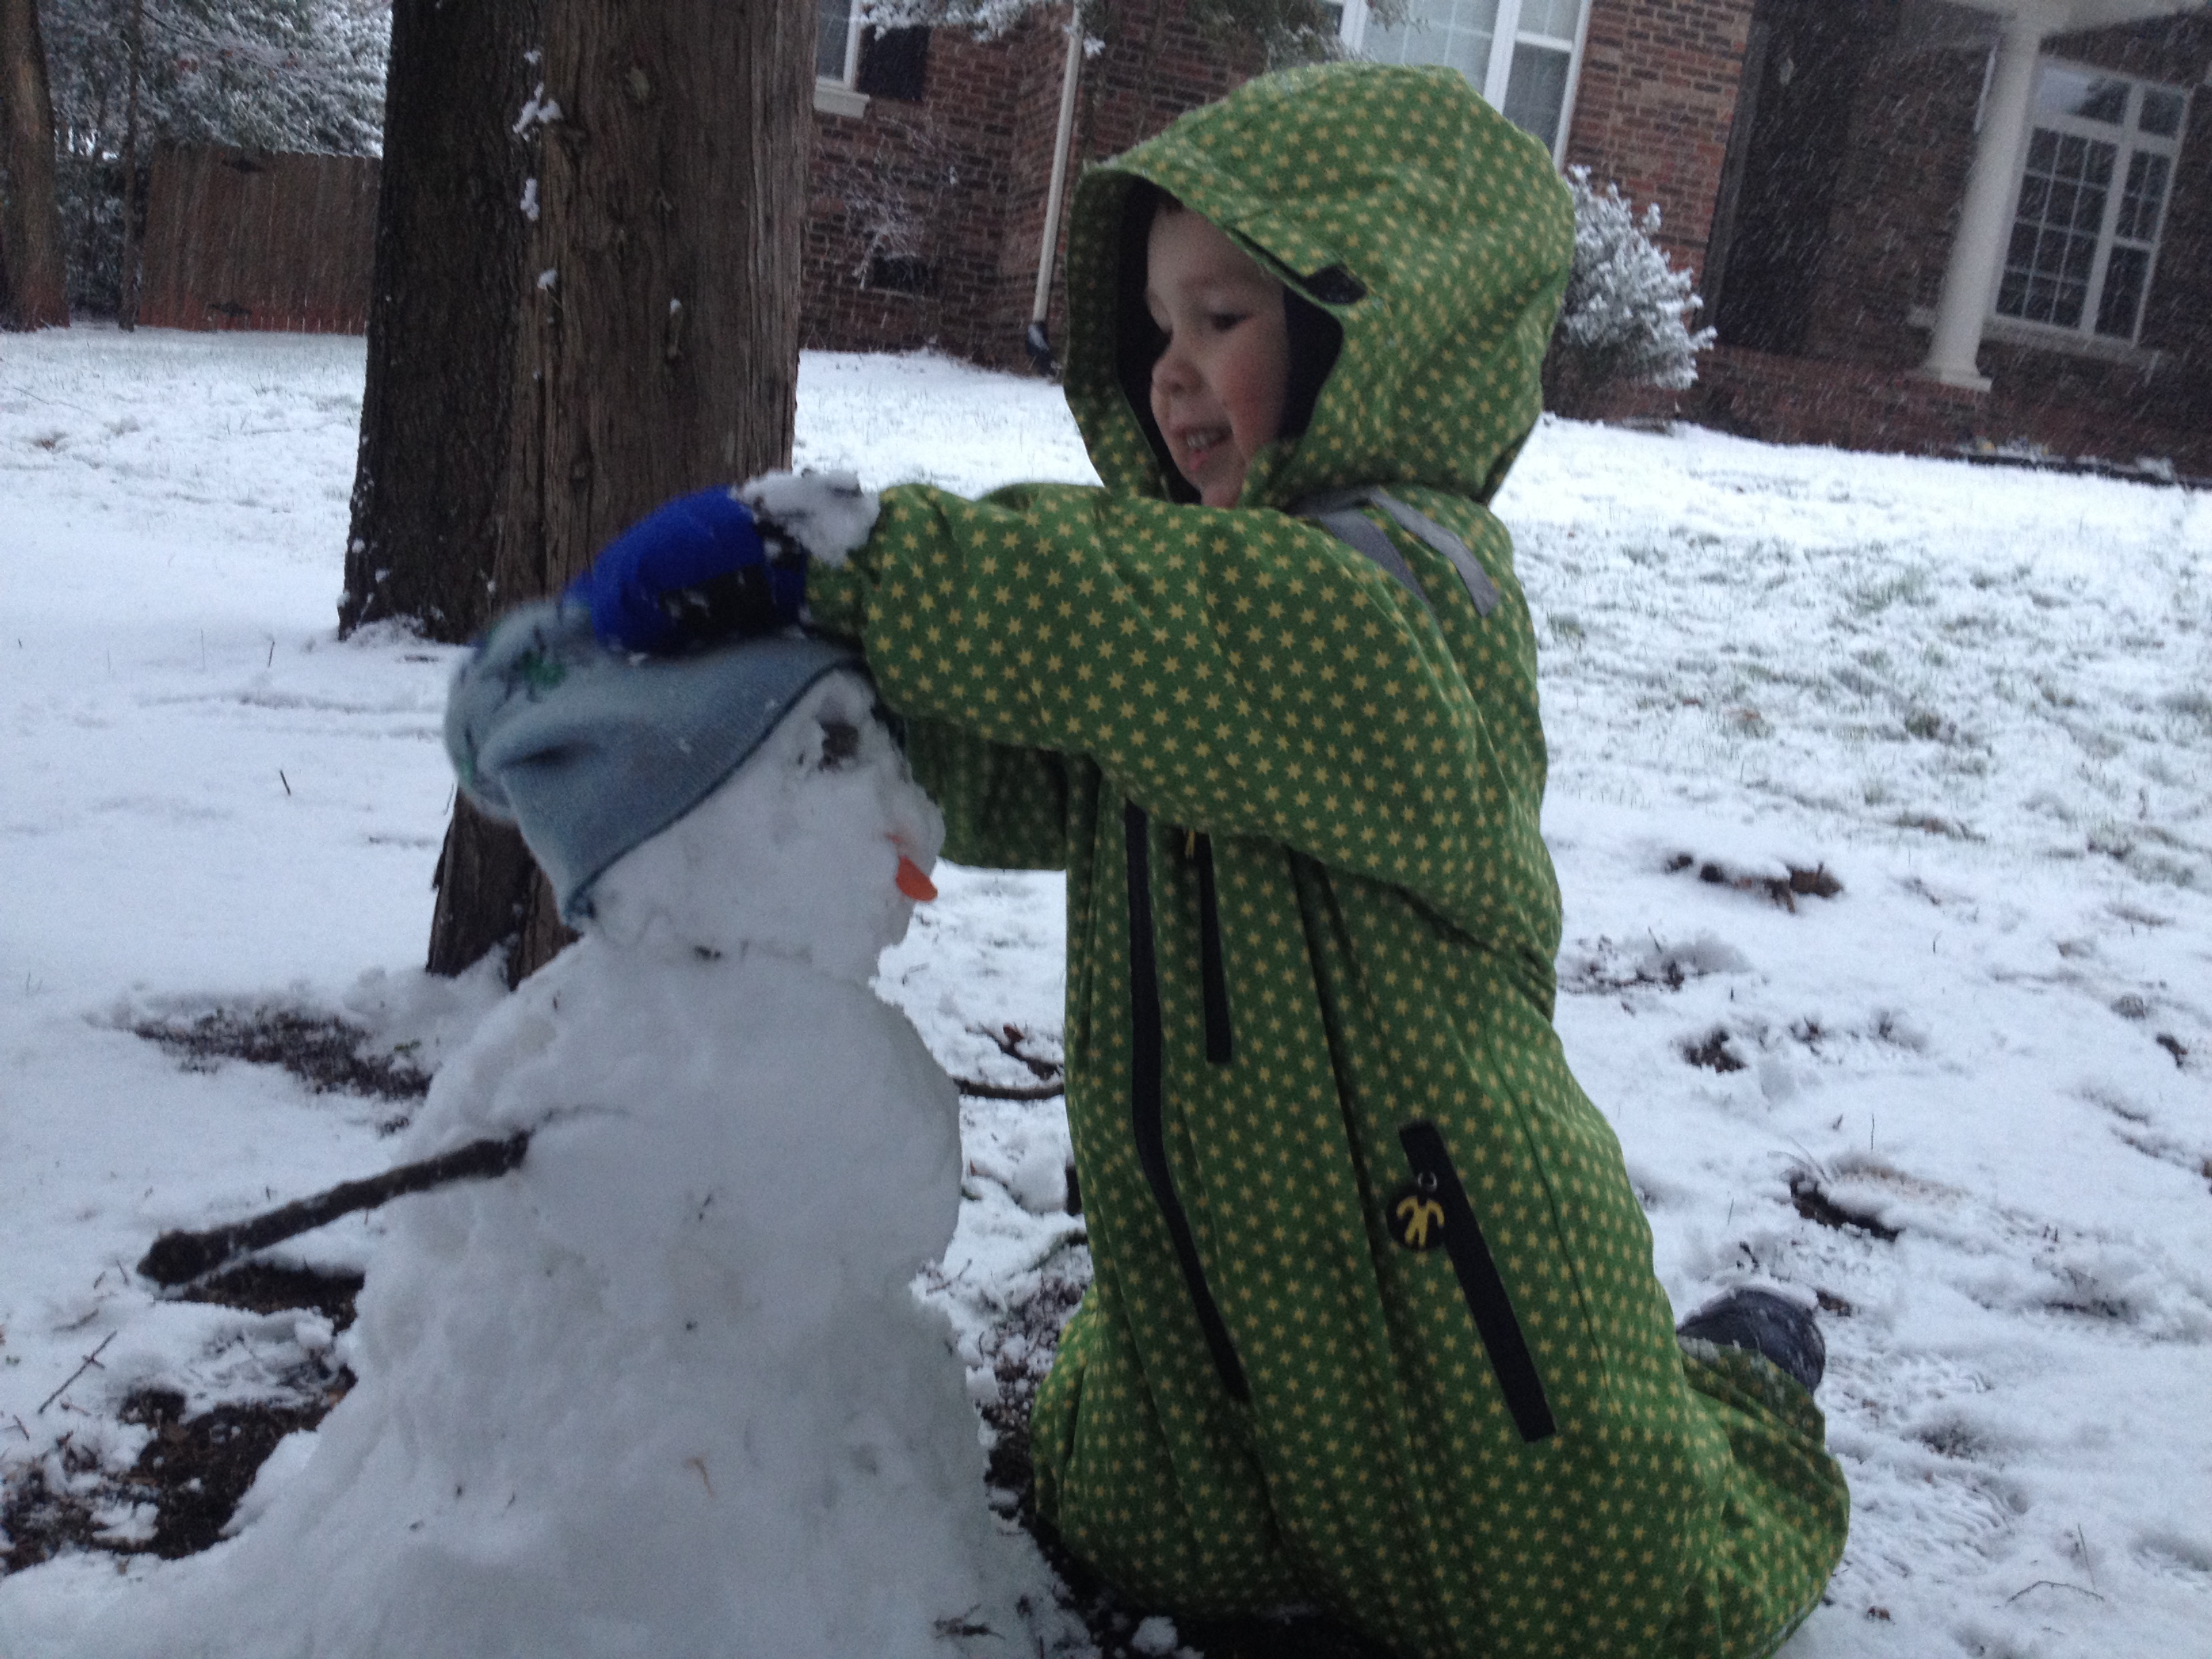
Ducksday suit in action!
6. FAMILY OUTING – Our family has always enjoyed saving up our money for experiences we can share together rather than on things – new cars, fancy clothes, lots of toys, etc. Some years we are able to take a bigger vacation together – such as our Sodak/Wyo Adventure of 2012 or hubby and my’s rendezvous in Red Rock Canyon last fall. Other years we may not be able to afford hopping on a plane, but we can still plan plenty of weekend adventure and road trips together. So my final gift-giving suggestion is to give an experience as a gift. It doesn’t have to be a plane ticket to be meaningful. Last year my mom and I were able to help my dad cross something off his bucket list that he’d always wanted to do – ride around a racetrack in a racecar! If you can’t think of anything specific to give, then consider setting some money aside for a trip-to-be-determined at a later date.
What top gift ideas are on YOUR giving (or getting!) list this year?

Dad and I on the NASCAR circuit!
For more ideas, check out some of my favorite #outdoorfamilies bloggers listed below, who also published gift guides today! (And some of them have some awesome giveaways!)
Tales of a Mountain Mama – Best Gifts for Outdoorsy Families
Brave Ski Mom – A Skiing Family’s Letter to Santa
AKOntheGo – Holiday Gifts for Outdoor Conscious Families
Rain or Shine Mama – Christmas Ideas for the Outdoorsy Kid
AKSkedaddle – Gifts for Outdoor Loving Mothers
Go Adventure Mom – Holiday Gift Guide
Family Adventures in the Canadian Rockies – Snow Warm! An Outdoor Mom’s Christmas List
Bring the Kids – Multiple gift guides for everyone on your list, w/giveaways for almost all!