Good Eats for Toddlers at the Crag
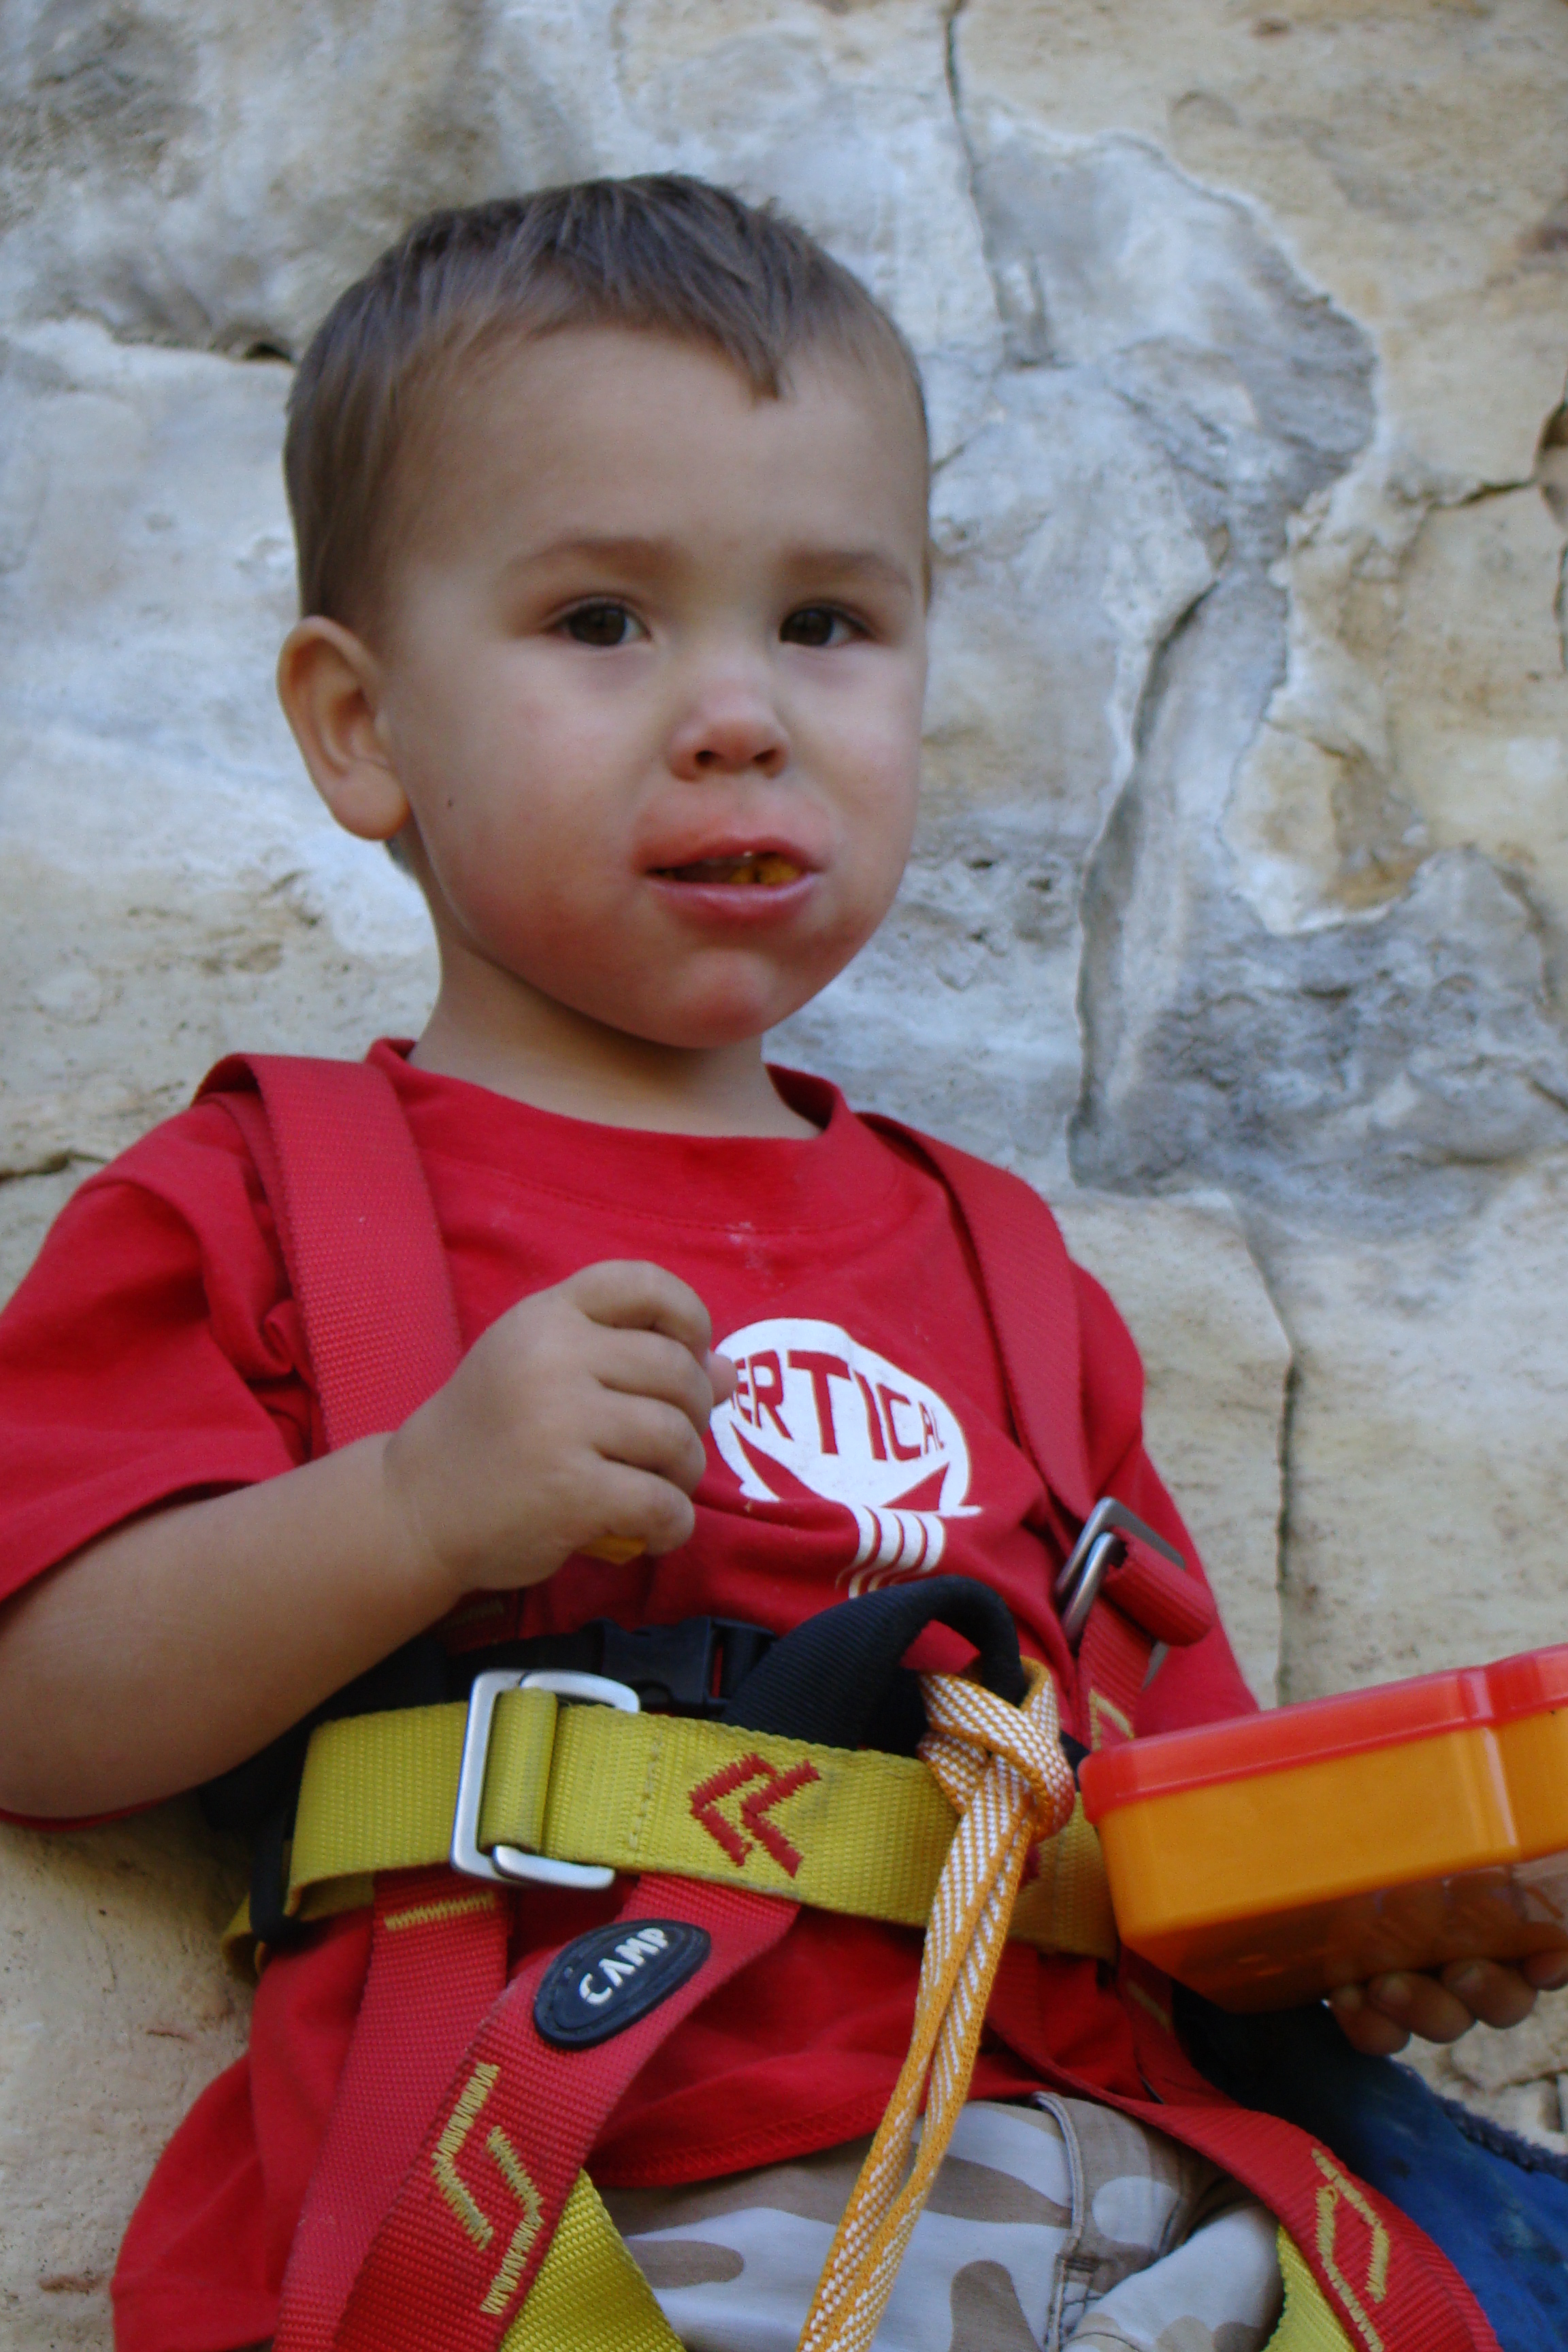
Toddlers are multi-tasking eaters…
As my sweet little bundle of joy has moved from the realm of cragBABY to crag-KIDDO, we’ve outgrown many of the logistical issues we used to run into, and replaced them with others…that’s why I’ve been going back and revisiting my Creating a Cragbaby series posts from a couple of years ago and revamping them, toddler style! So if your tyke is just starting to venture into the world of solid foods, you might find the younger version of this post to be more helpful. But for those of you with active, chaotic toddlers with full sets of chompers, read on!
TASTEFULLY SIMPLE: The whole point of food at the crag (or trail, lake, beach, etc) is to refuel. But while I’ve been known to down something less than desirable just to get in some calories, my toddler can’t even be cajoled into one bite of something he doesn’t find extremely appetizing, especially if he’s in the middle of something fun. This doesn’t mean your trail food needs to be fancy. In fact, more basic foods tend to pack easier and travel better anyway. Keep in mind what temperatures you’ll be in and for how long (ie, mayo may not be the best idea in the heat of summer, and some brands of bars get as hard as a rock in the winter). Most of C’s eating tends to be done on the go, so items that require a spoon or even just sitting down don’t work as well.
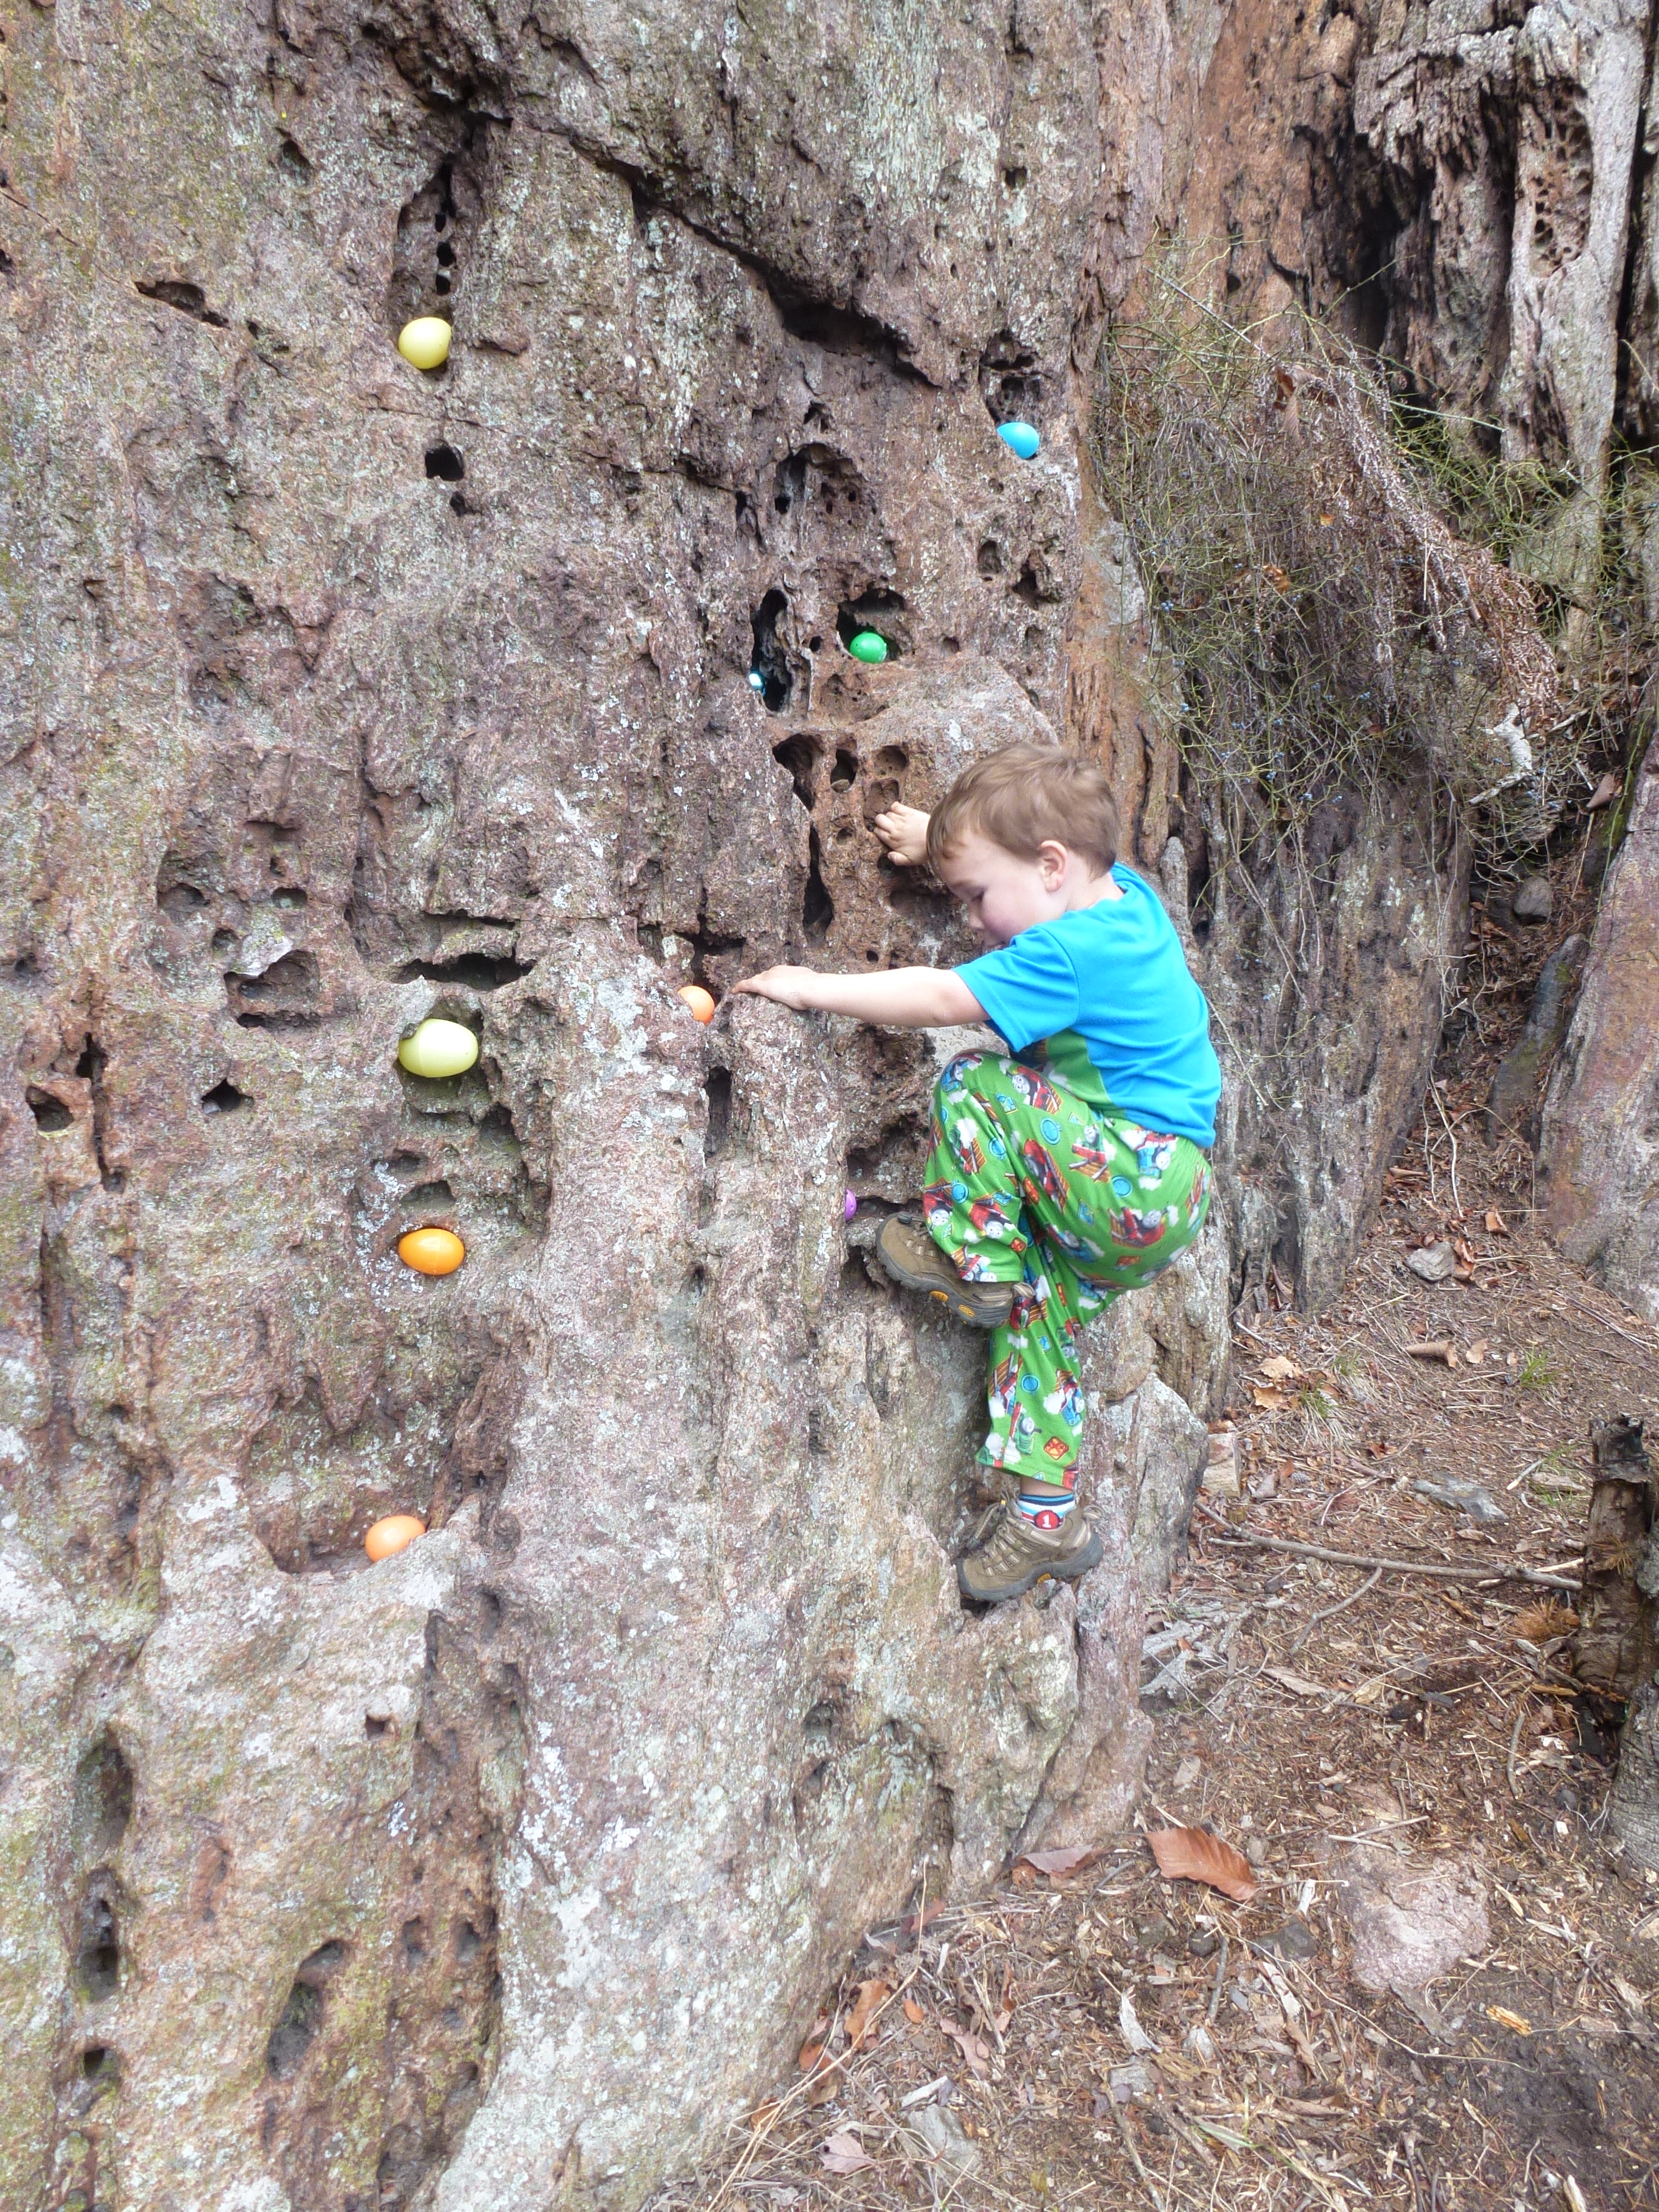
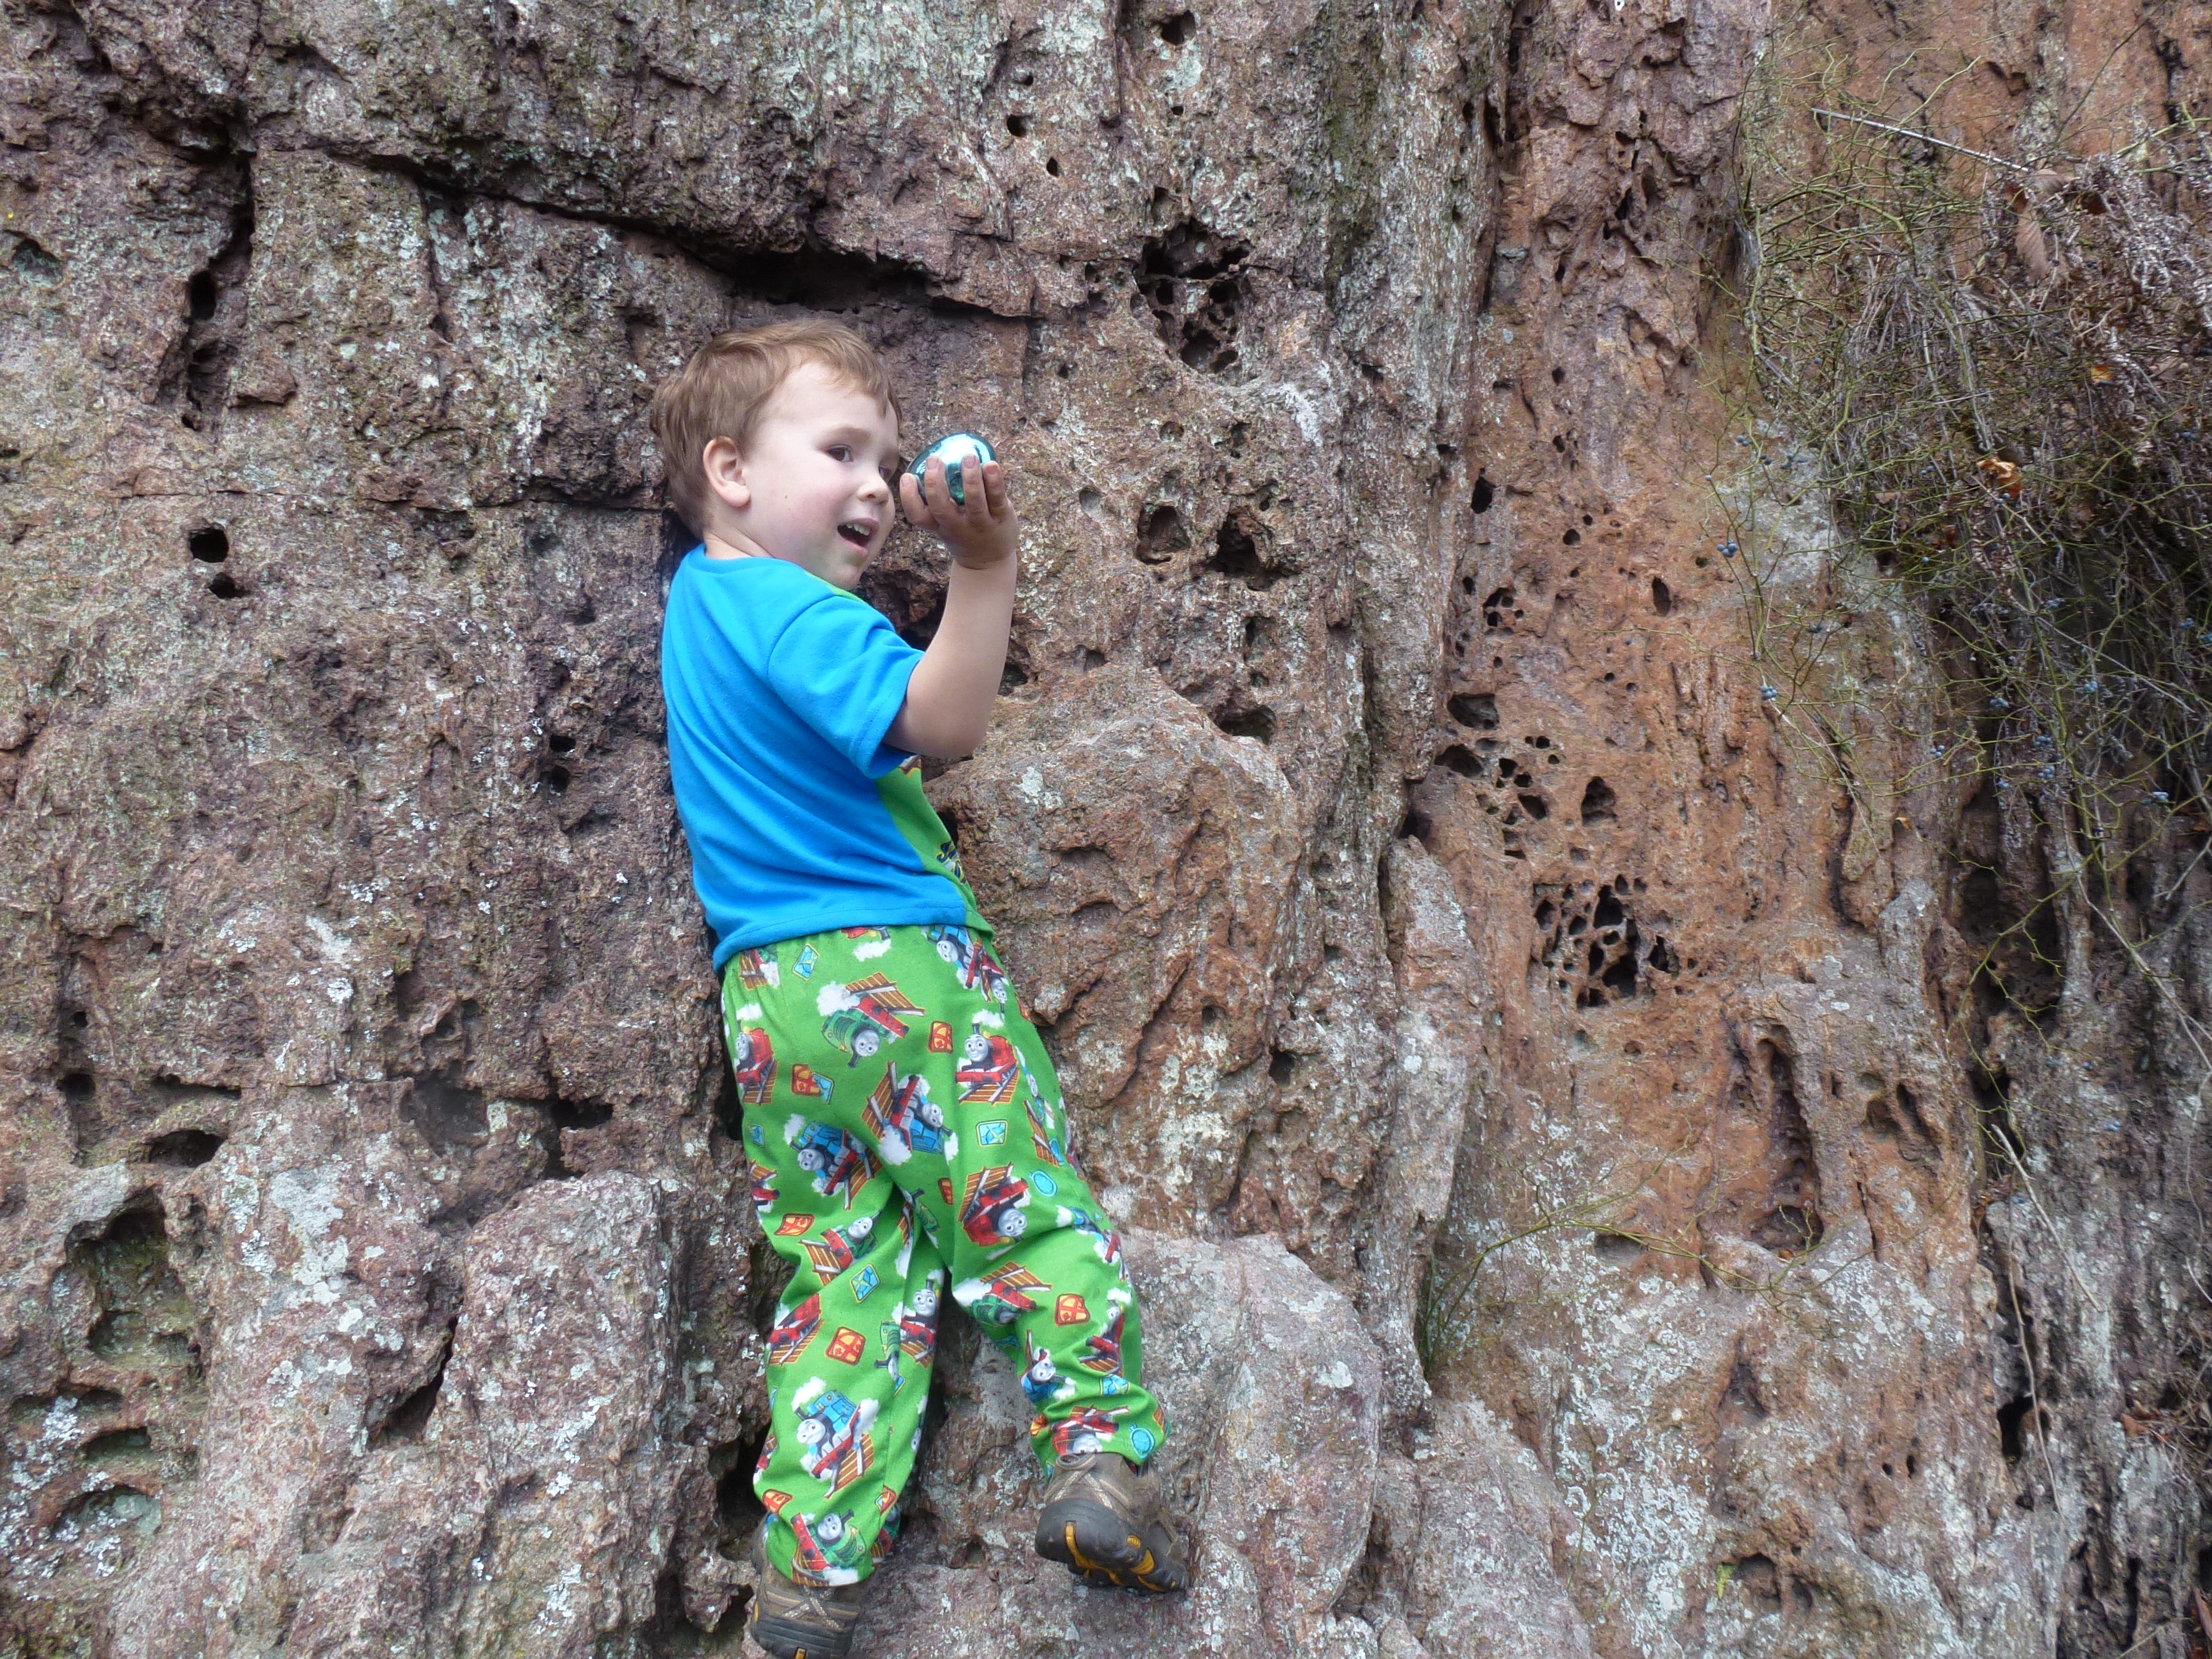
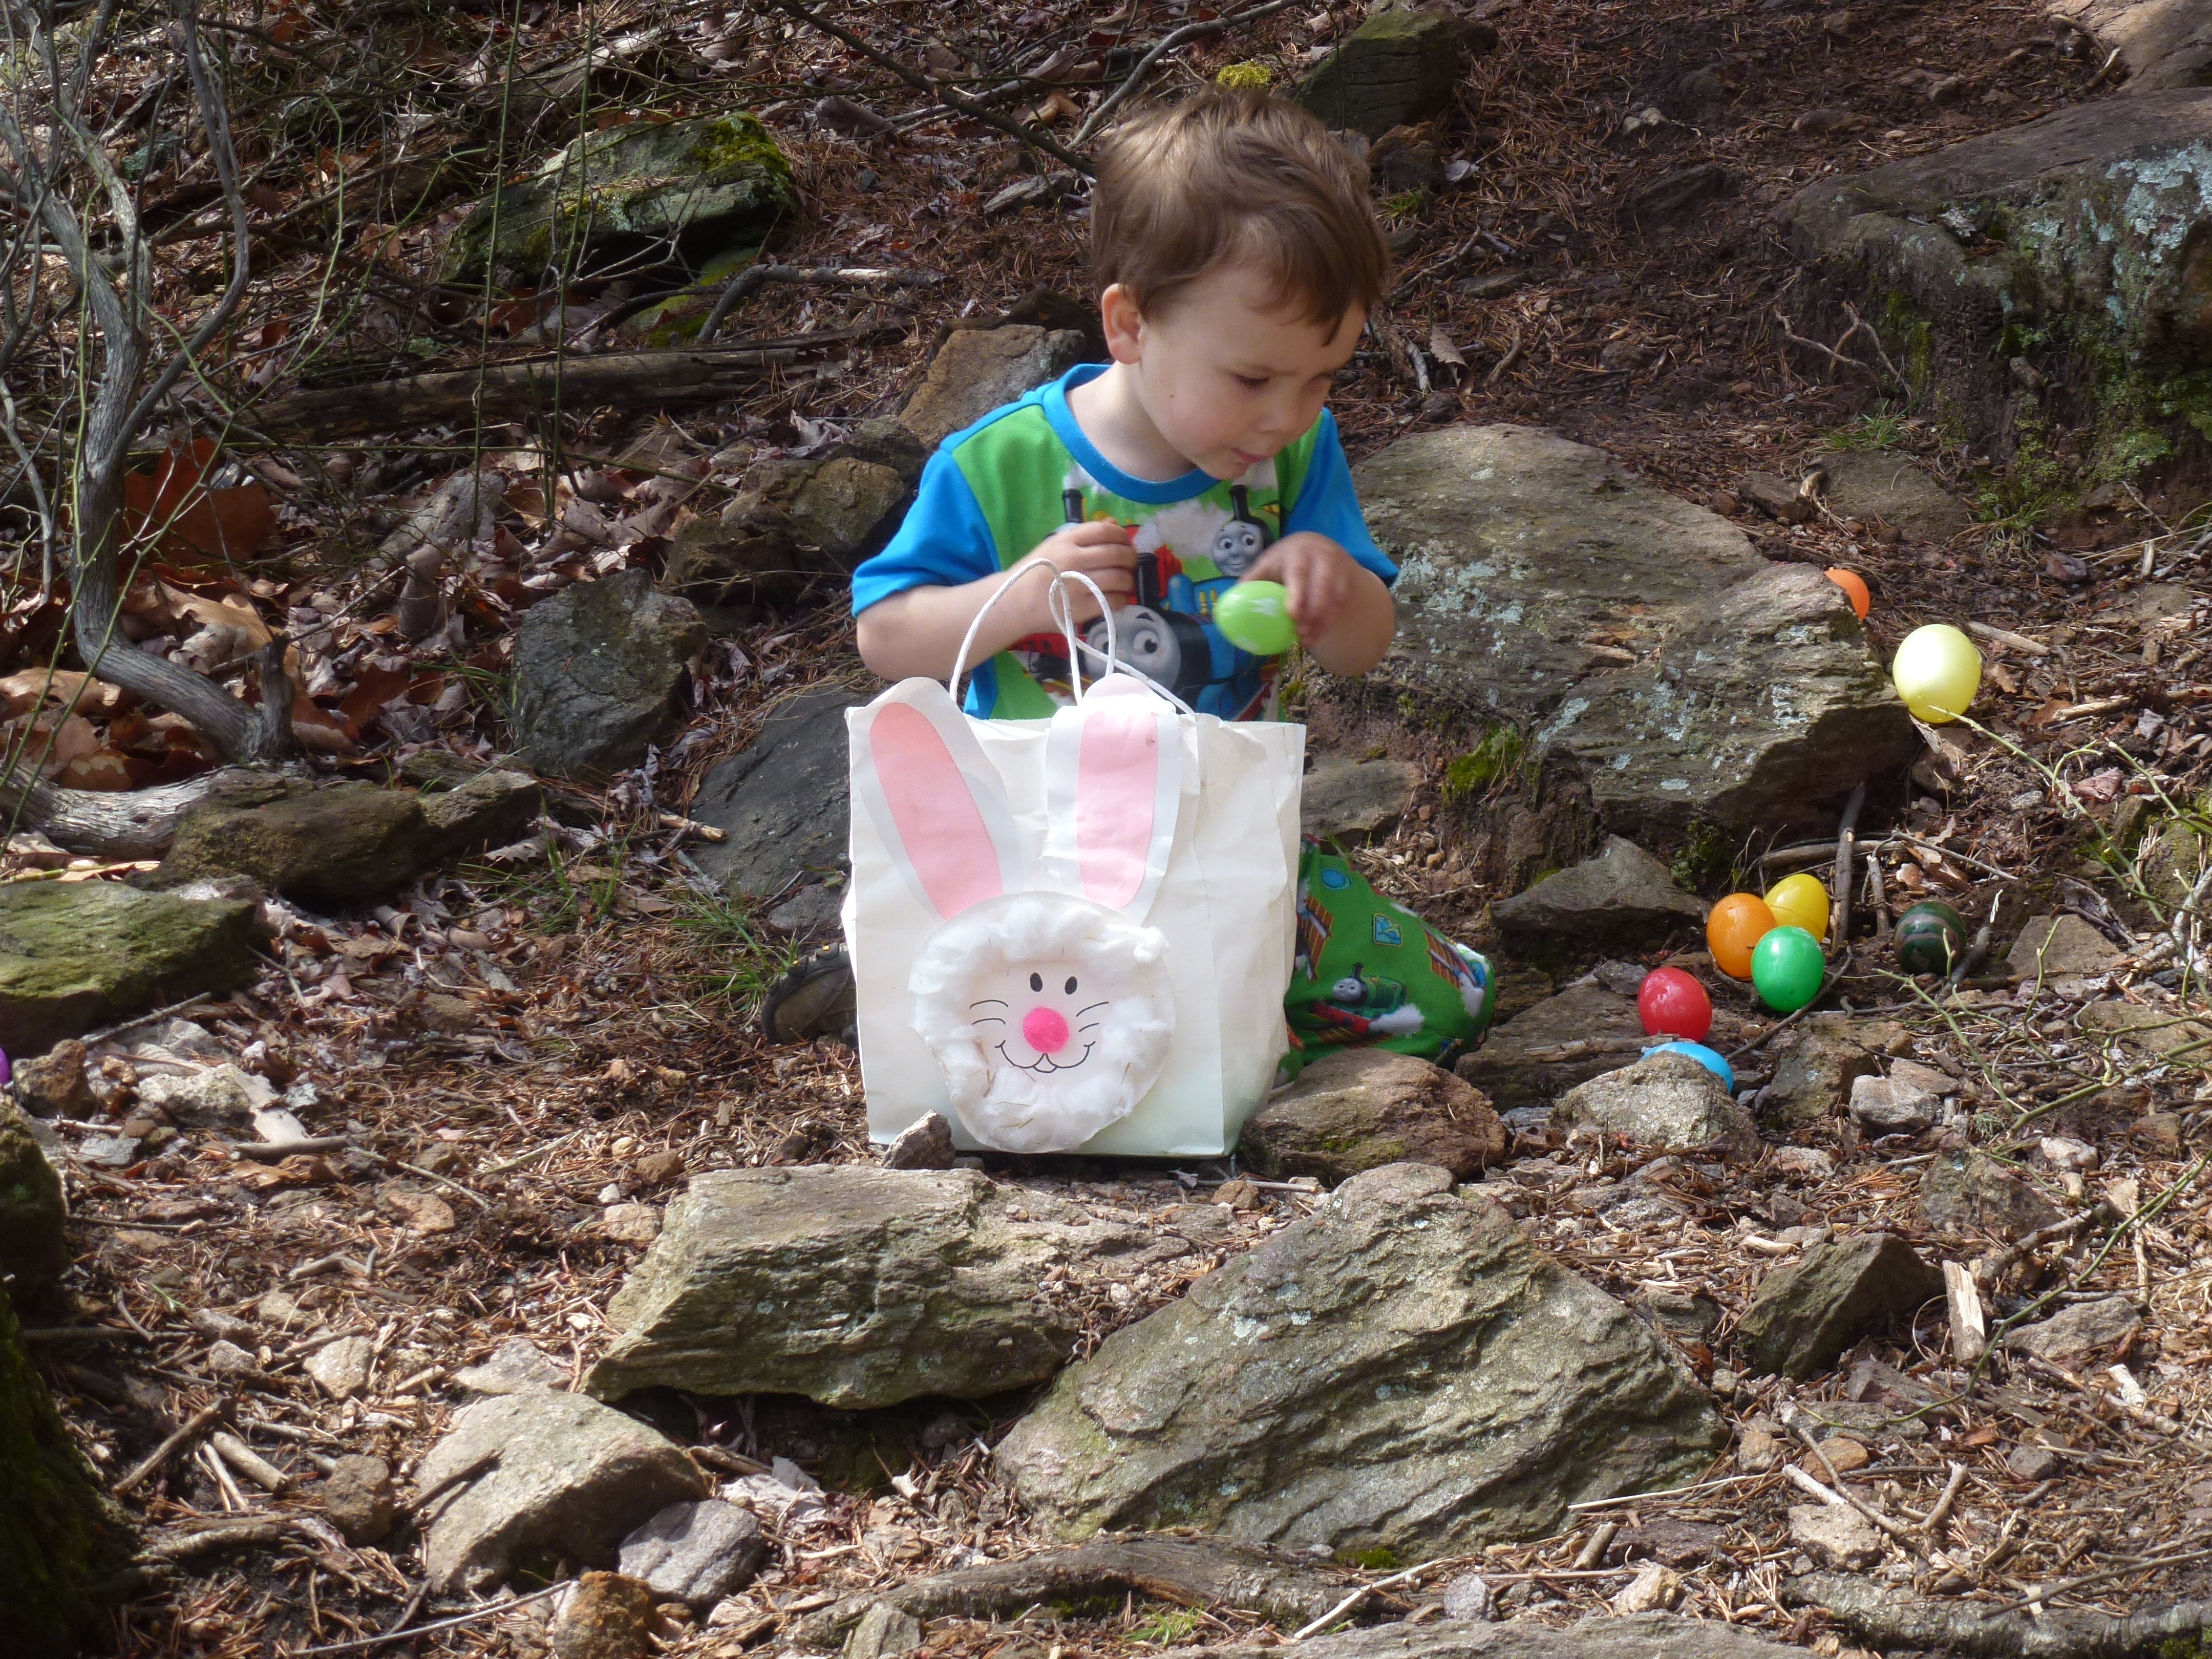
ALLOW SOME INDULGENCES: If you can’t enjoy junk food when you’re torching calories all day in the Great Outdoors, then when can you? In my opinion, there’s no better time to indulge in sweet treats you might not ordinarily allow your child to partake of. I don’t make a habit of buying candy, but cragging days are perfect opportunities to bring along leftover seasonal candy – cookies from Christmas, lollipops from Valentine’s Day, crème eggs from Easter, etc. Everything in moderation of course – a 5 pound bag of M n M’s is probably a little much, but a homemade rice krispie treat at the end of an active day outside sounds about right.
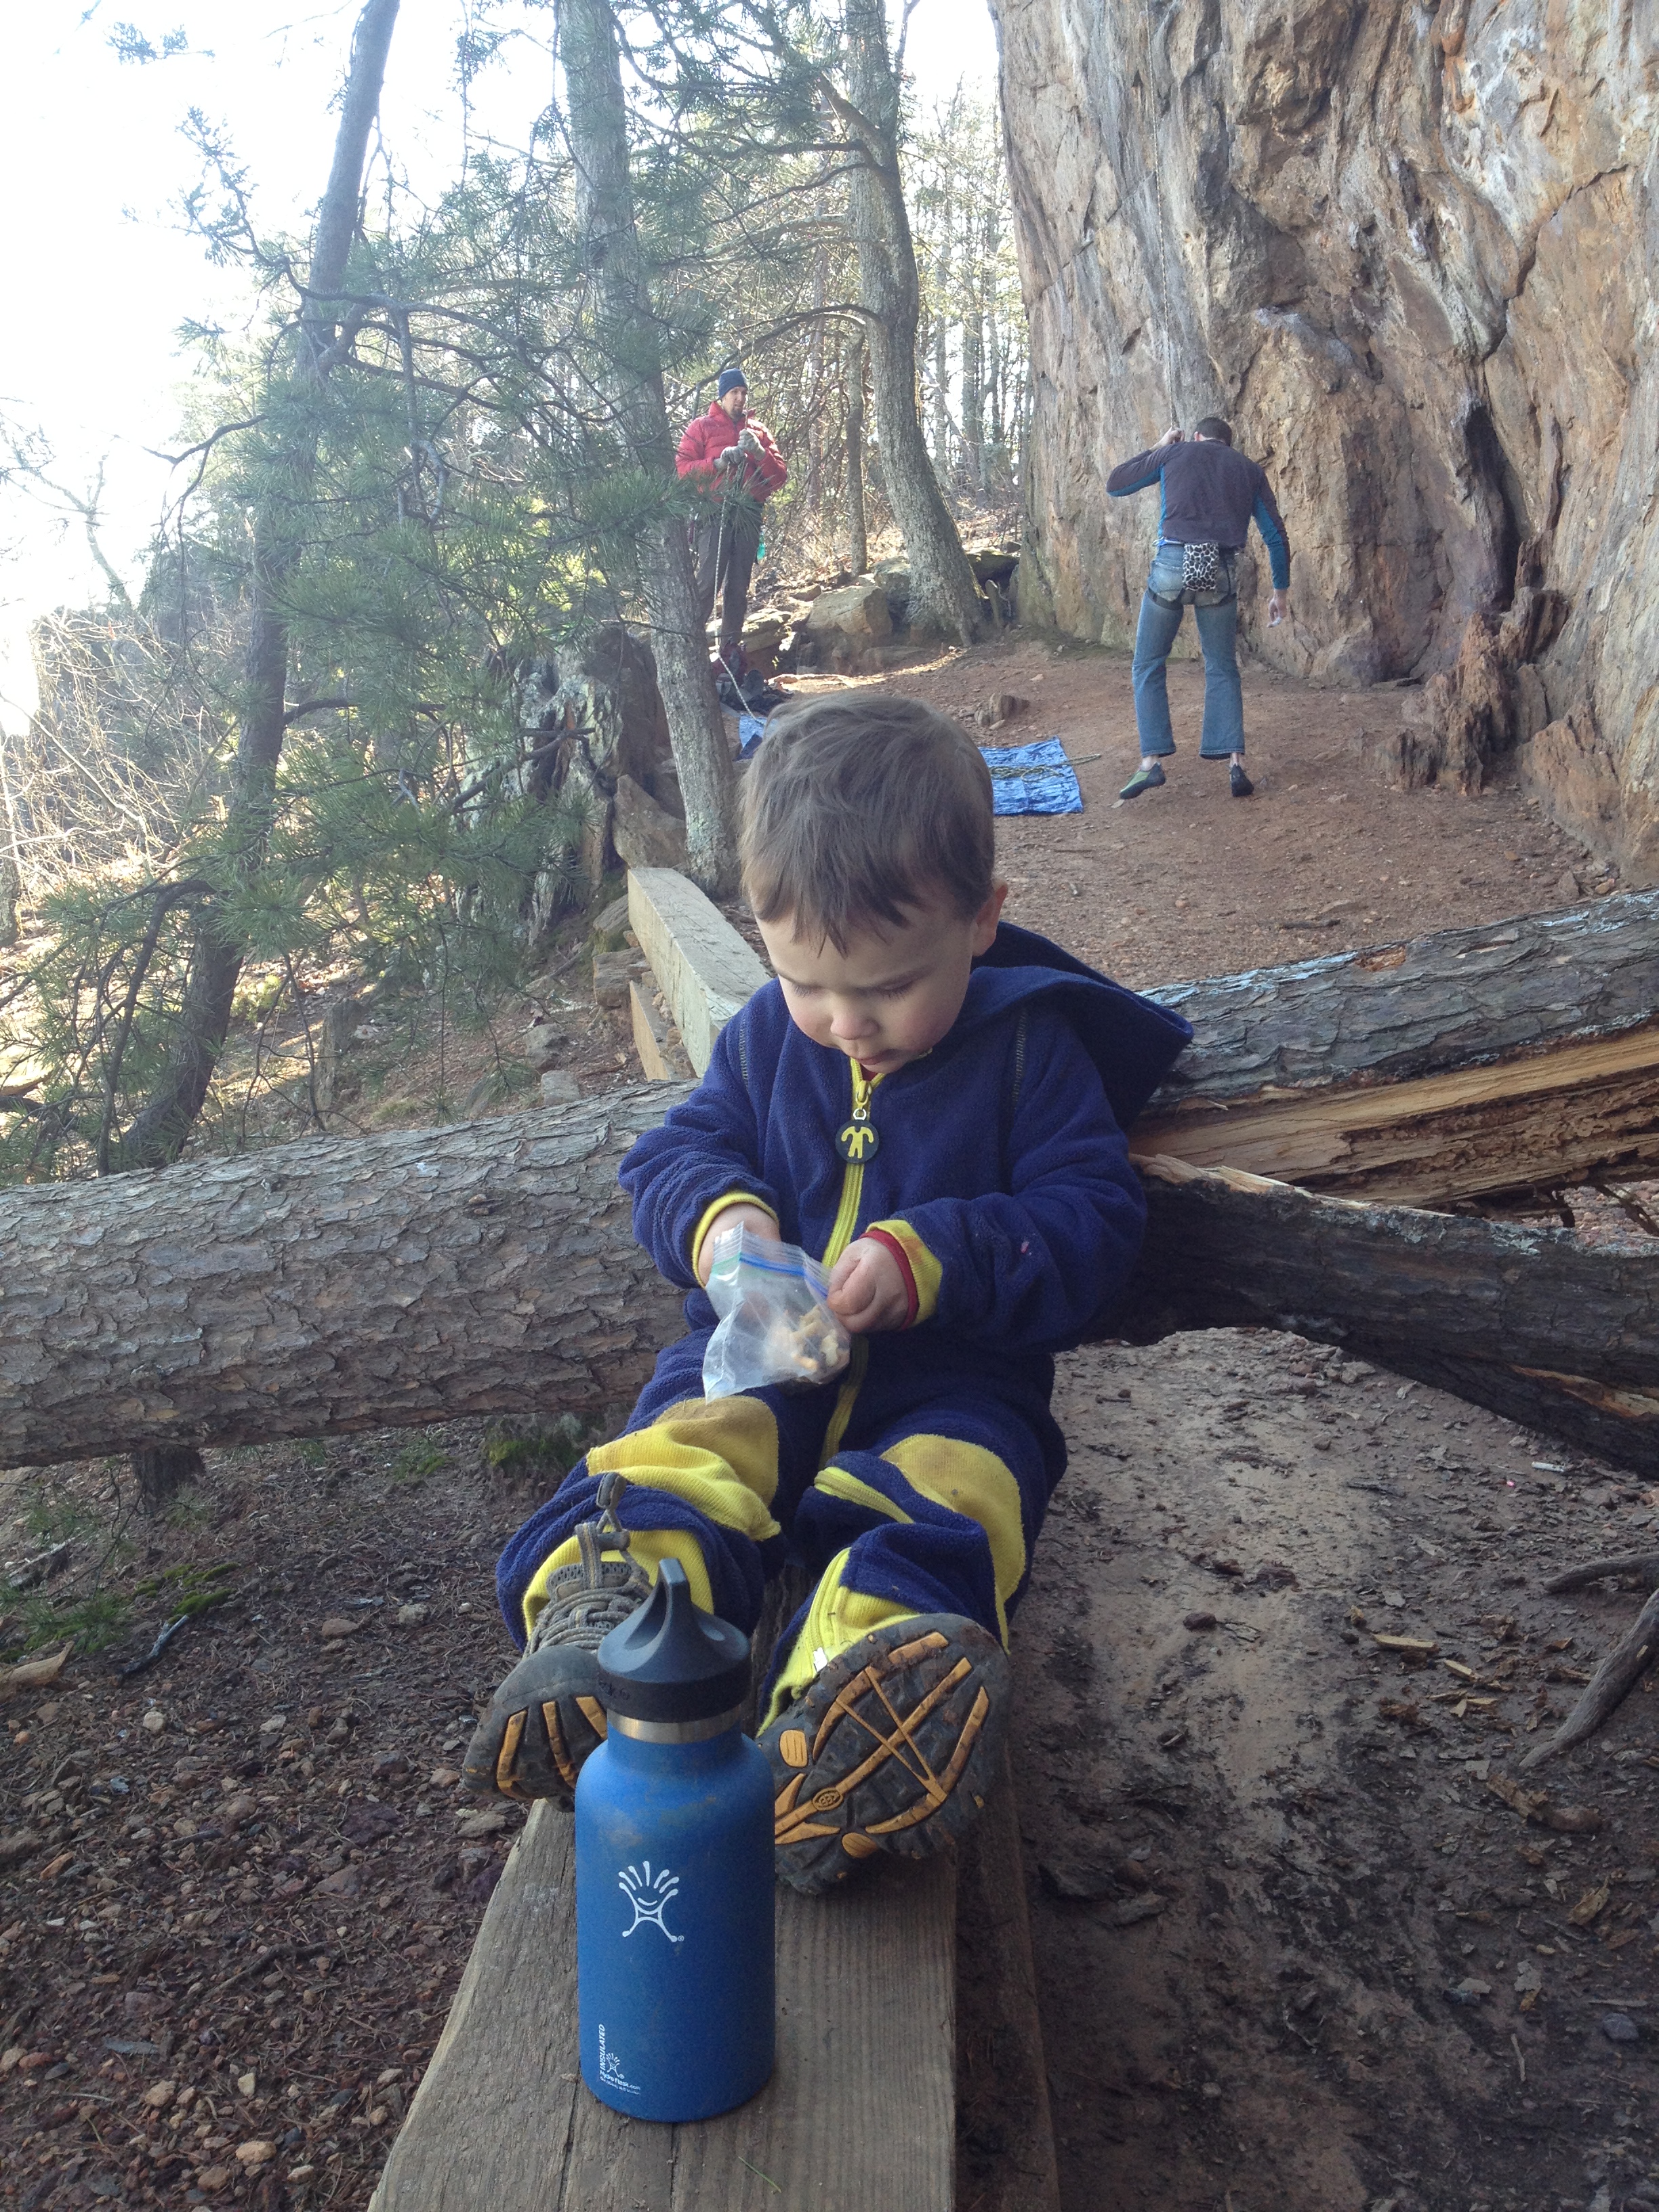
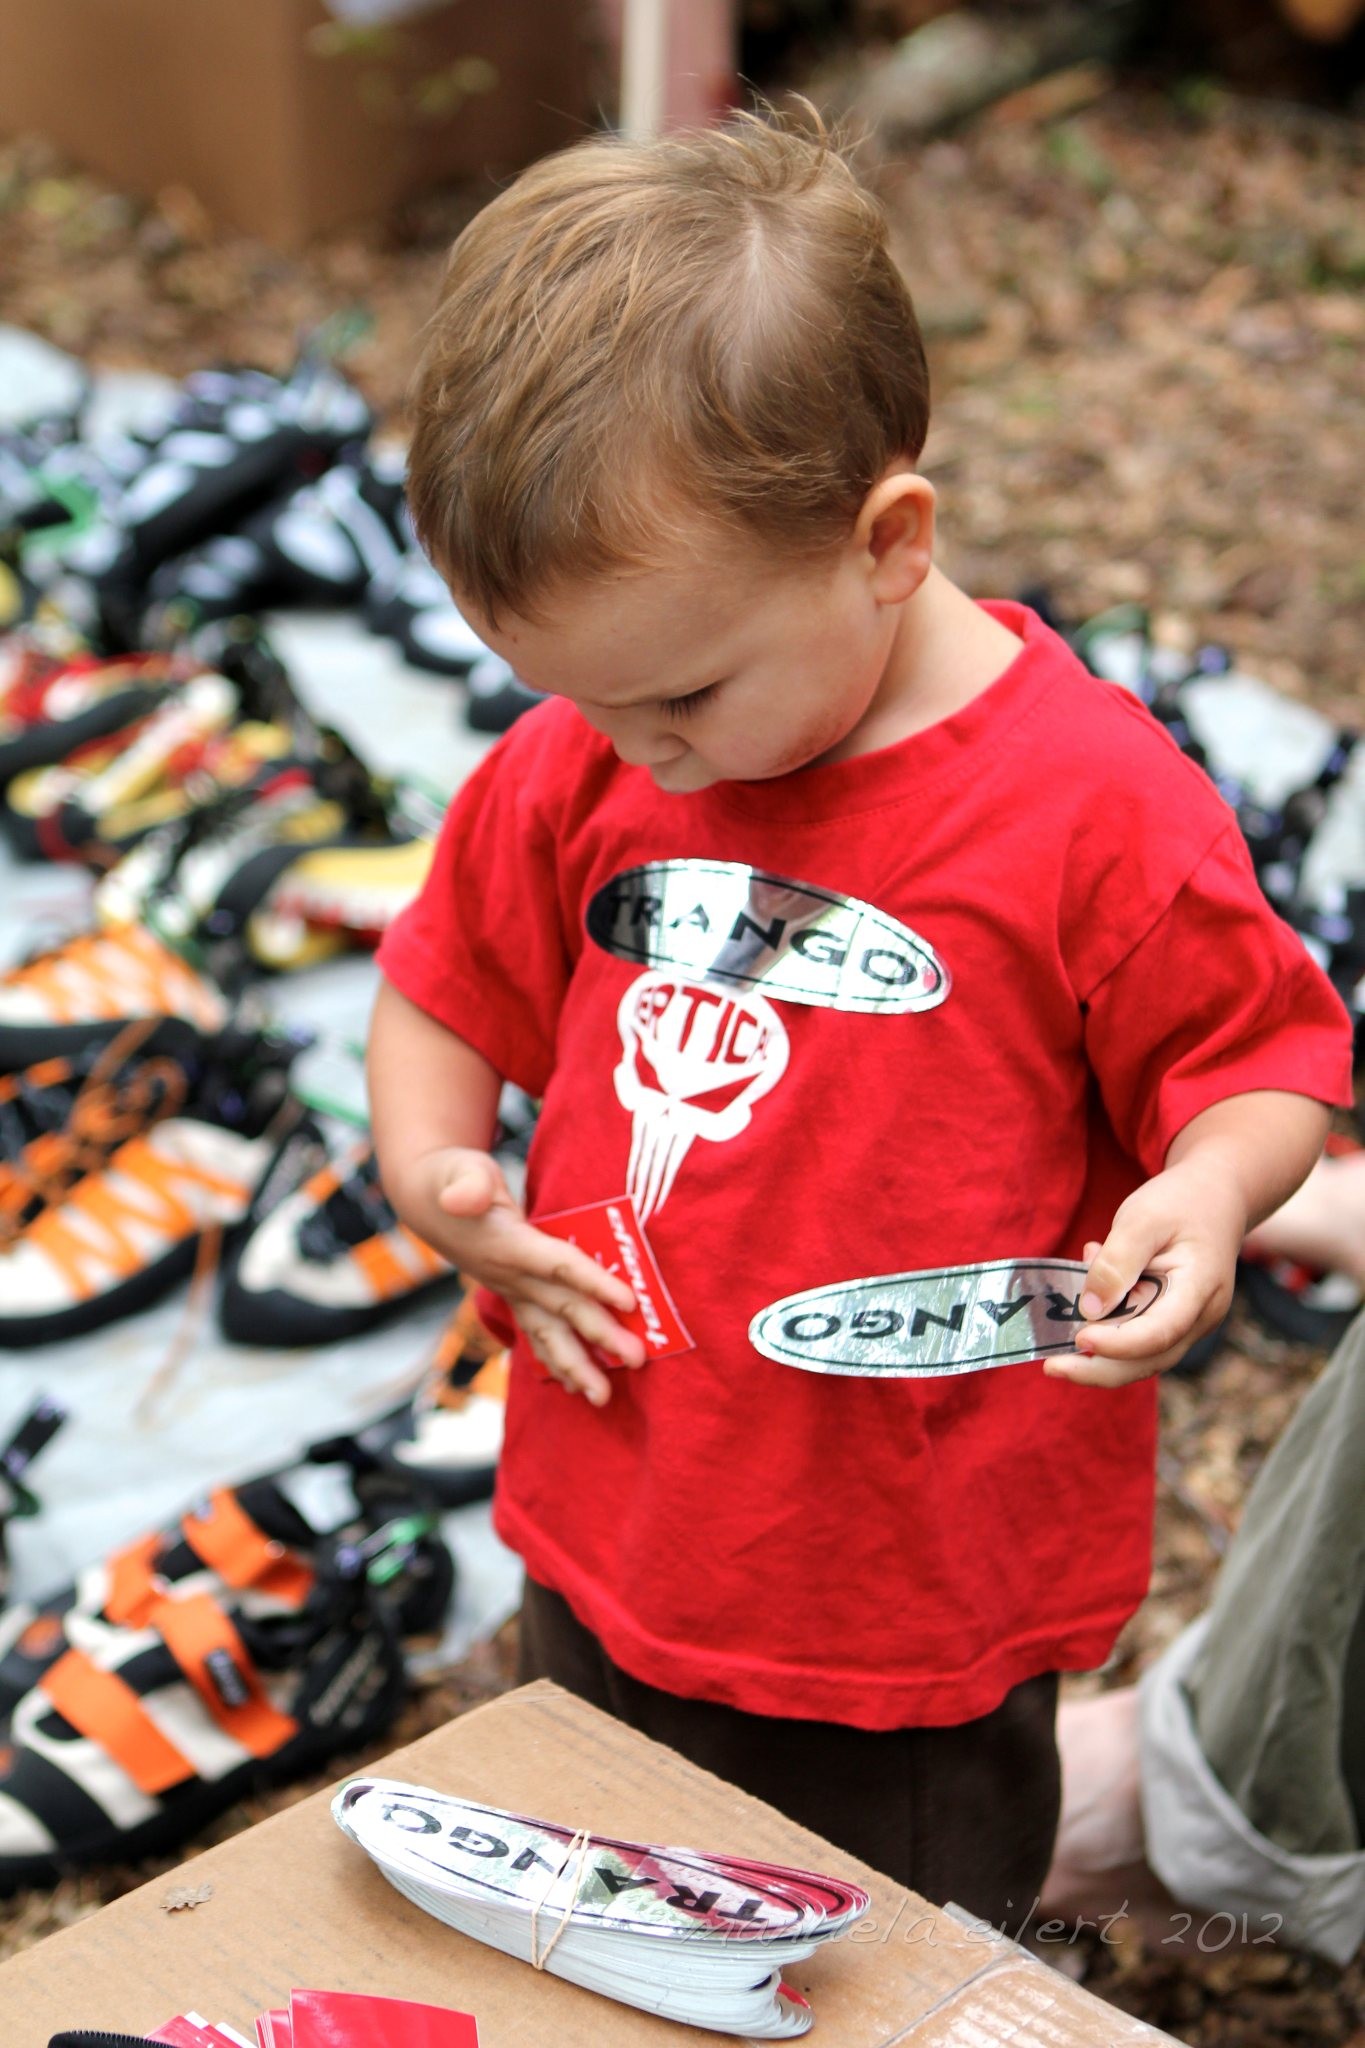
C munching on nuts and dried berries
DON’T WATCH THE CLOCK: Kids have the remarkable ability to eat when they are hungry, and stop when they are full. Imagine all the health issues we could avoid in our society if we all learned (or rather, never forgot) how to do that! That means that sometimes C has eaten all of his lunch by 10:30…which is fine because he may not ask to eat again until 4. Then there are other times when he literally eats every hour, on the hour, and on those days it’s not entirely uncommon for me to realize that he’s eaten all of his food AND mine when I go reaching into my pack for an afternoon snack! The point is that your child will not starve. If he wants to eat, he’ll eat. If life’s too fun to stop and munch, she’ll run on fumes until she finds a more convenient time to take a break.
GOD MADE DIRT, DIRT DON’T HURT: Here’s a confession that may shock some of my extremely hygienic friends…I DON’T BRING HAND SANITIZER TO THE CRAG!!! (I can hear them now…”I always knew they were dirtbags!”) Actually, I think I do in fact keep some in the top pocket of my pack for emergencies, but I can’t remember the last time I’ve used it. Here’s why (and it’s not because we’re lazy) – Regular old dirt contains a whole host of helpful properties. It actually does a body a lot of good! Don’t get me wrong, I’m not telling you to encourage your child to dip his carrot sticks in the mud. But it’s not the end of the world if your child picks a cracker up off the ground and eats it.

PACK IT OUT: A less obvious, but very important aspect of outdoor eating logistics are the containers used to store your food. If you’re bringing food that is not susceptible to being smashed, a large Ziploc bag should do the trick – it can double as a trash bag, and can be reused several times so long as you keep it to “wrapper trash.” A hard container is a must-have for foods that are more delicate, such as fruits or chips, but you’ll have to allow for more pack space. We recently got the opportunity to check out the “Smashbox” from Ecovessel. It provides the best of both worlds – your food stays fresh and smash-free, but collapses when you’re finished. This makes for easy packing at the end of the day, when you’re tired and just want to toss everything haphazardly into your pack! With two different separated compartments, it’s definitely one of the more versatilve options that I’ve seen. It even comes with a spork (it snaps right into the top!) for those days that you are tired of trail food and want to pack something a little more hearty – FYI the spork also makes for a fantastic orange peeler! (Get your own Smashbox here.)
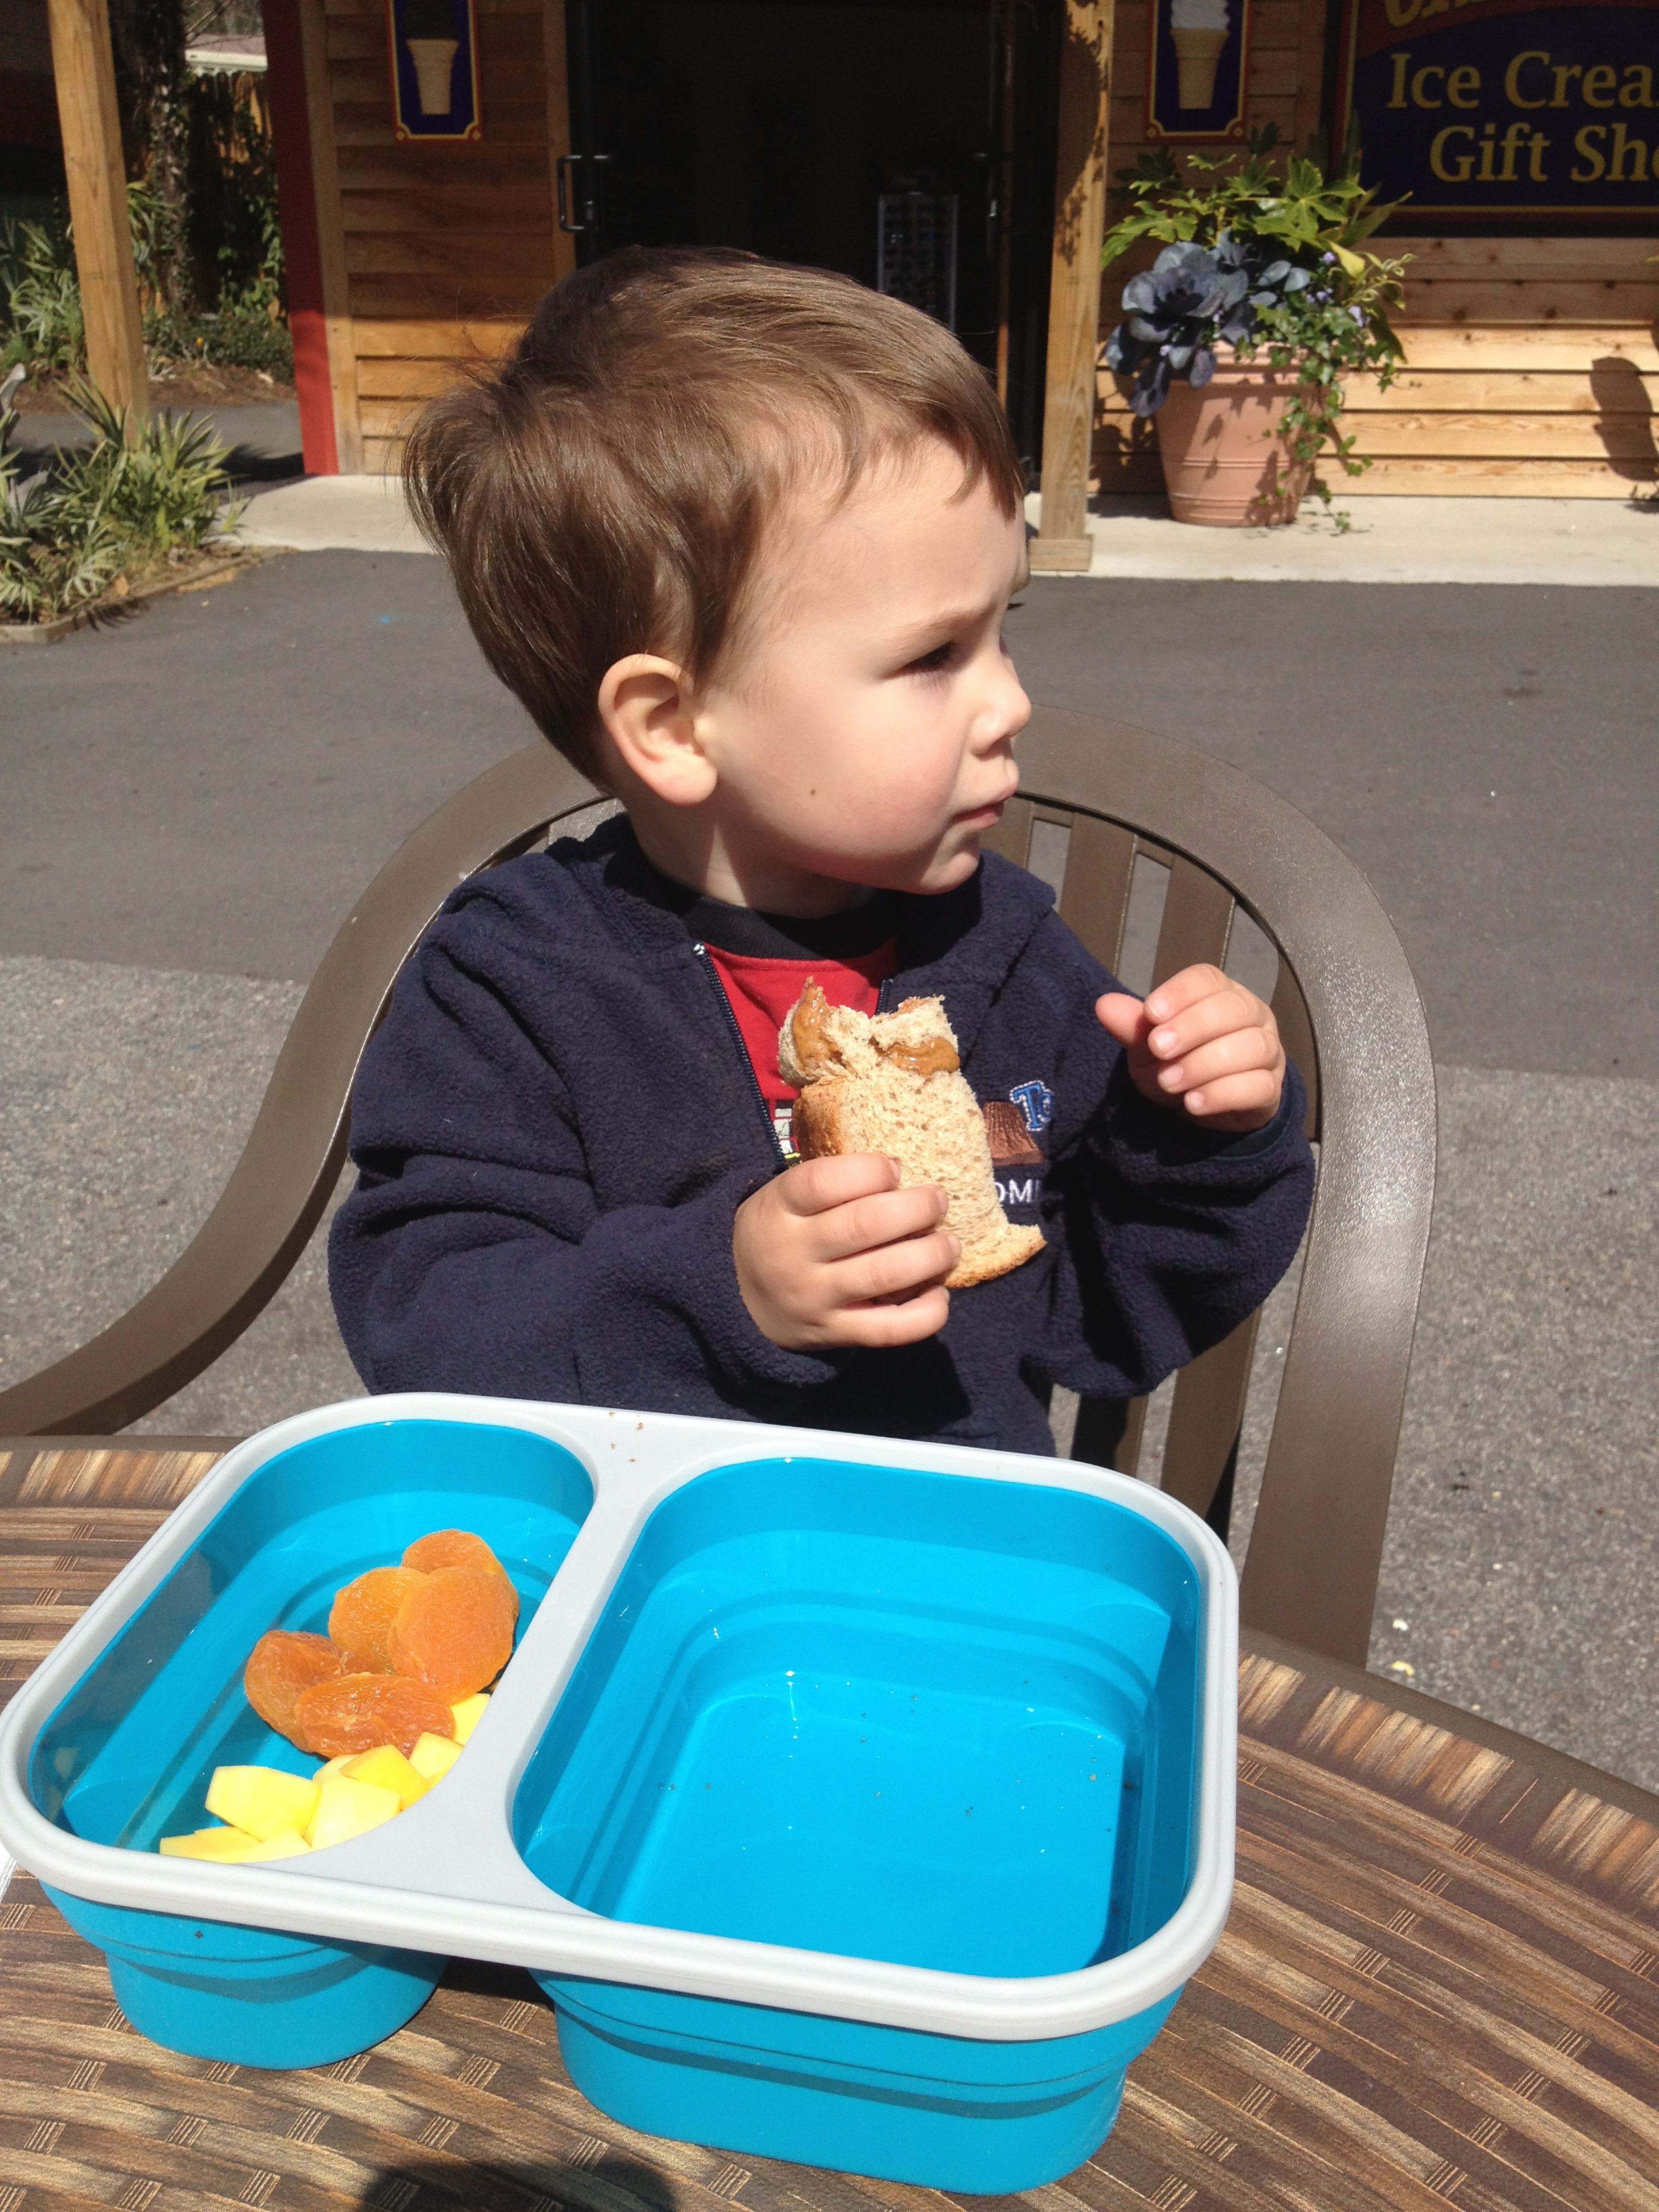
C with our new Smashbox…works just as good at the zoo as it does at the crag!
– Bars: Our top brands are Clif, Larabar, and Bearded Bros. Be wary of choco-coated ones in the summer…
– Cheese: By the string, or by the block – what toddler doesn’t love cheese?!?
–PBJ: You can’t go wrong with a good ole PBJ, or one of its many derivatives from the nut butter of your choice.
– Fresh Fruit: Apples get the prize for most packable AND least mess. Oranges pack well, but have some wet wipes handy! If you’ve got a hard container like the Smashbox, your world opens up a lot: bananas, and blueberries, and mangos, oh my!
-Dried Fruit: No mess, and won’t go bad!
– Nuts: Either by themselves, or paired in a trail mix with dried fruit and/or chocolate. Cashews are a favorite in our household (and macadamian…but only when they are on sale!)
Squeezies: Most toddlers are suckers for pureed fruit/veggie pouches (pun intended ;;) ). There are numerous disposable brands, or make your own using the reusable ones from Squooshi (review here)
Obviously every family is different with a wide variety of dietary needs, so this is certainly not a one size fits all list! What foods has YOUR family found success with for your outdoor adventures?