Extracurricular Training Part 1 – The Antagonists
In the literary world, the “antagonists” represent the bad guy – the person, place, or thing that causes conflict and opposition to the “protagonist,” or good guy. Lord Voldemort, Sauron, and even Satan are classic examples of antagonists. It’s no wonder that we as climbers tend to steer clear of training our antagonist muscles…But joking aside, however, this type of training should be a very important component to EVERY climber’s training regimen, from beginners to the elite. Here’s why.
Just like their literary counterparts, antagonist muscles in climbing are the muscles that act in opposition to the main muscles used during climbing movement (aka agonists). Imagine the typical movements a climber uses to get up the wall – they can usually be summed up by the word “PULL.” Pulling up, pulling in, pulling towards the rock. The antagonist muscles to the PULL muscles can be summed up by the word “PUSH.” Pushing down, pushing out, pushing away from the rock. As climbers, we naturally tend to have uber strong pull muscles (anyone ever seen Chris Sharma’s back?), but disproportionately weak little push muscles (and puny leg muscles too, but that’s a whole different post…)
Vanity aside, there are several really good reasons why training your PUSH muscles is not only beneficial, but essential for climbers. The PULL/PUSH muscles work together in a very ying-yang type way. When both are strong, they complement each other, and are in perfect balance. If one overpowers the other, an imbalance occurs, leaving the body vulnerable to injuries such as rotator cuff tears, tendonitis and overall joint instability.
I learned my lesson about antagonist muscles the hard way in 2008 when my PULL training minus PUSH training landed me with a torn rotator cuff and 3 months off. To be honest I knew better but just got lazy. Ever since then I’ve been religious about training antagonist muscles at least once or twice a week, depending on the time of year. This past year as I’ve started to climb a lot harder, I’ve added in a few more exercises to my regimen, figuring that the extra pull-power I’m gaining could benefit from some counter-balance. And of course now that I’m on the disabled list for a few weeks with my ball and chain ankle boot, I’m hitting the weight room with a new fervor.
However, a no-frills, basic antagonist routine doesn’t have to take hours per week away from your regular climb time. A quick 20 minute circuit of a few simple exercises twice per week should put you well on your way to beefing up your PUSH muscles. Perform these exercises as a cool-down after a climbing workout, or on rest days from climbing. Start with 2-3 basic sets, and add more sets and reps as you get stronger. Also listed are variations that you can do in addition to or in place of the basic exercises to change the difficulty and add variety. Let me emphasize that some of these exercises can wreak havoc on your shoulders if you’re not careful, so if you currently are nursing a shoulder injury, please consult a doctor or a PT for guidance.
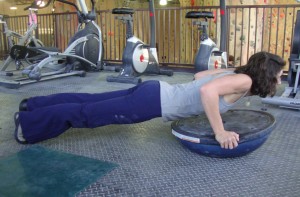
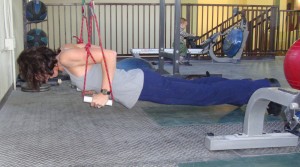
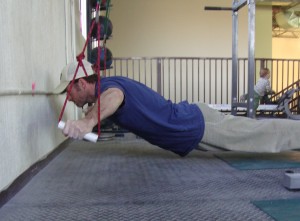
PUSH-UPS: Quite possibly one of the world’s perfect exercises – works all of the PUSH muscles, with some core thrown in, and no equipment needed! Do them on your knees if you have to compromise form to get more than a handful. Do them on a BOSU ball if you want to feel your rotator cuff work too. And if you really want the full-value version, try some on a pair of gymnast rings. But regardless of what poison you pick, do them. They’re mucho importante.
Additions/Variations: Bench or Dumbbell Press (Flat Bench or Incline), Dumbbell Flyes (Flat Bench, Incline, or Cable), Gymnast Ring Flyes
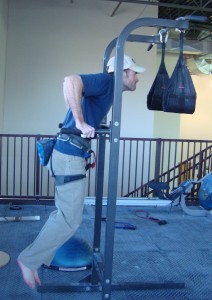
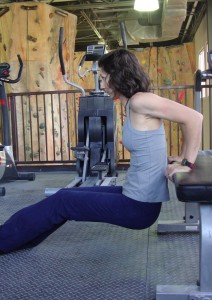
DIPS: These are key for strengthening the triceps (and also might help out your mantle skills…). If these are too hard to do outright, there are several options – have a partner support some of your weight, do “negatives” (use a box to cheat your way to the “up” position each time, and concentrate on slow, perfect form on the way down), or you can do them on a bench.
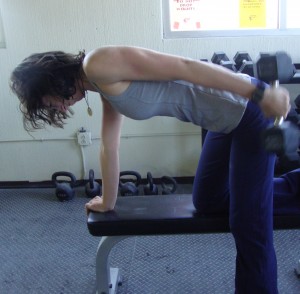
Additions/Variations: Triceps Extensions (aka “Kickbacks”), Triceps Pushdowns
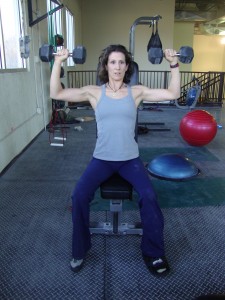
OVERHEAD SHOULDER PRESS: You don’t need a ton of weight for these to be effective – remember the key word is balance, not Schwarzenegger physique! If you’ve got an impingement issue with your shoulder, proceed with caution – keep the range of motion small and don’t take these all the way up to locked out arms.
Additions/Variations: Lateral/Front Raises, Military Press, Arnold Press
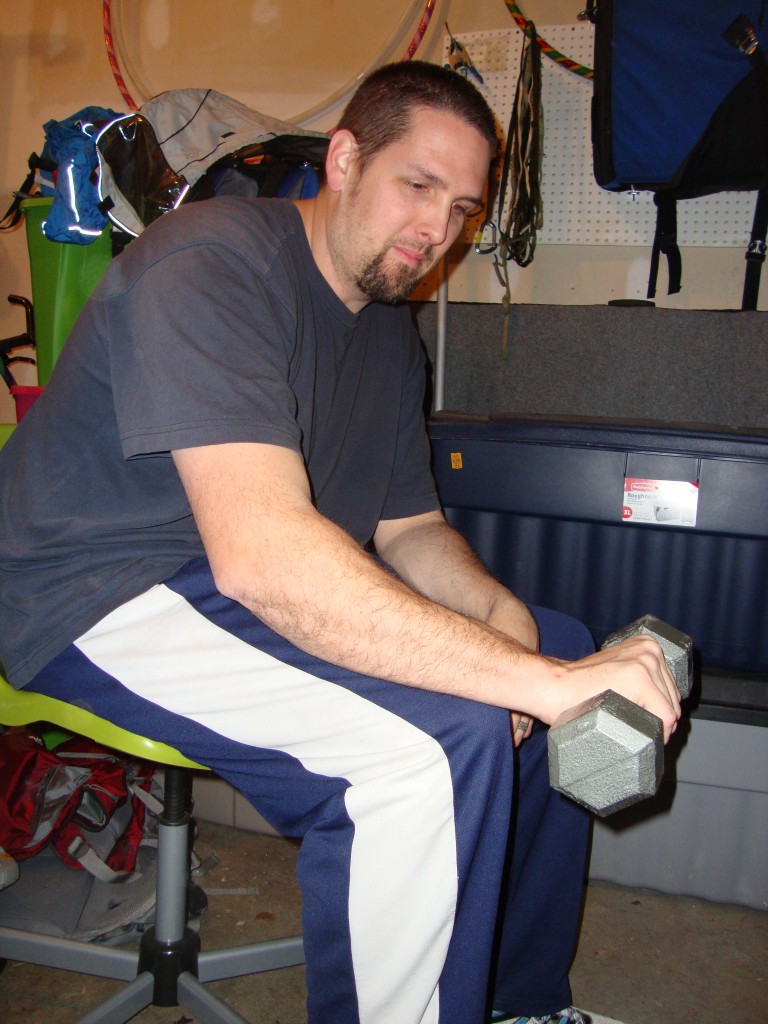
REVERSE WRIST CURLS: Think about how often your forearm flexors (palm side of your hand) get pumped…now picture when the last time your forearm extensors (back of your hand side) got a good workout. If you can’t remember the last time, you’re probably working on a significant imbalance that eventually will lead to elbow problems. Reverse Wrist Curls are a quick and easy fix.
Additions/Alternatives: Rice Bucket Workout (more on that later), Pronator Twists
As with anything else, listen to your body. If you feel funky twinges, tweaks, or anything other than that deep, “feel-good-hurt” burn, stop and reassess your form, adjust your weight, or allow your body more time to recover in between sessions. Remember, as much as it sucks being injured, no body wants to say it happened off the rock and in the weight room!
Ok now its time to fess up – who here has been slacking off on their PUSH muscles? For those of you that are diligent, did you learn the hard way or are you one of those proactive people with better than average common sense?
(Click here for Part 2 of this posts, which discusses ways to stabilize the shoulders…)

