
Fall Craft Project: Leaf Placemats (and Window Decor…)
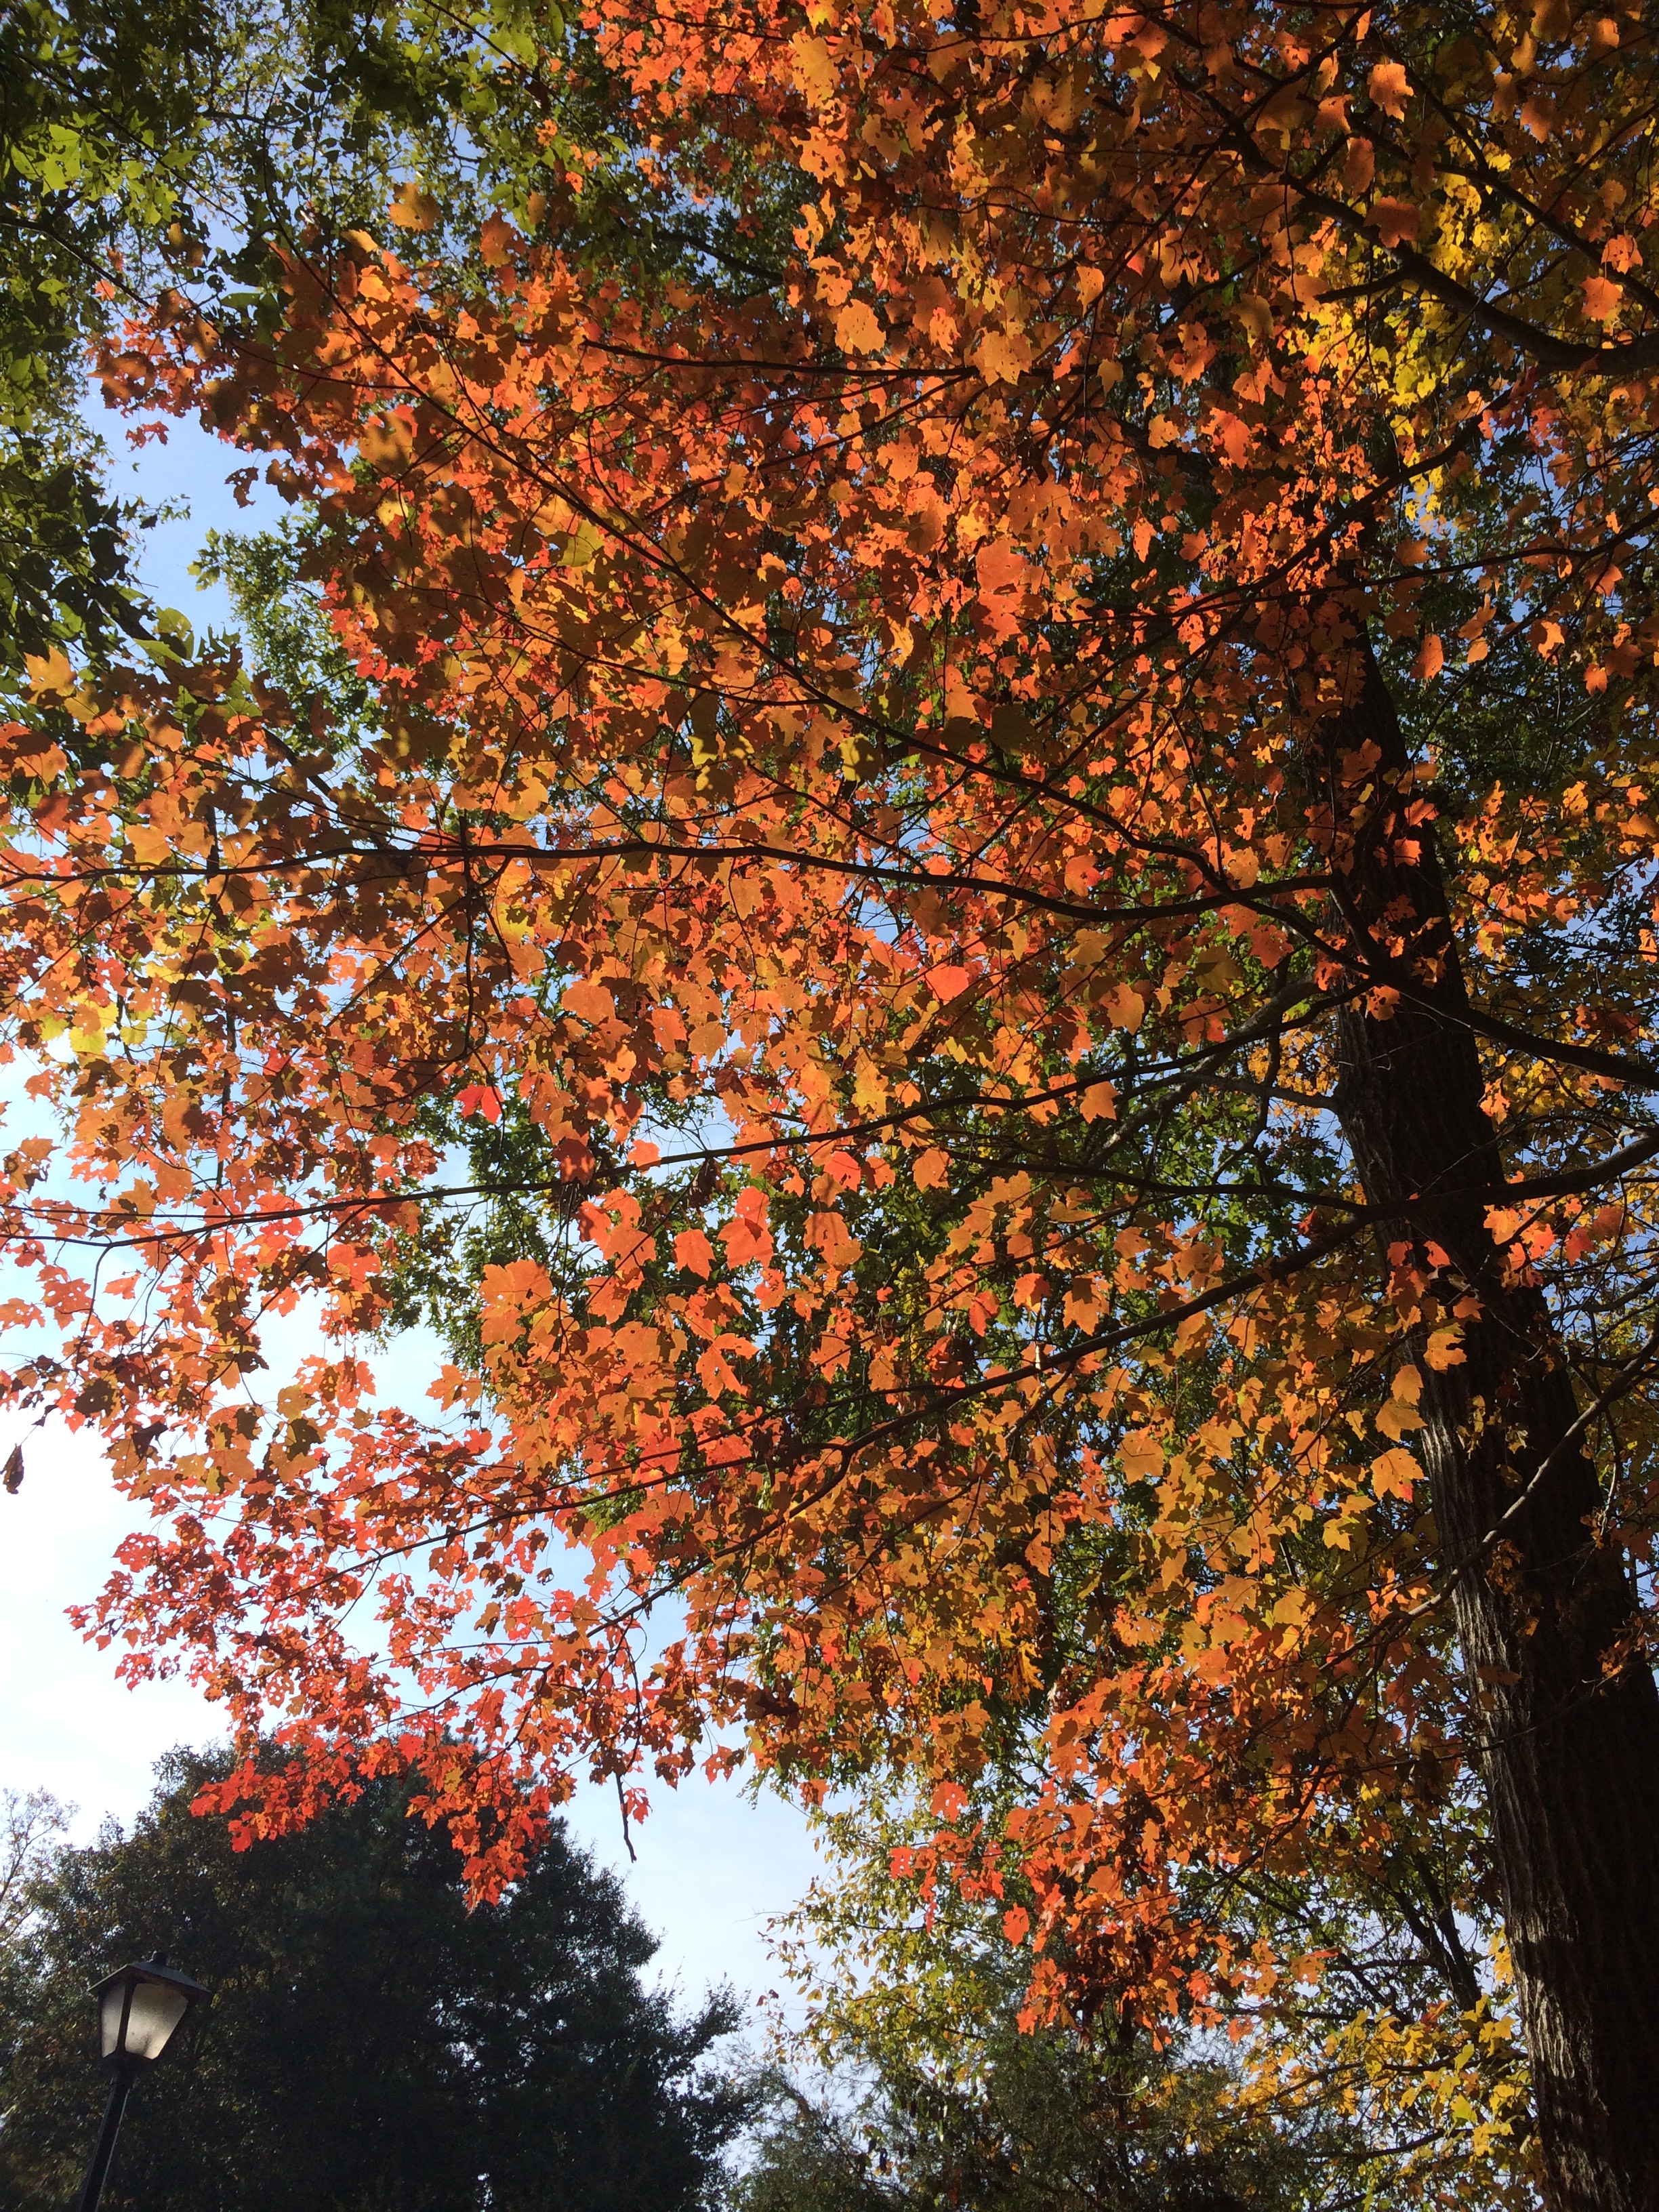
Autumn in the Southeast!
One of my favorite craft mediums from nature has got to be autumn leaves. They come in a spectacular array of colors, each one unique, and are available for free in unlimited supply! That’s why in addition to family raking days, we try to do at least one art project with our leaves before they fall down and turn brown. Last year, one of our projects was making leaf-covered vests at McDowell Nature Preserve. This year I opted for something a little more decorative that we’d be able to use throughout the season. But considering that he’s 3 and I’m pregnant, we needed something that would run off his energy without using up too much of mine. We decided to make placemats, and our project provided a delightful morning of both outdoor time and crafting time. (And it is SUPER EASY.)
Materials:
Bag: Or bucket. Anything that will transport your leaves from the forest to the kitchen table.
Contact paper: We bought ours at Wal-mart. After scouring the entire store, we finally found it in housewares of all places…
Leaves: All different colors, shapes, and sizes.
Sharpie: Only needed if you want to write names on them when finished.
Directions:
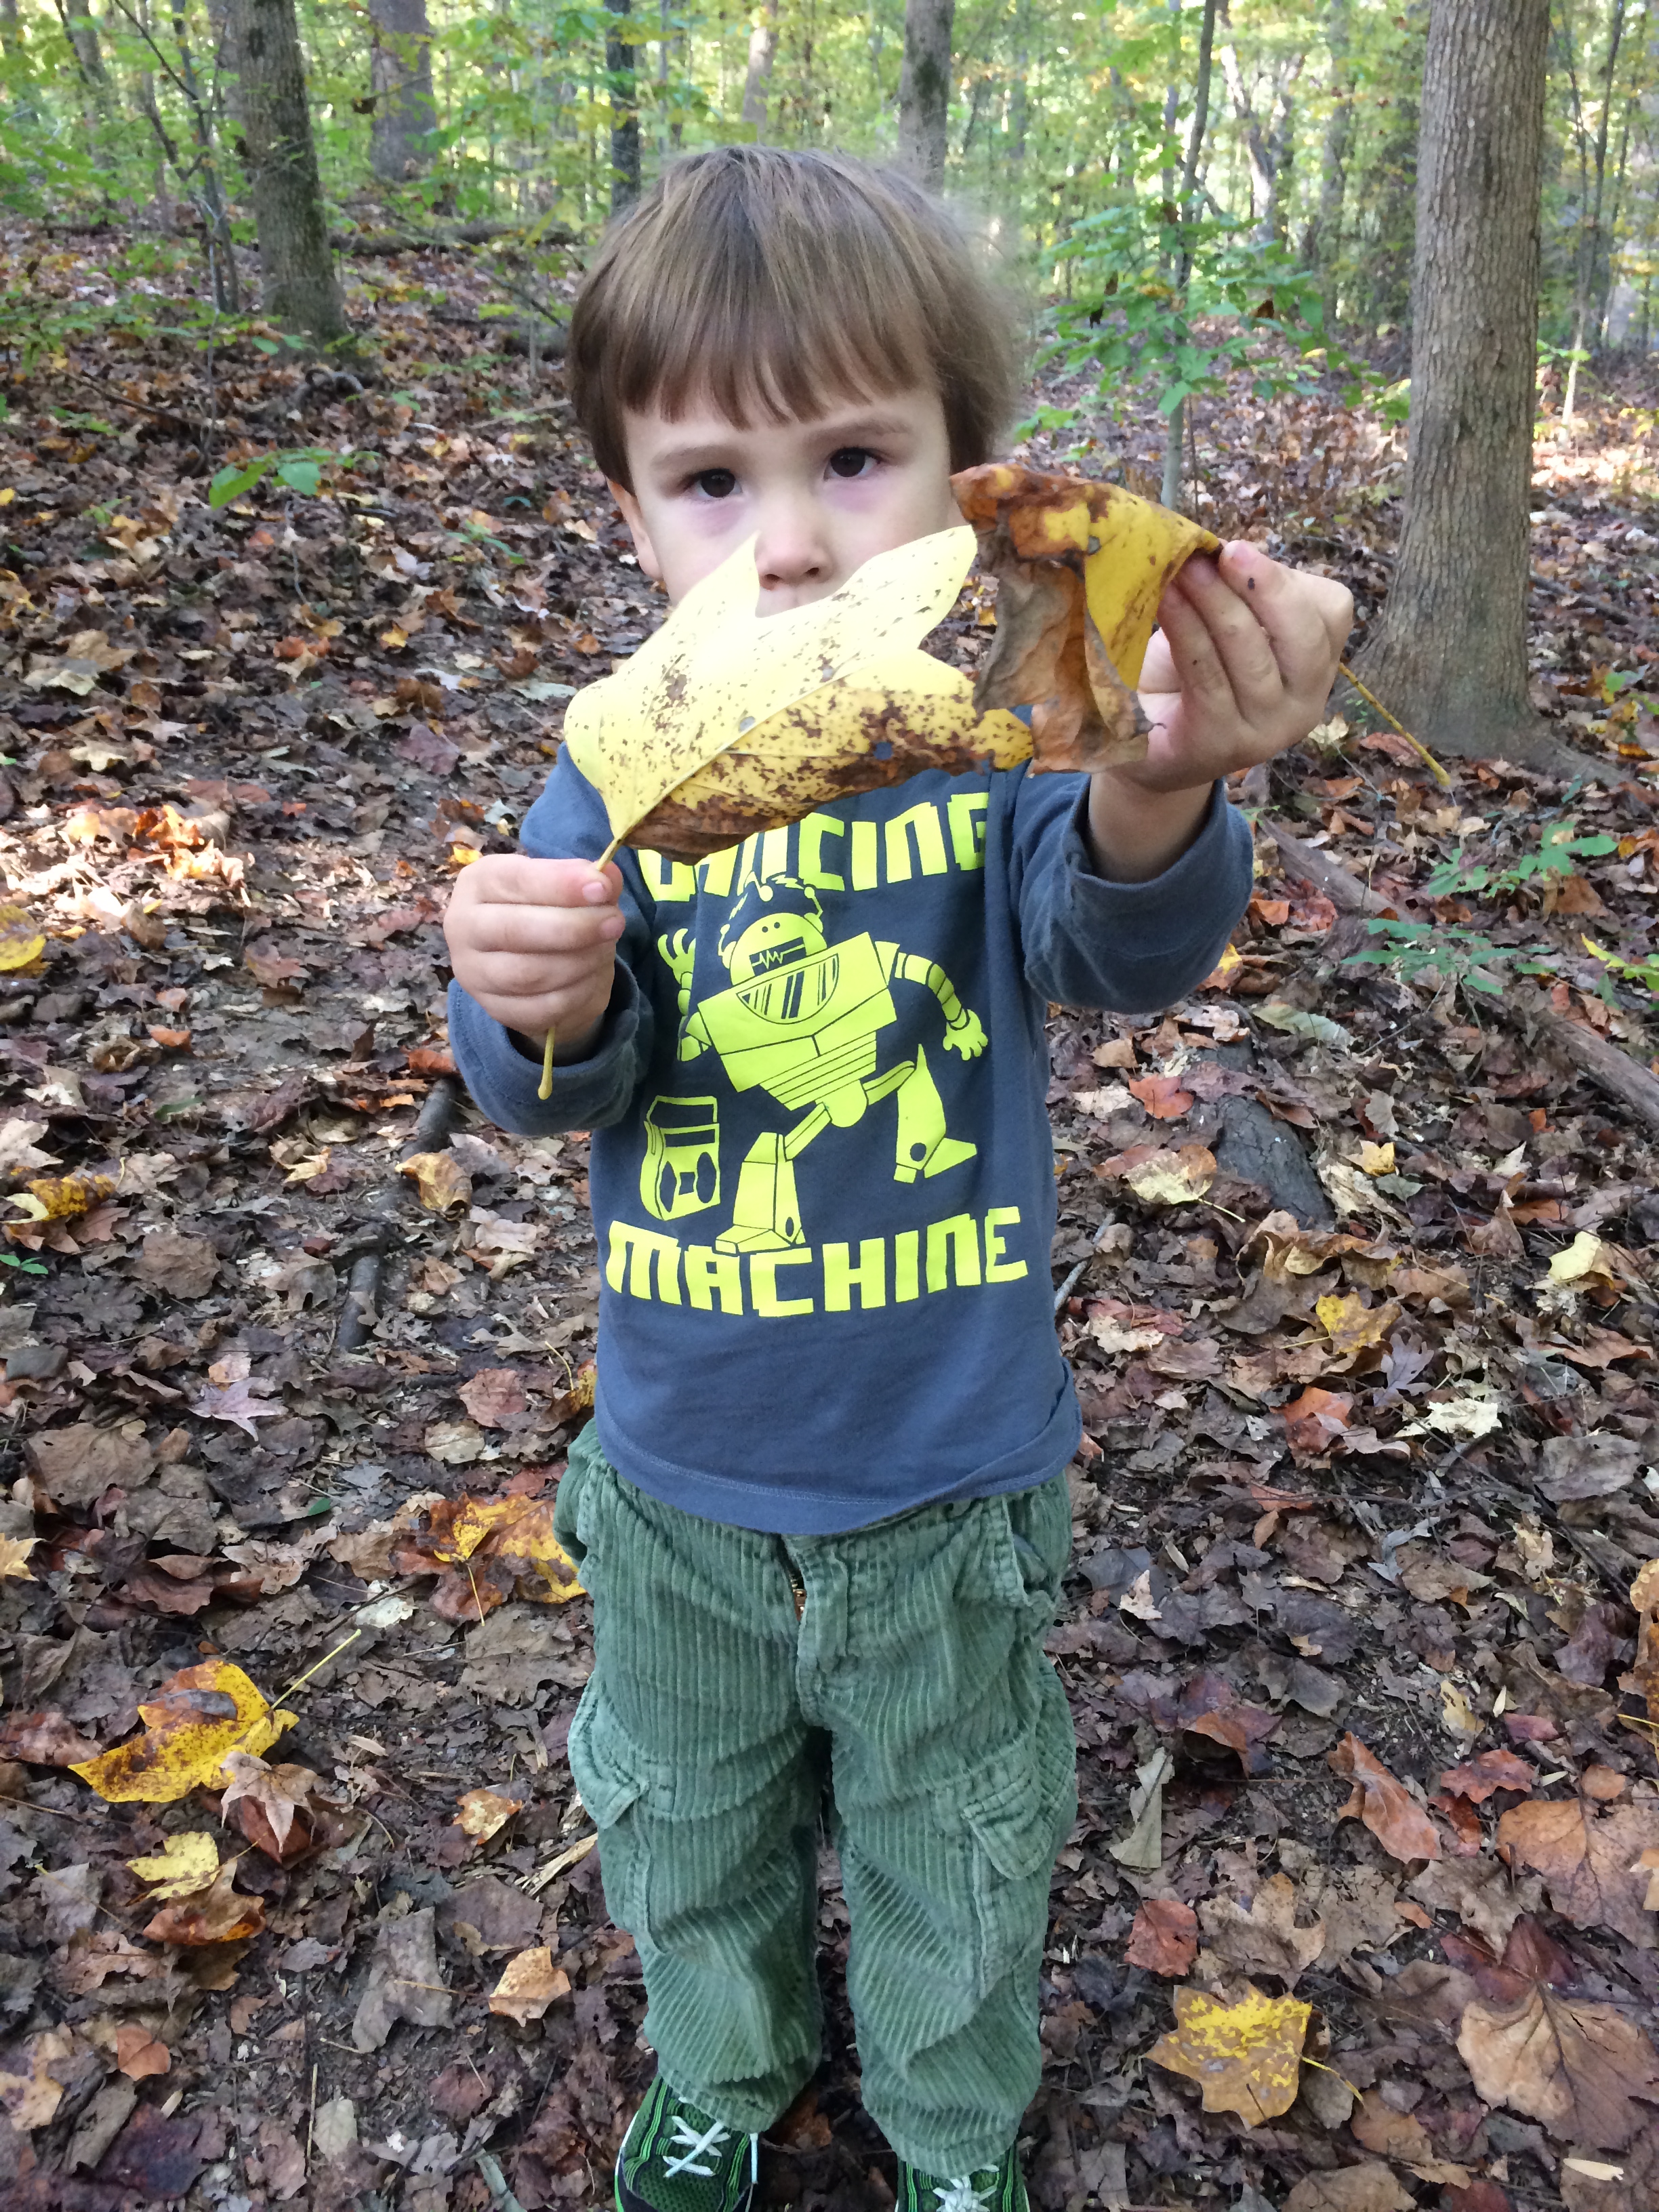
1. Head to your favorite local haunt with lots of trees and start gathering. We decided to use our project as a hiking opportunity as well, and headed over to the Big Rocks Nature Preserve. C enjoys hiking a lot better when he has a “mission” – gathering leaves, looking for bugs, etc. But if you’re short on time, you can probably score almost just as many around your neighborhood! Don’t be picky – the more variety, the better the collage!
2. Scatter your leaves on the table, and cut your contact paper to the desired size (2 equal pieces for each placemat you want to make.) In hindsight, it would have been more efficient to have the contact paper pre-cut, but we’d of course gone out that very morning to get some. No matter, our division of labor still worked out fairly well (C was the scatterer, I was the cutter.)
3. Peel off one piece of contact paper and lay it on the table, sticky side up. I was afraid this could get frustrating, with everything within 10 feet of the paper getting stuck, but it was actually not bad at all. It’s relatively easy to “unstick” something that inadvertently lands on the paper, or to reposition something exactly how you want it.
4. Creatively place leaves onto the paper. Let your toddler’s imagination run wild! The nice thing about this project is that it will always look great because there’s no wrong way to do it!

5. Peel off the other piece of contact paper and carefully lay it sticky side down on top of the leaf-laden paper. You may have to peel up each corner and smooth out with your hand a few times in order to get ride of unwanted air bubbles and creases.
That’s it, you’re done! Now you’ve got a beautiful placemat that you can enjoy all season long! We made three – one for C, one for Mommy, and one for Daddy. We ended up liking them so much that we decided to hang them on the windows while they are not in use. The sun shining through the paper made for a beautiful effect!
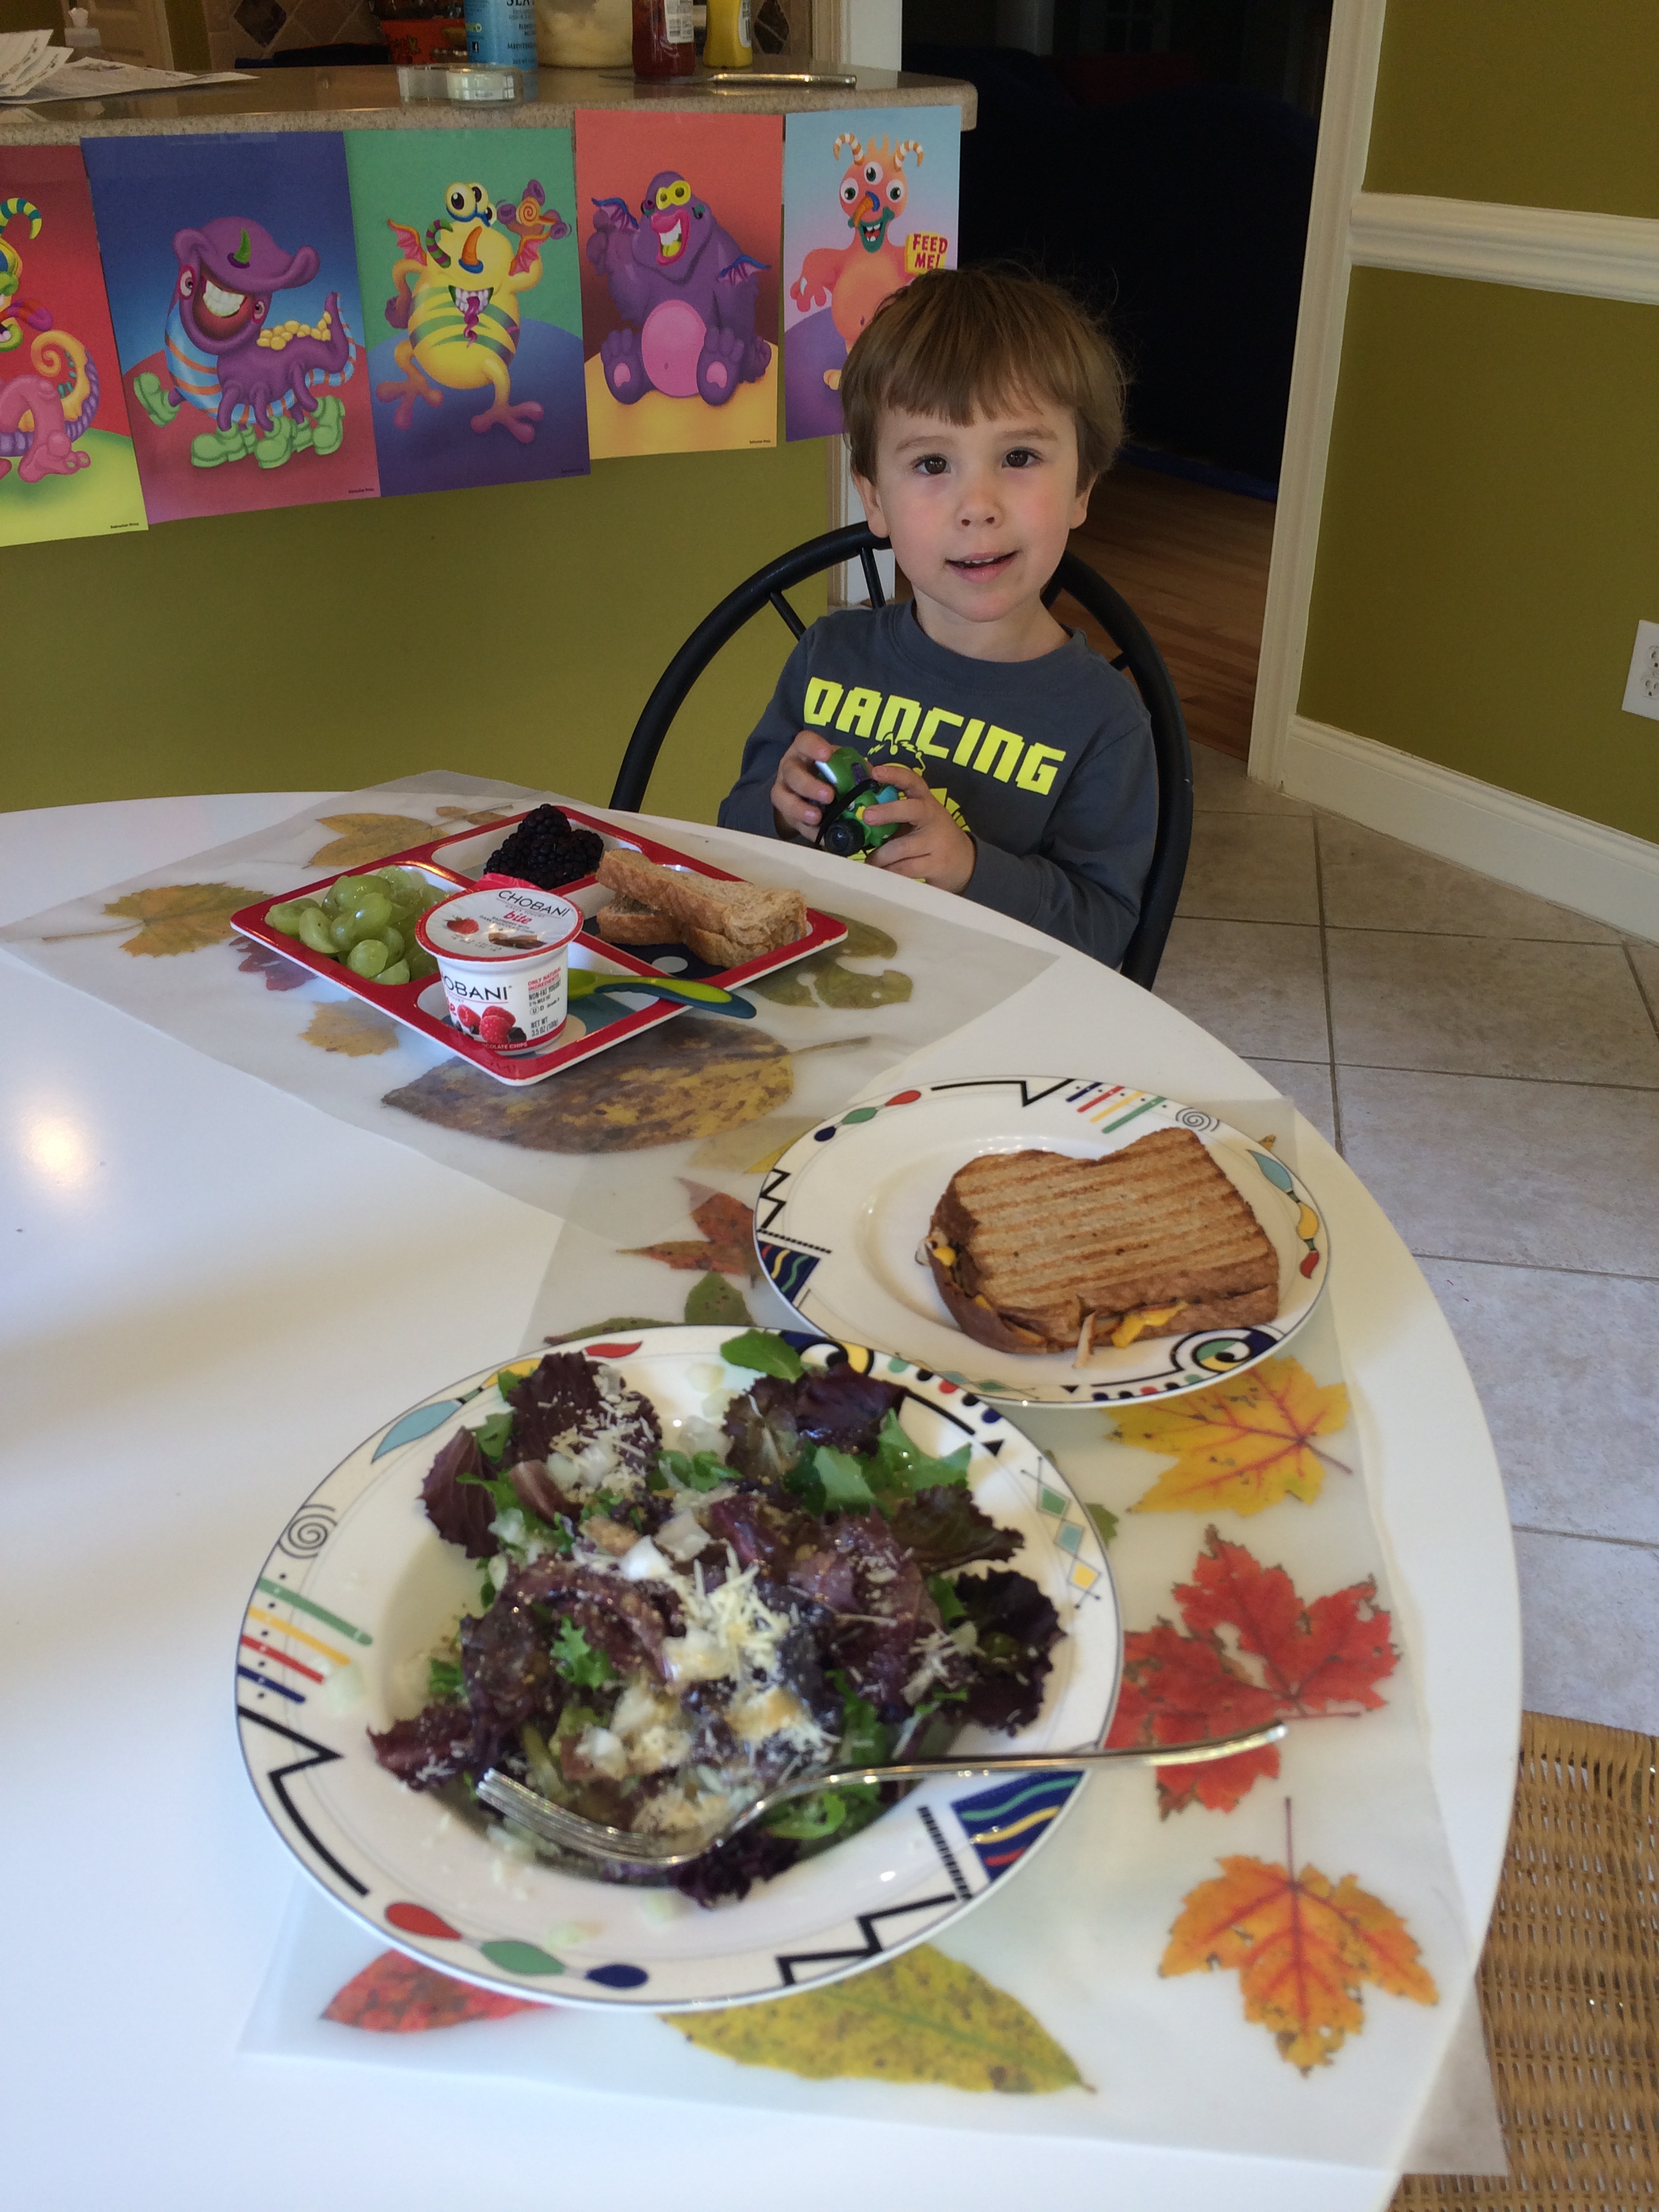 Fun placemats… |
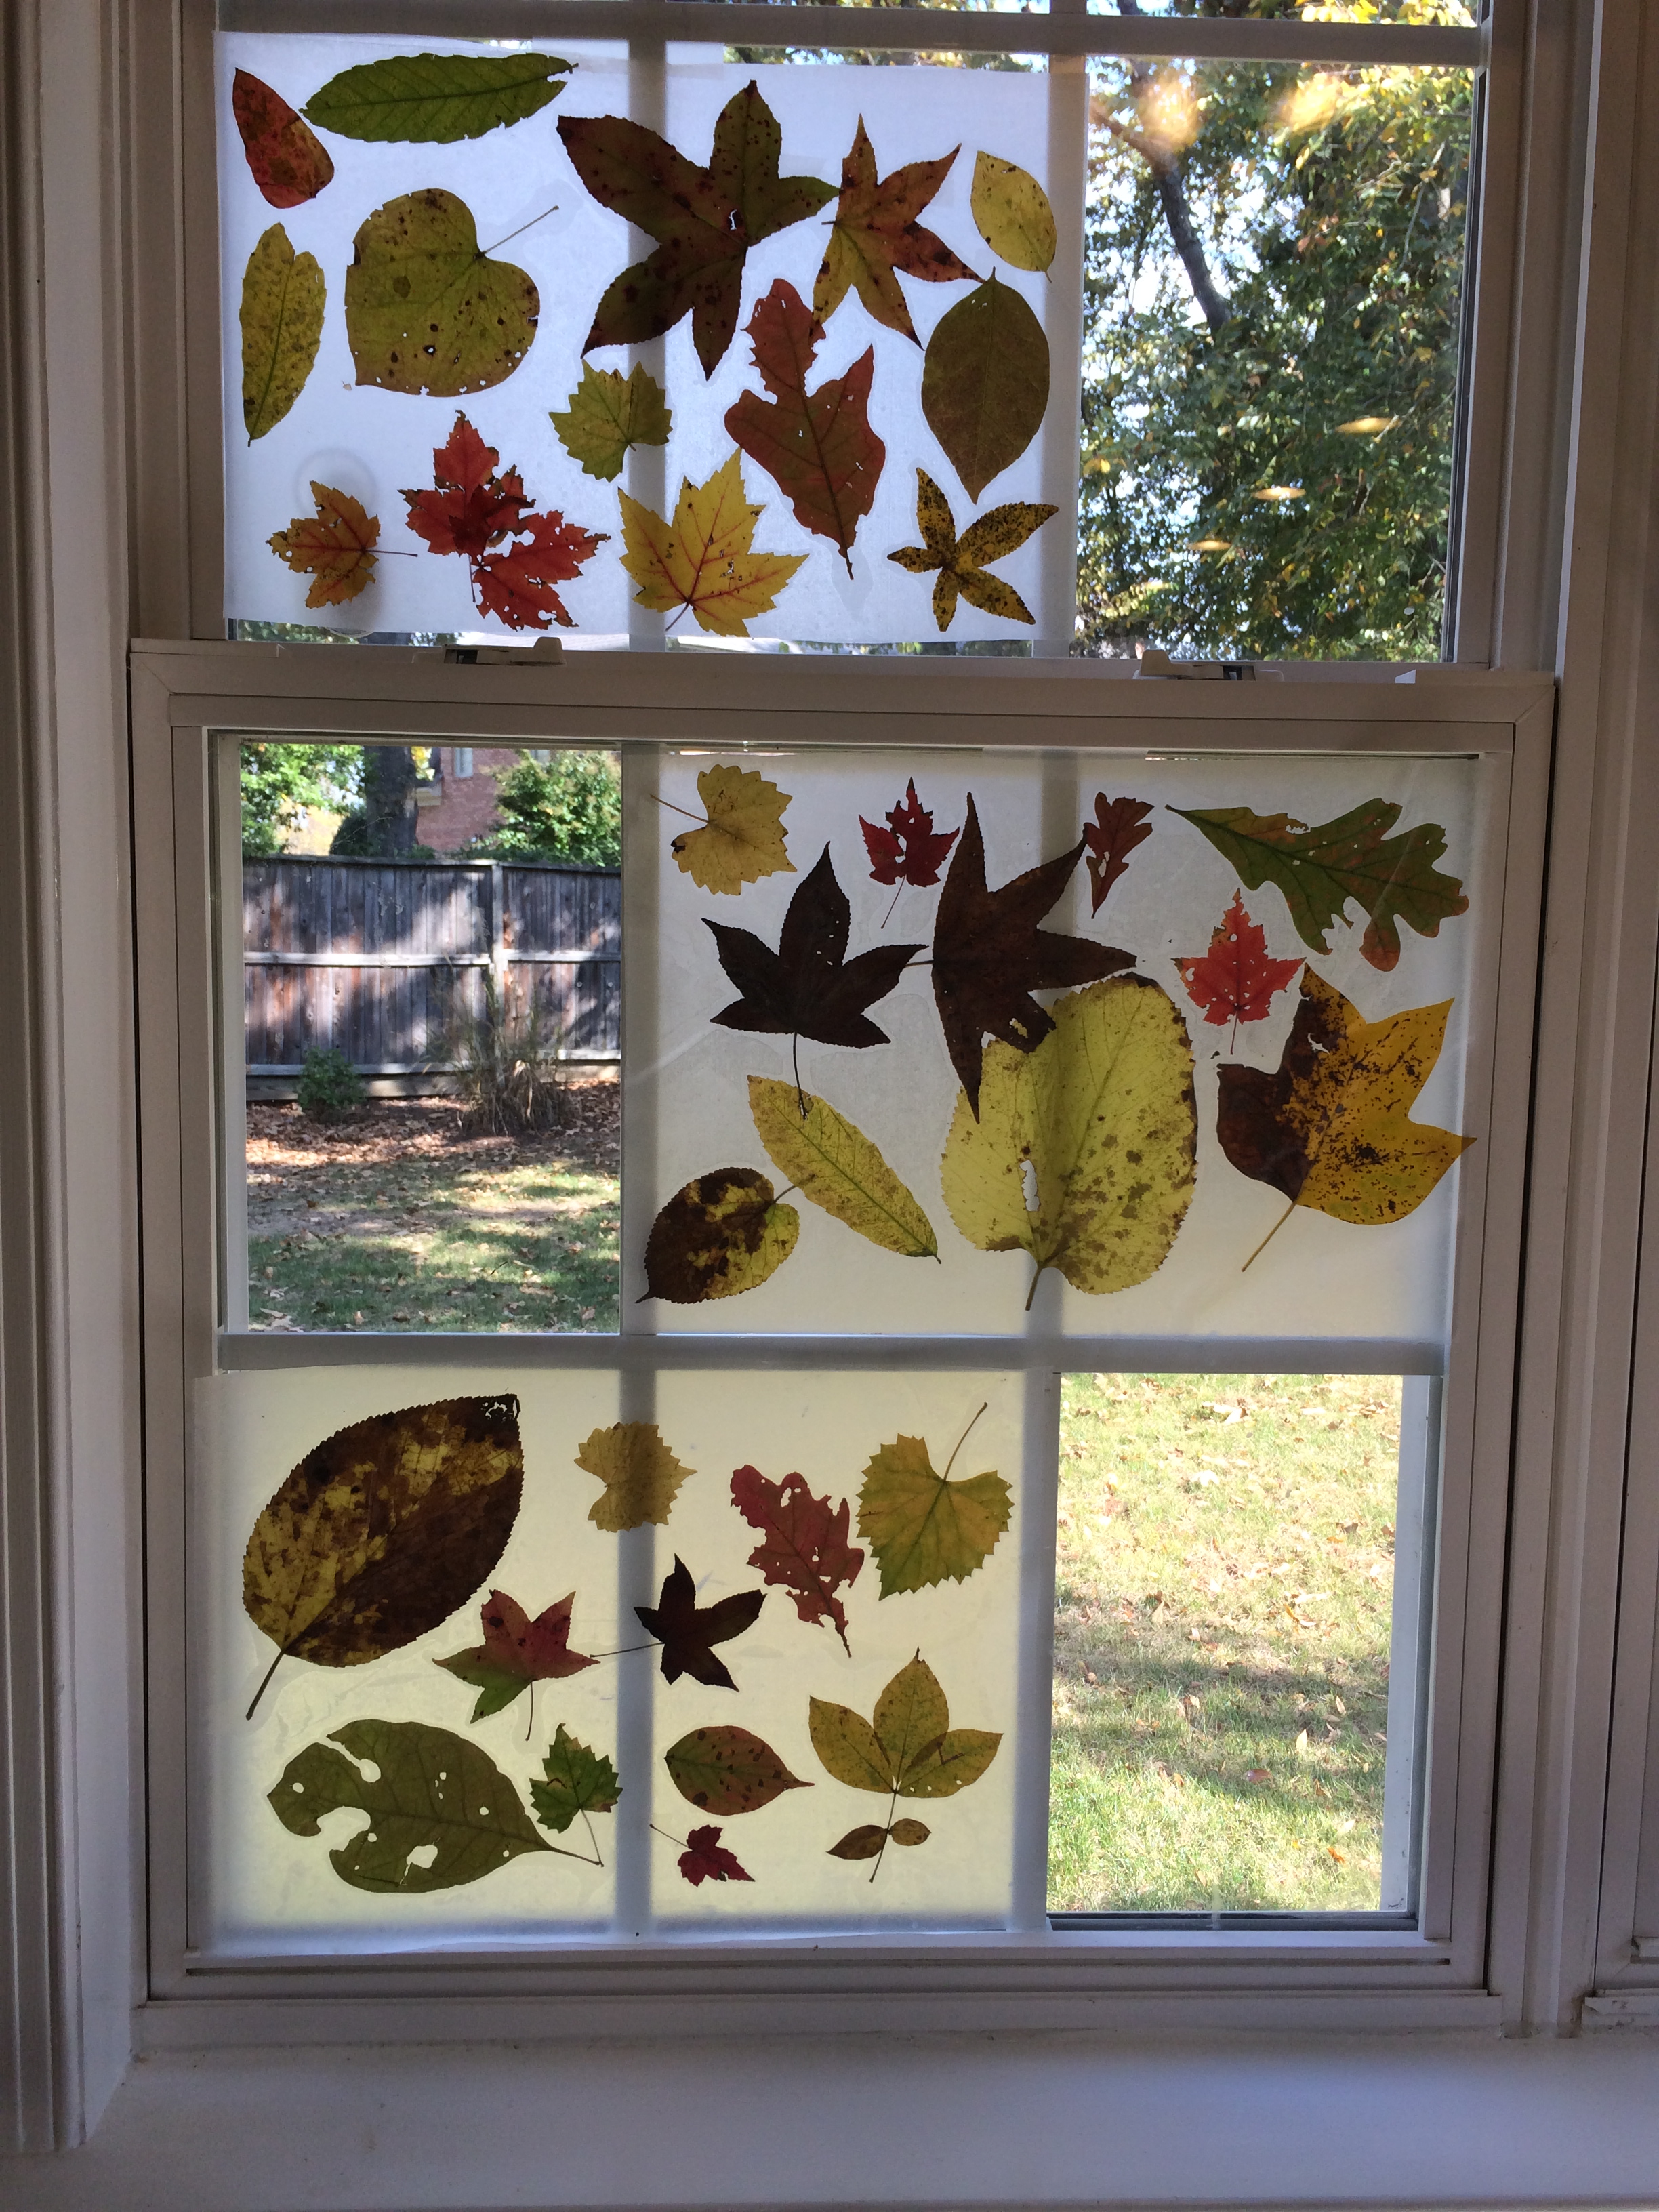 …to beautiful wallhangings! |
If we get really inspired, we may even make the entire extended family personalized placemats for Thanksgiving. It would be a great way for C to get involved and be able to bring something to the table (literally!) Has anyone else ever tried making these? (If you haven’t, you should, it was loads of fun!) What are some other autumn leaf crafts that are fun for the whole family?

5 Responses to “Fall Craft Project: Leaf Placemats (and Window Decor…)”
Enjoyed this post and particularly liked the idea of making the placemats into wallpaper. I need to put this on my idea list for earlier in the season for where we live. The leaves have fallen and the wind has wept them away. (We live in NE which is ranked fourth in the wind energy potential – it’s always windy here.) Snow is projected for today.
Thanks again for the great idea.
They look fabulous on the table AND in the window! GREAT idea and great job! 🙂
Well done! Those are so pretty & I love how easy they are to make, but still have a great end result & there’s outside time involved! Such a good project. Thanks for sharing 🙂
I used to make these with my mom every fall except we had to use wax paper as well couldn’t buy/find contact paper in our small town. I remember it being such a fun project.
Audra – Yeah we’ve had a few windy days of late and that’s done a number on our fall color in the trees!
Kathy – Thanks 🙂
Kate – Yes, it’s hard to find art projects that have a beautiful end result when toddlers are involved…usually it’s more about the journey than the destination 🙂
Sarah – I’ve seen it done with wax paper as well. I was a teacher in my pre-mama days, and that’s where I discovered all the wonderful things you can do with contact paper 🙂