
DIY: Homemade LARABars
Recently I posted about all of the changes our family has made in the direction of sustainability, specifically when it comes to making our own food. We’ve been able to eliminate almost all of the processed food that was in our diet on a regular basis, and meanwhile have been saving money – win, win! And one of the biggest money savers has come with our ability to make Larabars at home with nothing but a food processor.
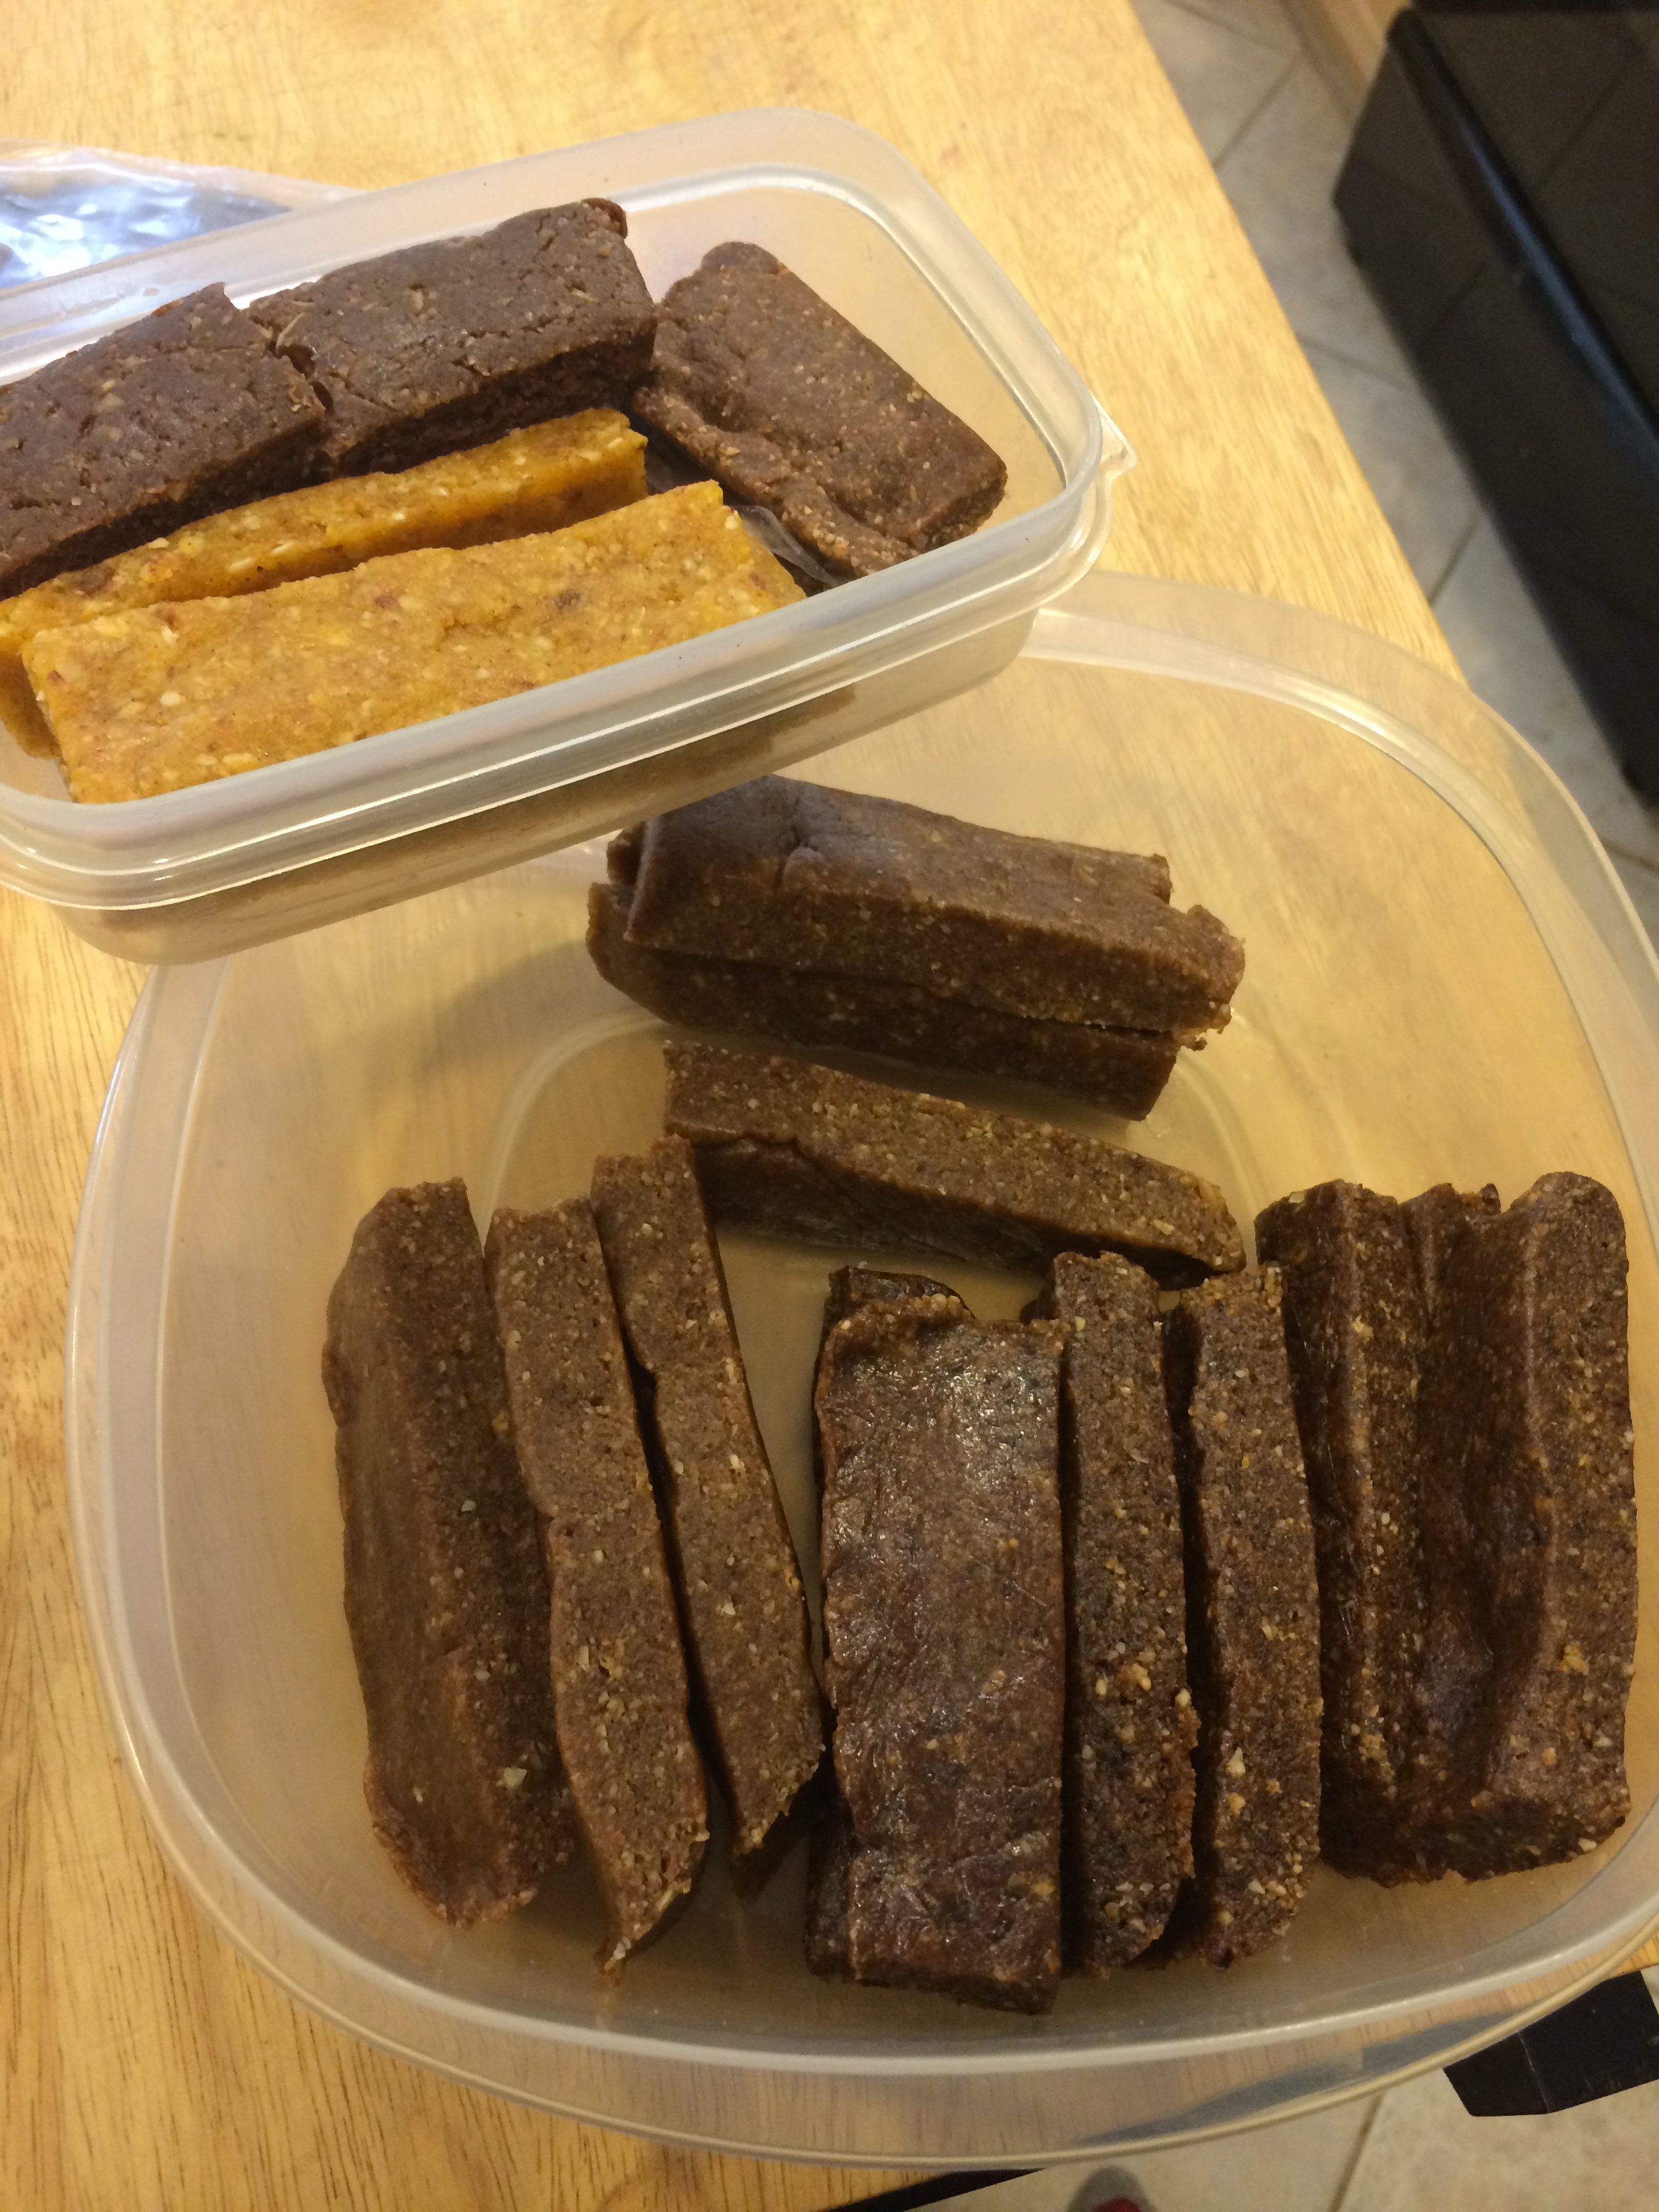
In this picture they resemble terds…but trust me they are amazing!
For those of you not familiar with Larabars, they are delectable RAW energy/protein bars made with often as little as 3 ingredients. There are many different flavors, but the common flavor combinations always involve dried fruit (usually dates), nuts (usually cashews or almonds), a pinch of salt, and sometimes something “fun” (dark chocolate, coconut, cocoa, more dried fruit, etc.) Nutritionally, they are a powerhouse, providing a perfect balance of protein, carbs, and healthy fats. Plus there are no fillers, preservatives, or any other of the weird stuff stuff you often find in storebought energy bars.
But they aren’t cheap. All of this goodness comes at a hefty price – around here they average $1.50 PER BAR! (Although I have at times seen a few flavors in bulk at Costco that were 87 cents per bar…but it’s never the flavors we like!) So while I’d love for my whole family to reach for those every time they
want an on-the-go bar, we previously only kept them “in stock” for climbing trips. “Everyday” bars were oat/granola bars from Trader Joe’s, until more recently when started keeping a batch of either these pumpkin oat bars or these banana bread bars on hand. And while those homemade bars were definitely yummy, they didn’t offer a ton of protein, and I felt like I was baking them ALL. THE. TIME.
Enter the new food processor I got for Christmas (cue angels singing.) I could do a whole post on how much I love this thing, but for now I’ll just say that I can whip up a couple dozen Larabars in under 15 minutes. It honestly takes more work to clean the food processor than it does to make the bars. Which is why I usually make a bunch at a time, and toss some in the freezer.
Another great part about making your own is that you can customize the size/shape. Think small ones for the kiddos, and big ones for the grown-ups. Or small energy “balls” for a day of multi-pitching and a modest granola bar size for tossing in your bag while you run errands. Big C sometimes likes to customize EACH bar using cookie cutters – then each day he enjoys choosing whether he’ll have a star, snowman, moon, etc.
The directions are easy enough that my almost 5 year old can do it by himself (with supervision of course.) Simply toss in the ingredients, whirl ’em up, press ’em out in a pan, and cut ’em up into bars. (Or press them into cookie cutters. Or roll them into balls. You get the picture.)
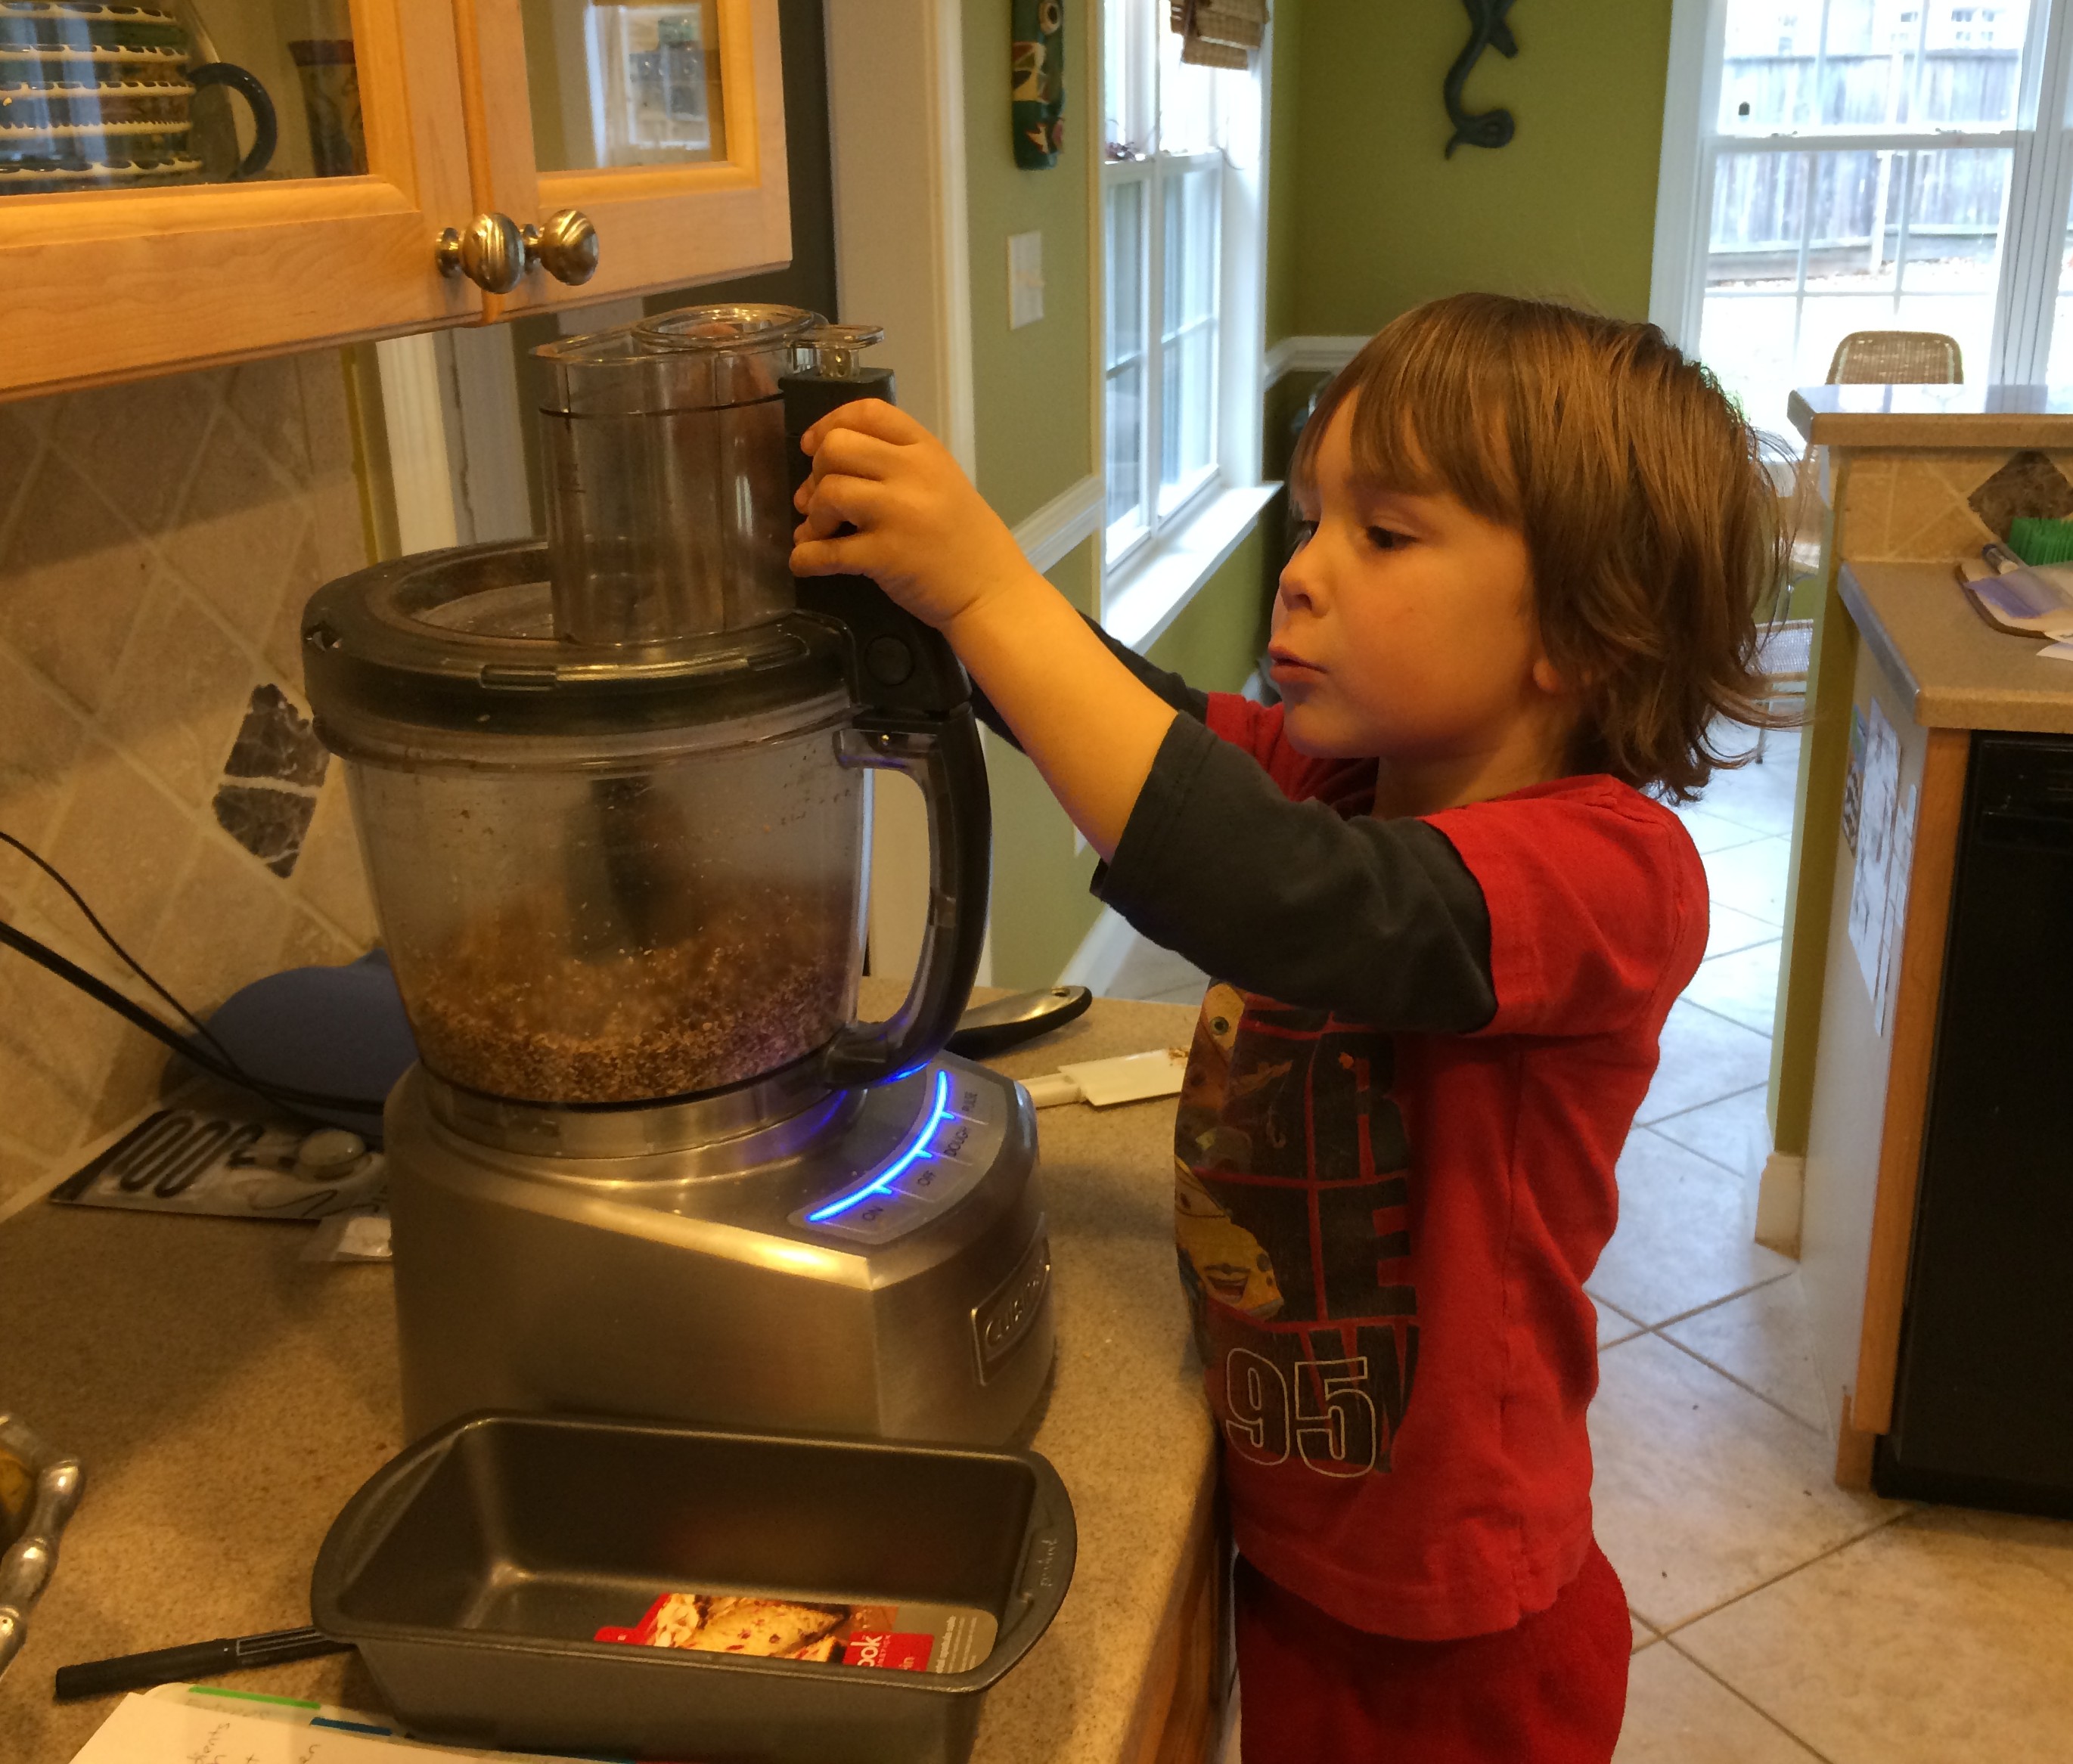
So easy a 4 year old can do it!
As far as recipes go, you can find hundreds on the internet in a quick google search. (Leite’s Culinaria has a bunch of good ones). The recipes are all basically all the same, but vary in the nut to date ratios, and in how many bars they make. After a lot of experimenting, the following 2.5 – 3 cup formula is what works out best for us…
1 – 1.5 cups dates + 1 – 1.5 cups nuts + 2T – 1/2 cup add-ins = 8 bars that are 4″ long and 1″ wide.
The amounts vary depending on what nuts and add-ins I’m using. A soft, fatty nut like pecans and walnuts will make a very soft, chewy texture, while a harder nut like cashews or almonds will make a firmer bar. I’ve also found that adding oats (1/2 – 1 full cup) can make for a yummy, texture-changing add-in, especially with the softer nuts. (It makes the consistency more like a CLIF bar.)
Ready for the deep-freeze!
Here’s a couple of our favorite flavors…
CASHEW COOKIE: dates, cashews, choco chips, salt
FUDGE PECAN: dates, pecans, vanilla, cocoa, salt
TROPICAL: apricots, raisins, almonds, cashews, coconut, cinnamon, salt
OATMEAL COOKIE: dates, walnuts, dark choco chips, oats, cocoa, salt
GRANOLA: dates, raisins, homemade granola (I make mine w/oats, sunflower seeds, pecans, almonds, and coconut…more on that in a future post!)

Baby Zu enjoying a Cashew Cookie bar
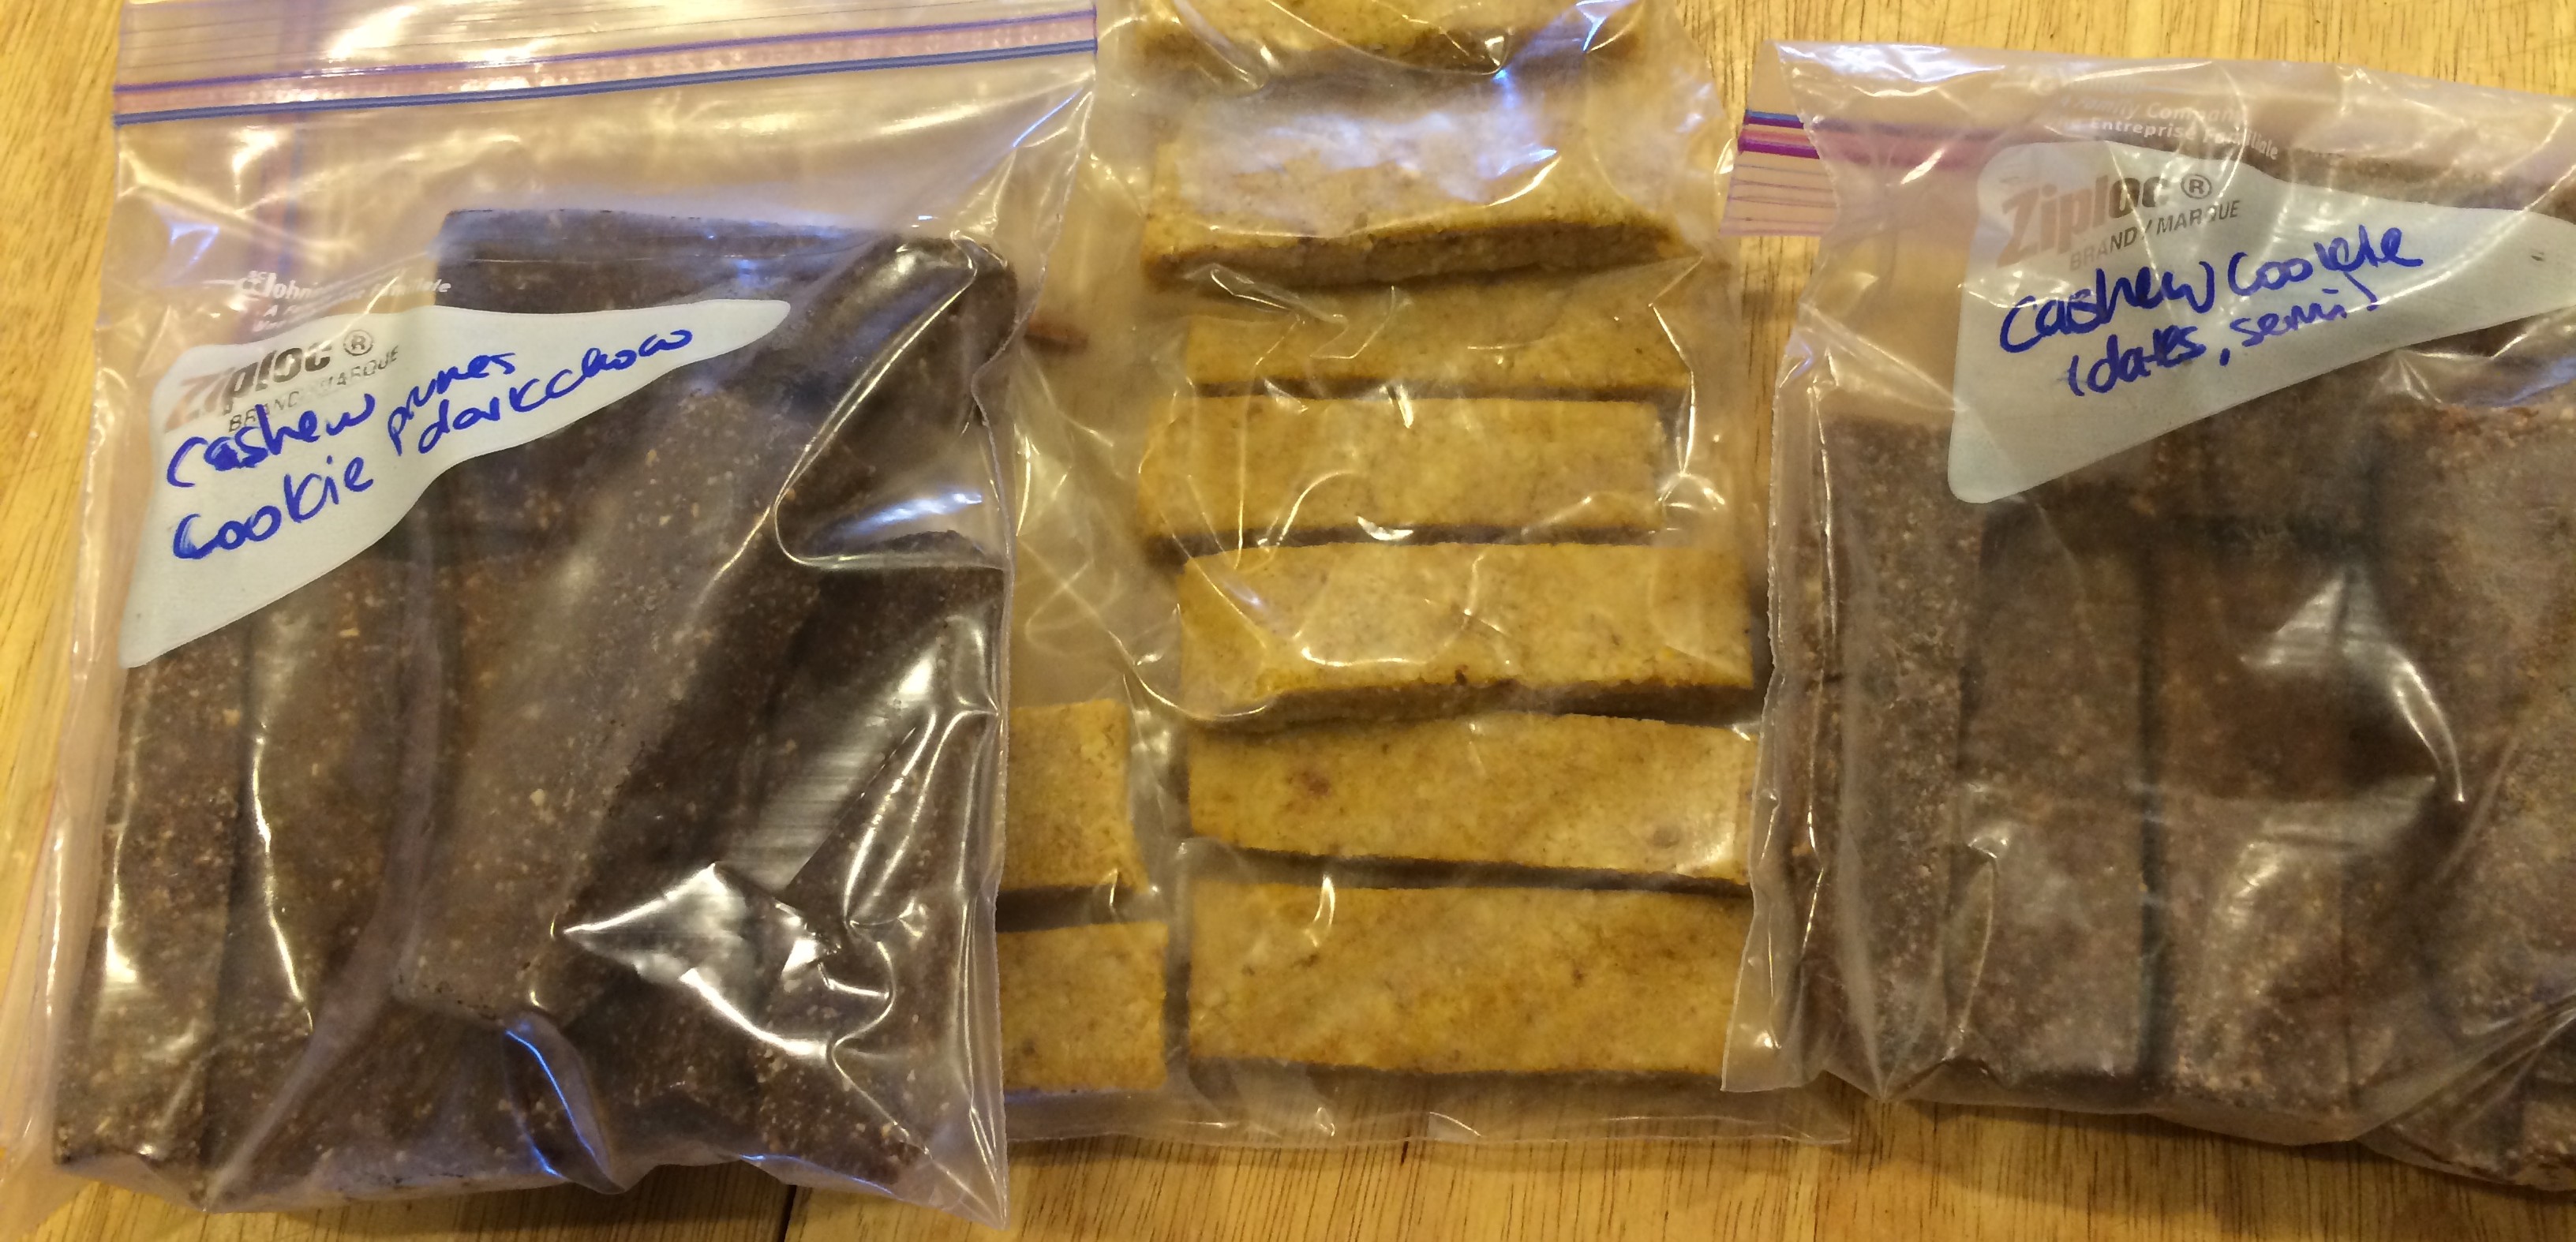
Helpful Tips: Grind up the nuts a little bit first, then add the rest of the ingredients. Process them until everything sticks together like dough. To make bars, spread in a pan lined with saran wrap (a loaf pan works out great for a single batch.) Let them harden in the fridge for an hour or so, then cut (a pizza cutter works great!) Because they are not vaccuum sealed, they only last a few days at room temperature, unlike their storebought counterparts. But they taste great right out of the fridge and will keep just fine there for a few weeks. You can also freeze them pretty much indefinitely. (Store them in ziploc bags, a different one for each flavor.)
Buying in bulk (think Costco) is definitely the way to go with these when it comes to really saving money. I can make any flavor my heart desires for around 40-50 cents per bar! Trader Joe’s also has pretty good prices on nuts as well as dates. If you have trouble getting your hands on dates, prunes are a great substitute – a good bit cheaper, and ALMOST as good.
These little babies are perfect for outdoor adventures. Not only is the nutrition they offer top notch, but they are also the perfect texture no matter what time of year. They don’t melt in the summer (unless of course you put in a TON of chocolate!), and they don’t get rock hard in the winter.
Has anyone else tried their hand at this? I’d love to compare favorite flavors!

4 Responses to “DIY: Homemade LARABars”
I love our food processor too! We have some nut and seed allergies in the house so we have to make our own twist on a Lara bar with certain seeds. My favorite is a Mayan chocolate with pumpkin seeds, crystallized ginger, really dark chocolate, and spices like cinnamon, chili or cayenne, and more ginger. I’ve used flax, sunflower, and chia seeds in other recipes but now we have to avoid pumpkin and flax. Another thing I’ve added to increase the volume of bars (they go fast in my house) is Arrowhead Mills whole grain puffed rice, barley or millet. It’s single ingredient but not raw. It adds a nice texture like a Clif bar without added sweeteners. Yum, you’re inspiring me to make a bar soon! Love the cookie cutter idea 🙂
Angela – do you toast the rice puff/barley/millet? We go theu them pretty fast too…
Erica, not usually but I had some stale rice puffs left over from the twins finger foods and I toasted those. They toasted really quickly so watch them. They turned out super crunchy and delicious! I realized I needed to let them cool if pairing with chocolate. You might have to play with proportions or add a tiny bit of water or extract to the dates. I’ve used vanilla, ginger juice or water (experimenting by a small capful).
Thanks Angela!